Create Consistent Character Videos
Step-by-step guide to creating high-quality consistent character videos
VEOGENT STUDIO provides powerful tools to create videos with consistent characters across different videos. This guide will help you create professional videos with consistent characters through a step-by-step process.
From creating a new project to producing a complete video, you will learn how to use all the features of VEOGENT STUDIO to achieve the best results.
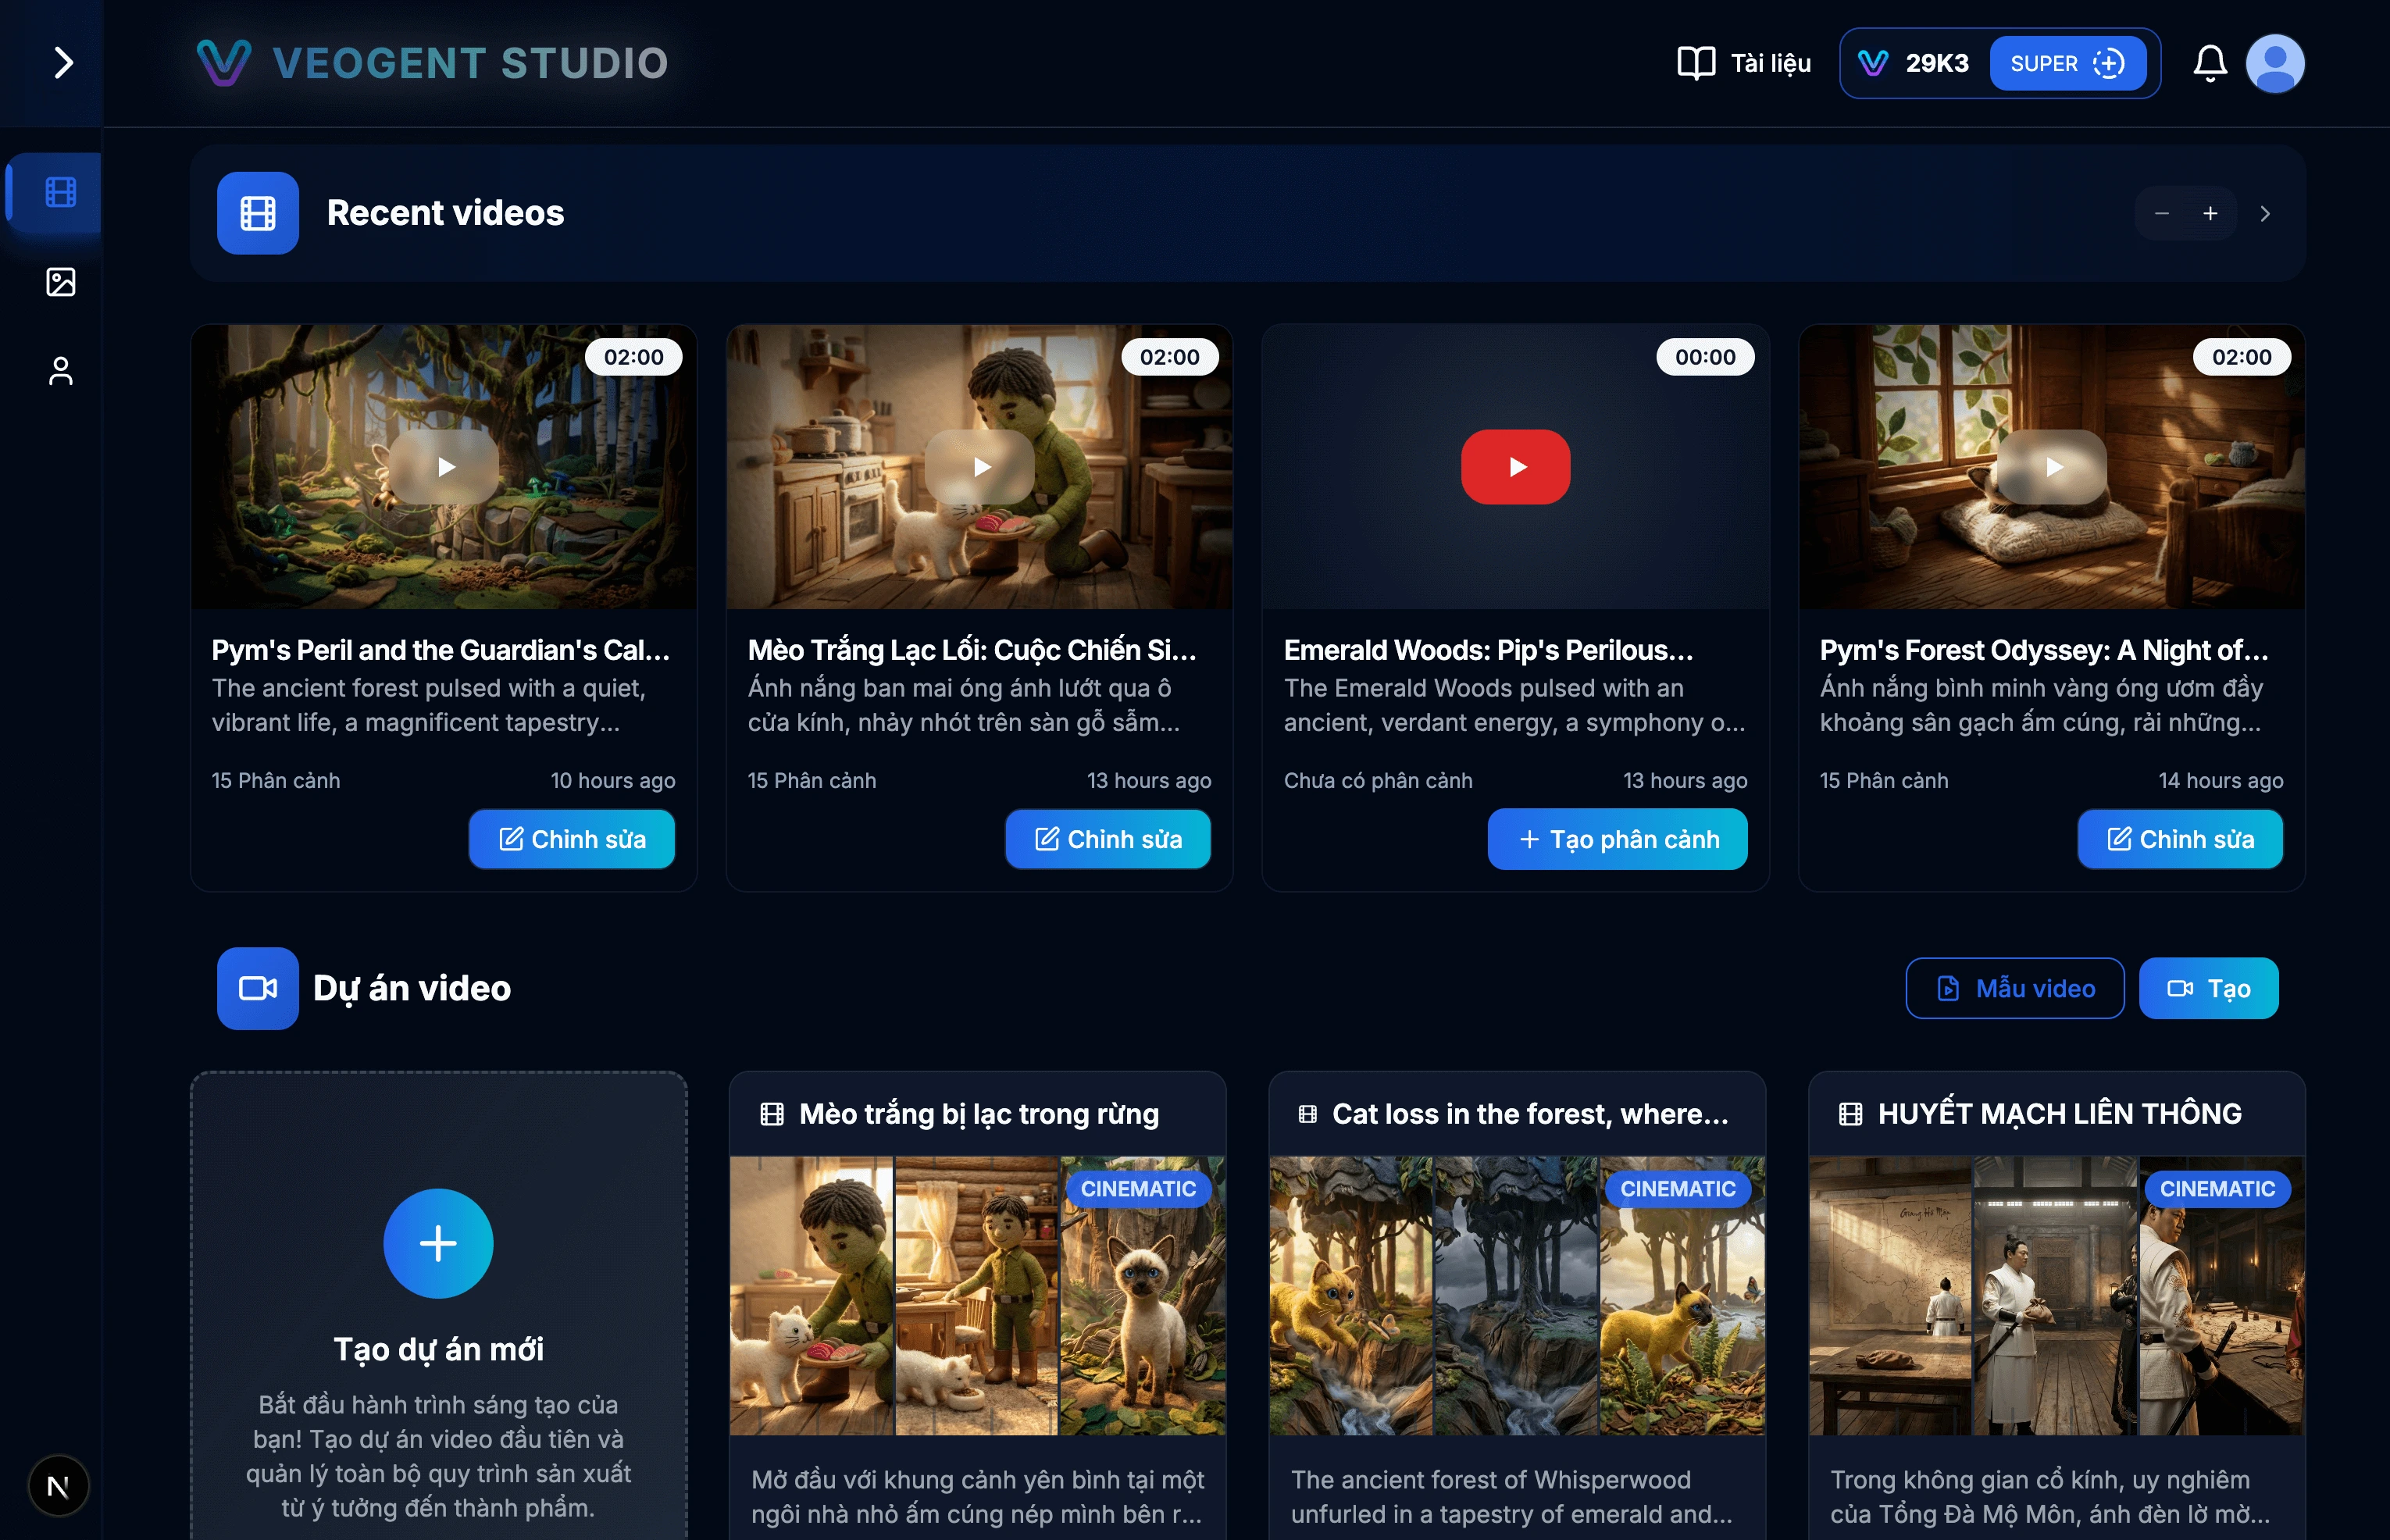
Image: 1.1: VEOGENT STUDIO Dashboard
Tips & Notes:
- Ensure that you have successfully logged in to access all features.
- Check your credit balance before starting a new project.
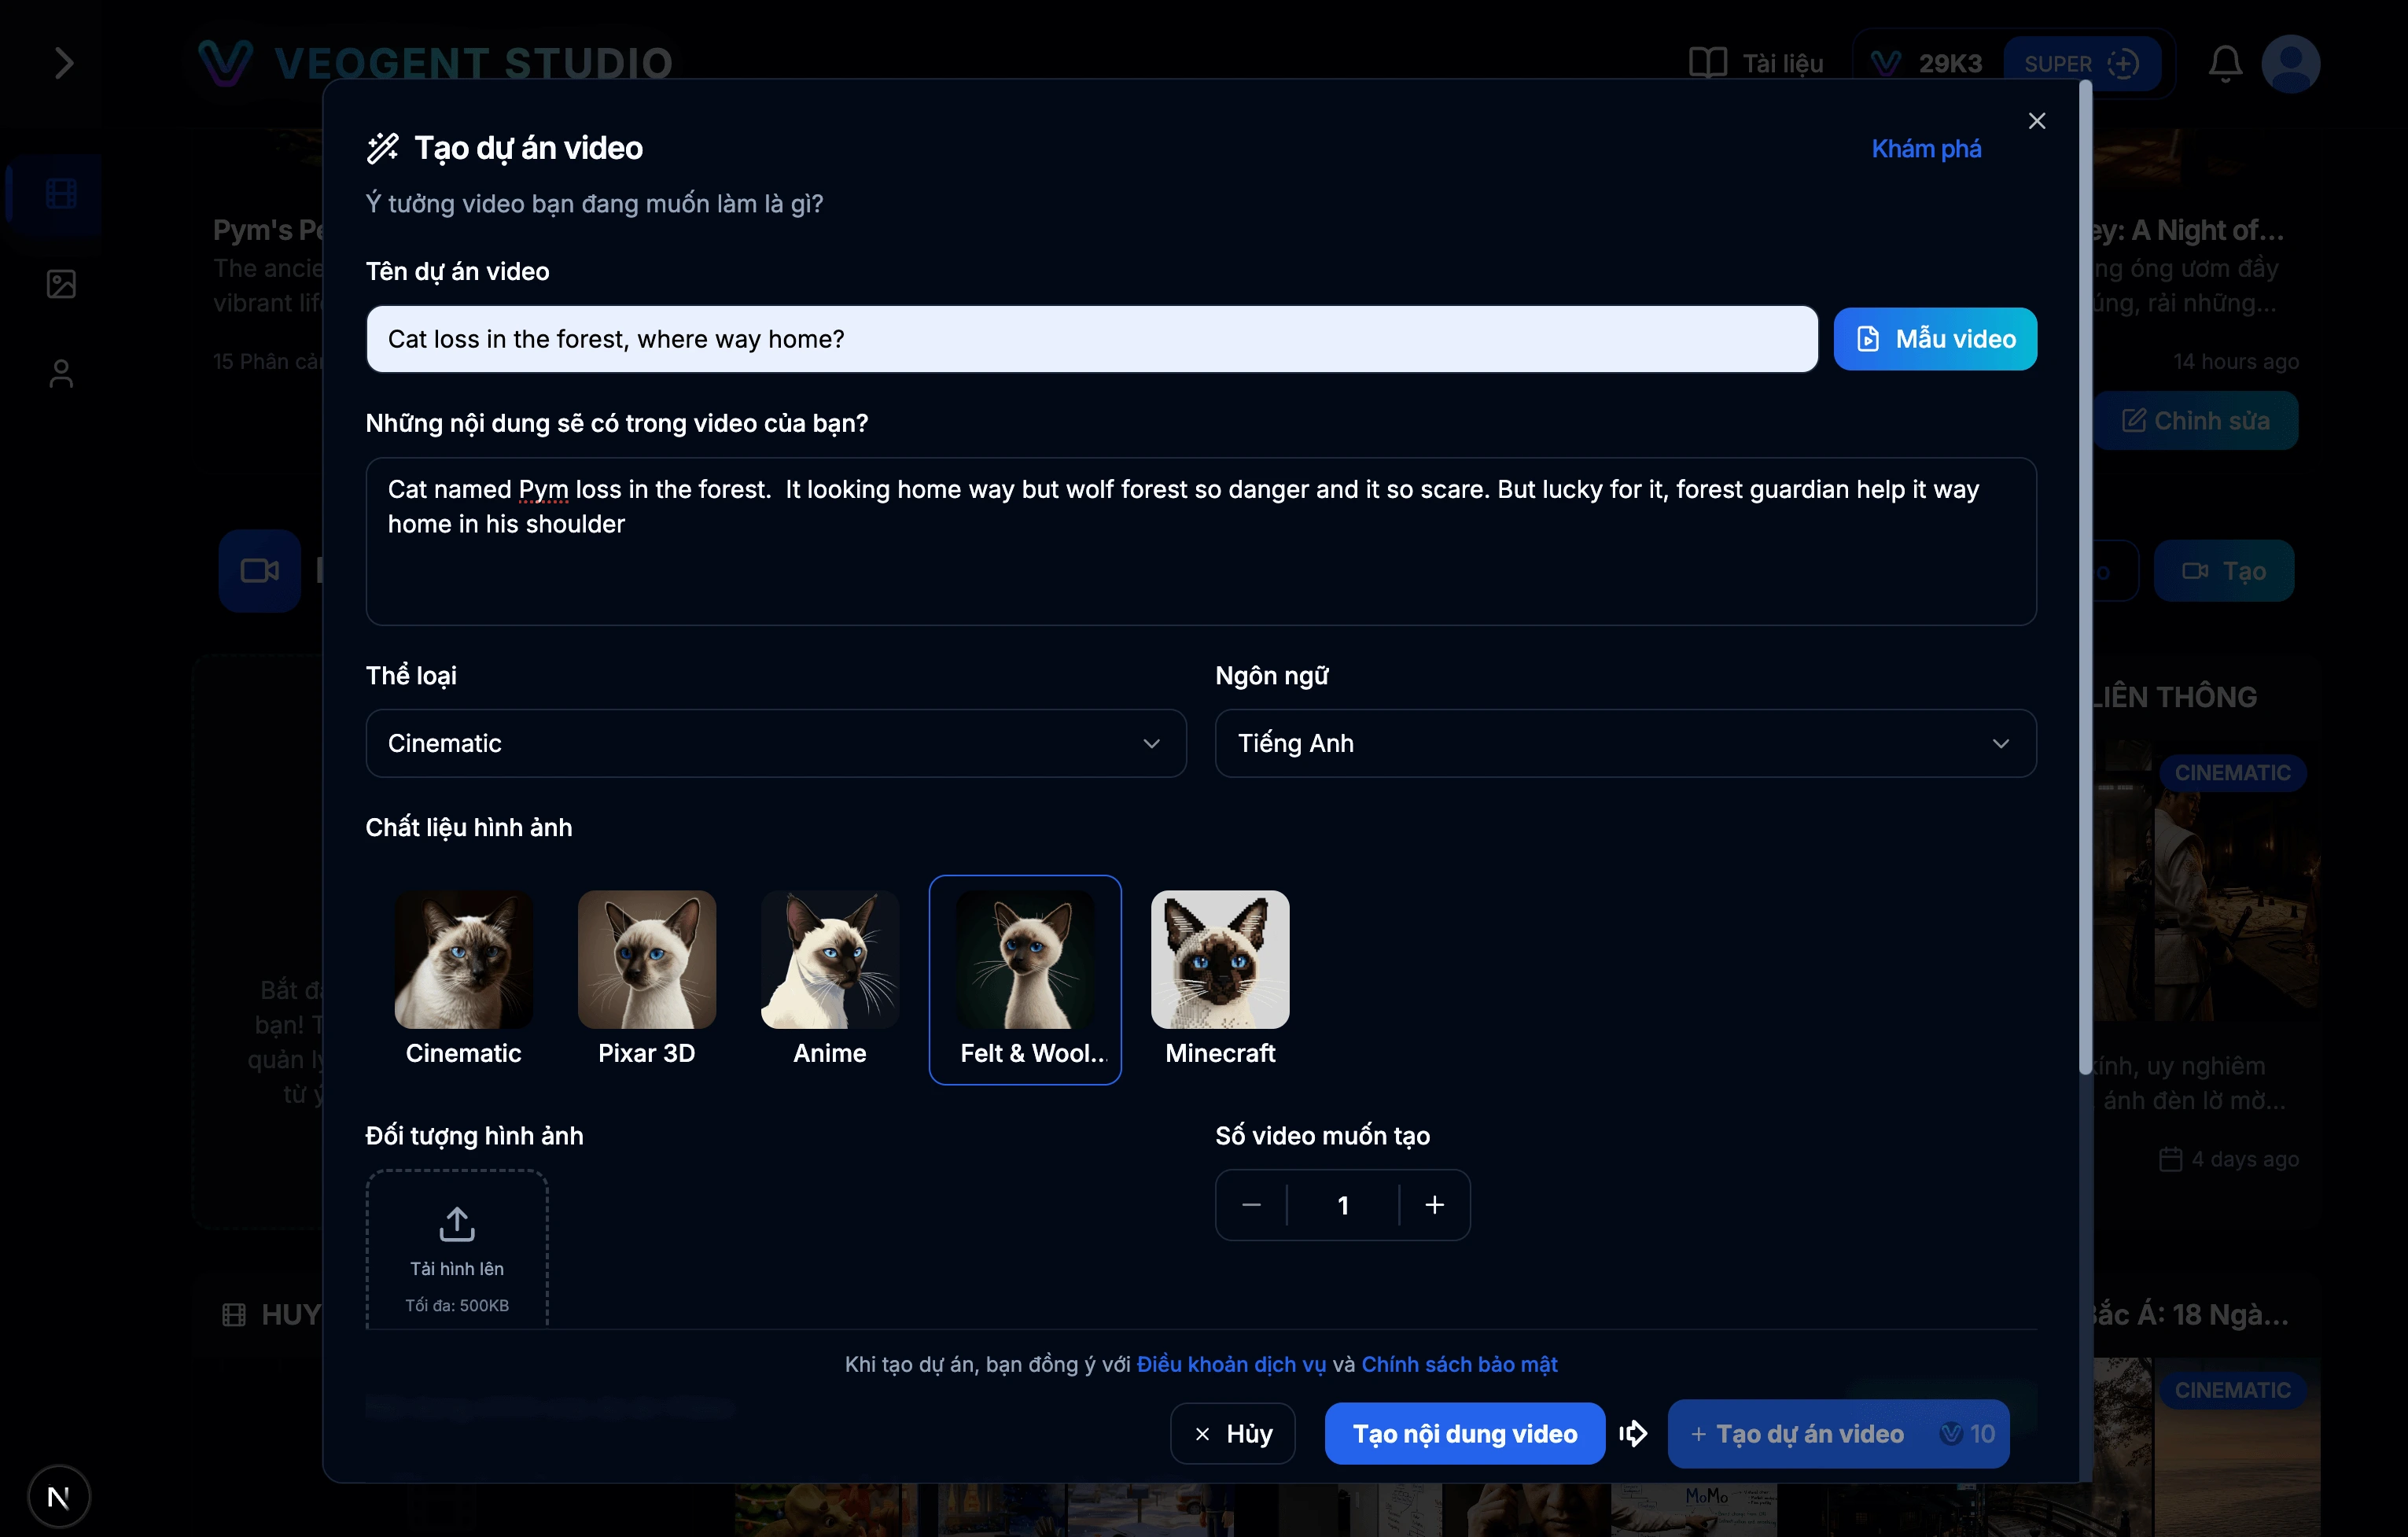
Image: 2.1: Project creation form
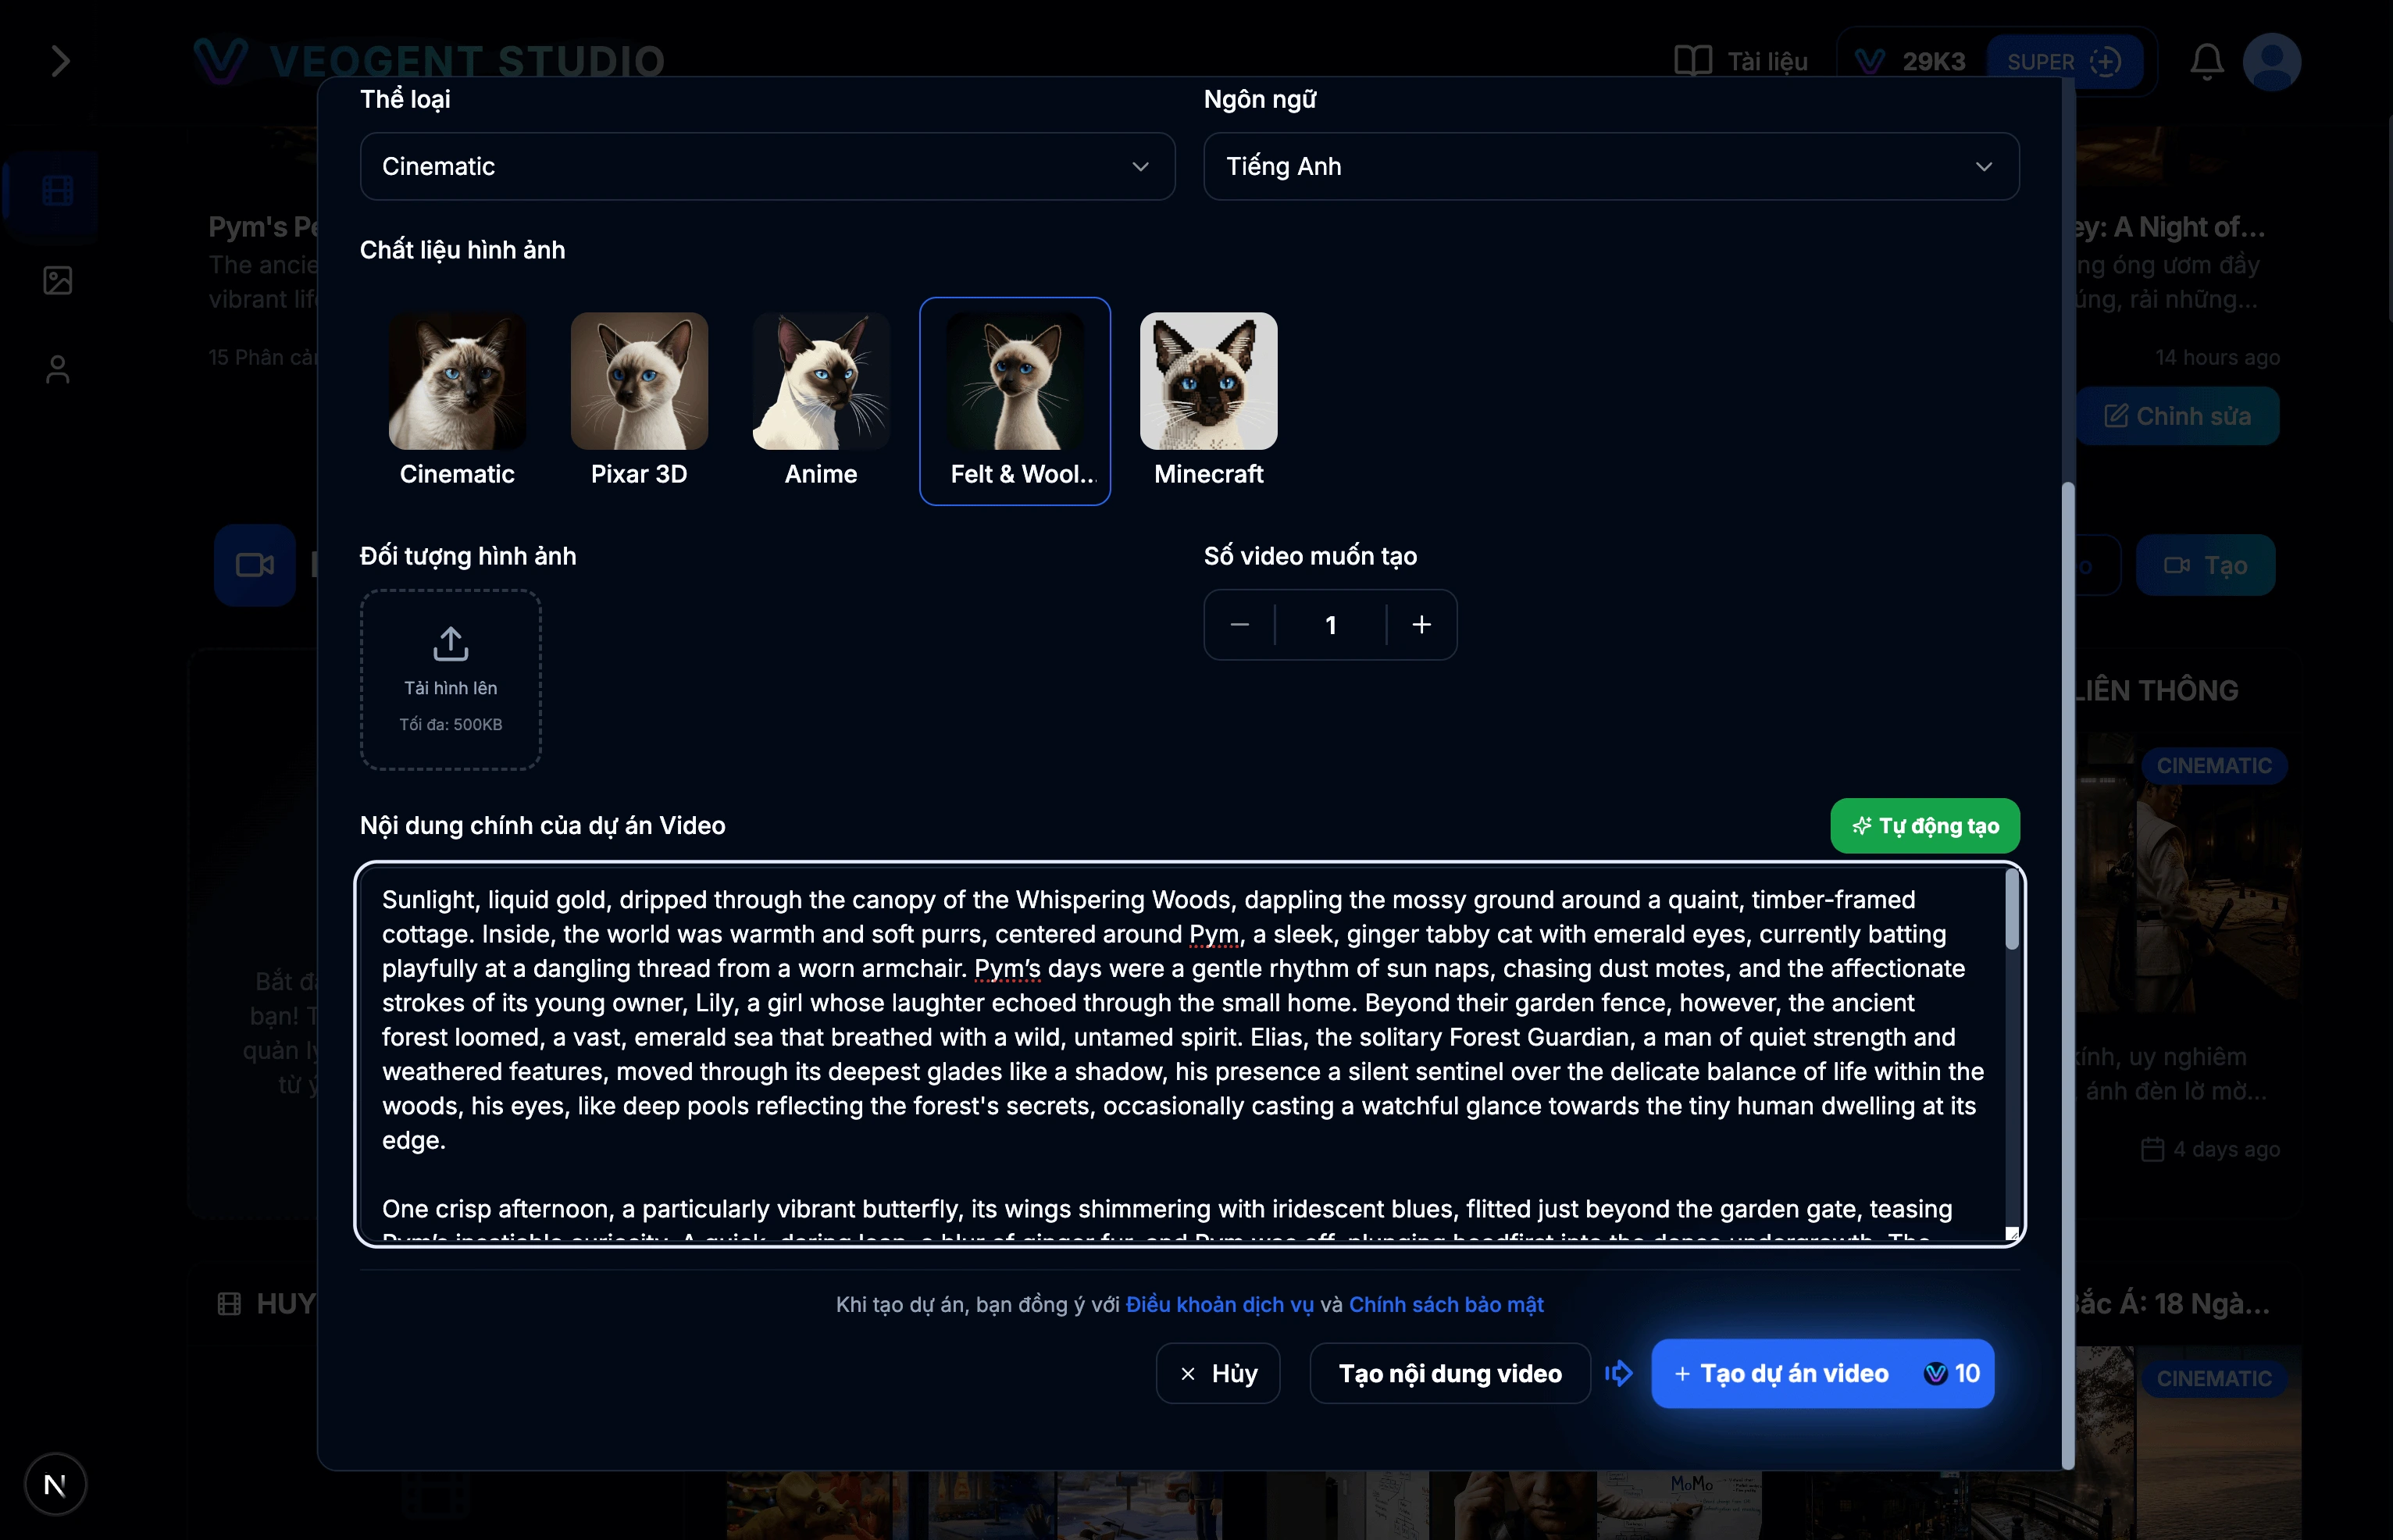
Image: 2.2: Create project description using AI
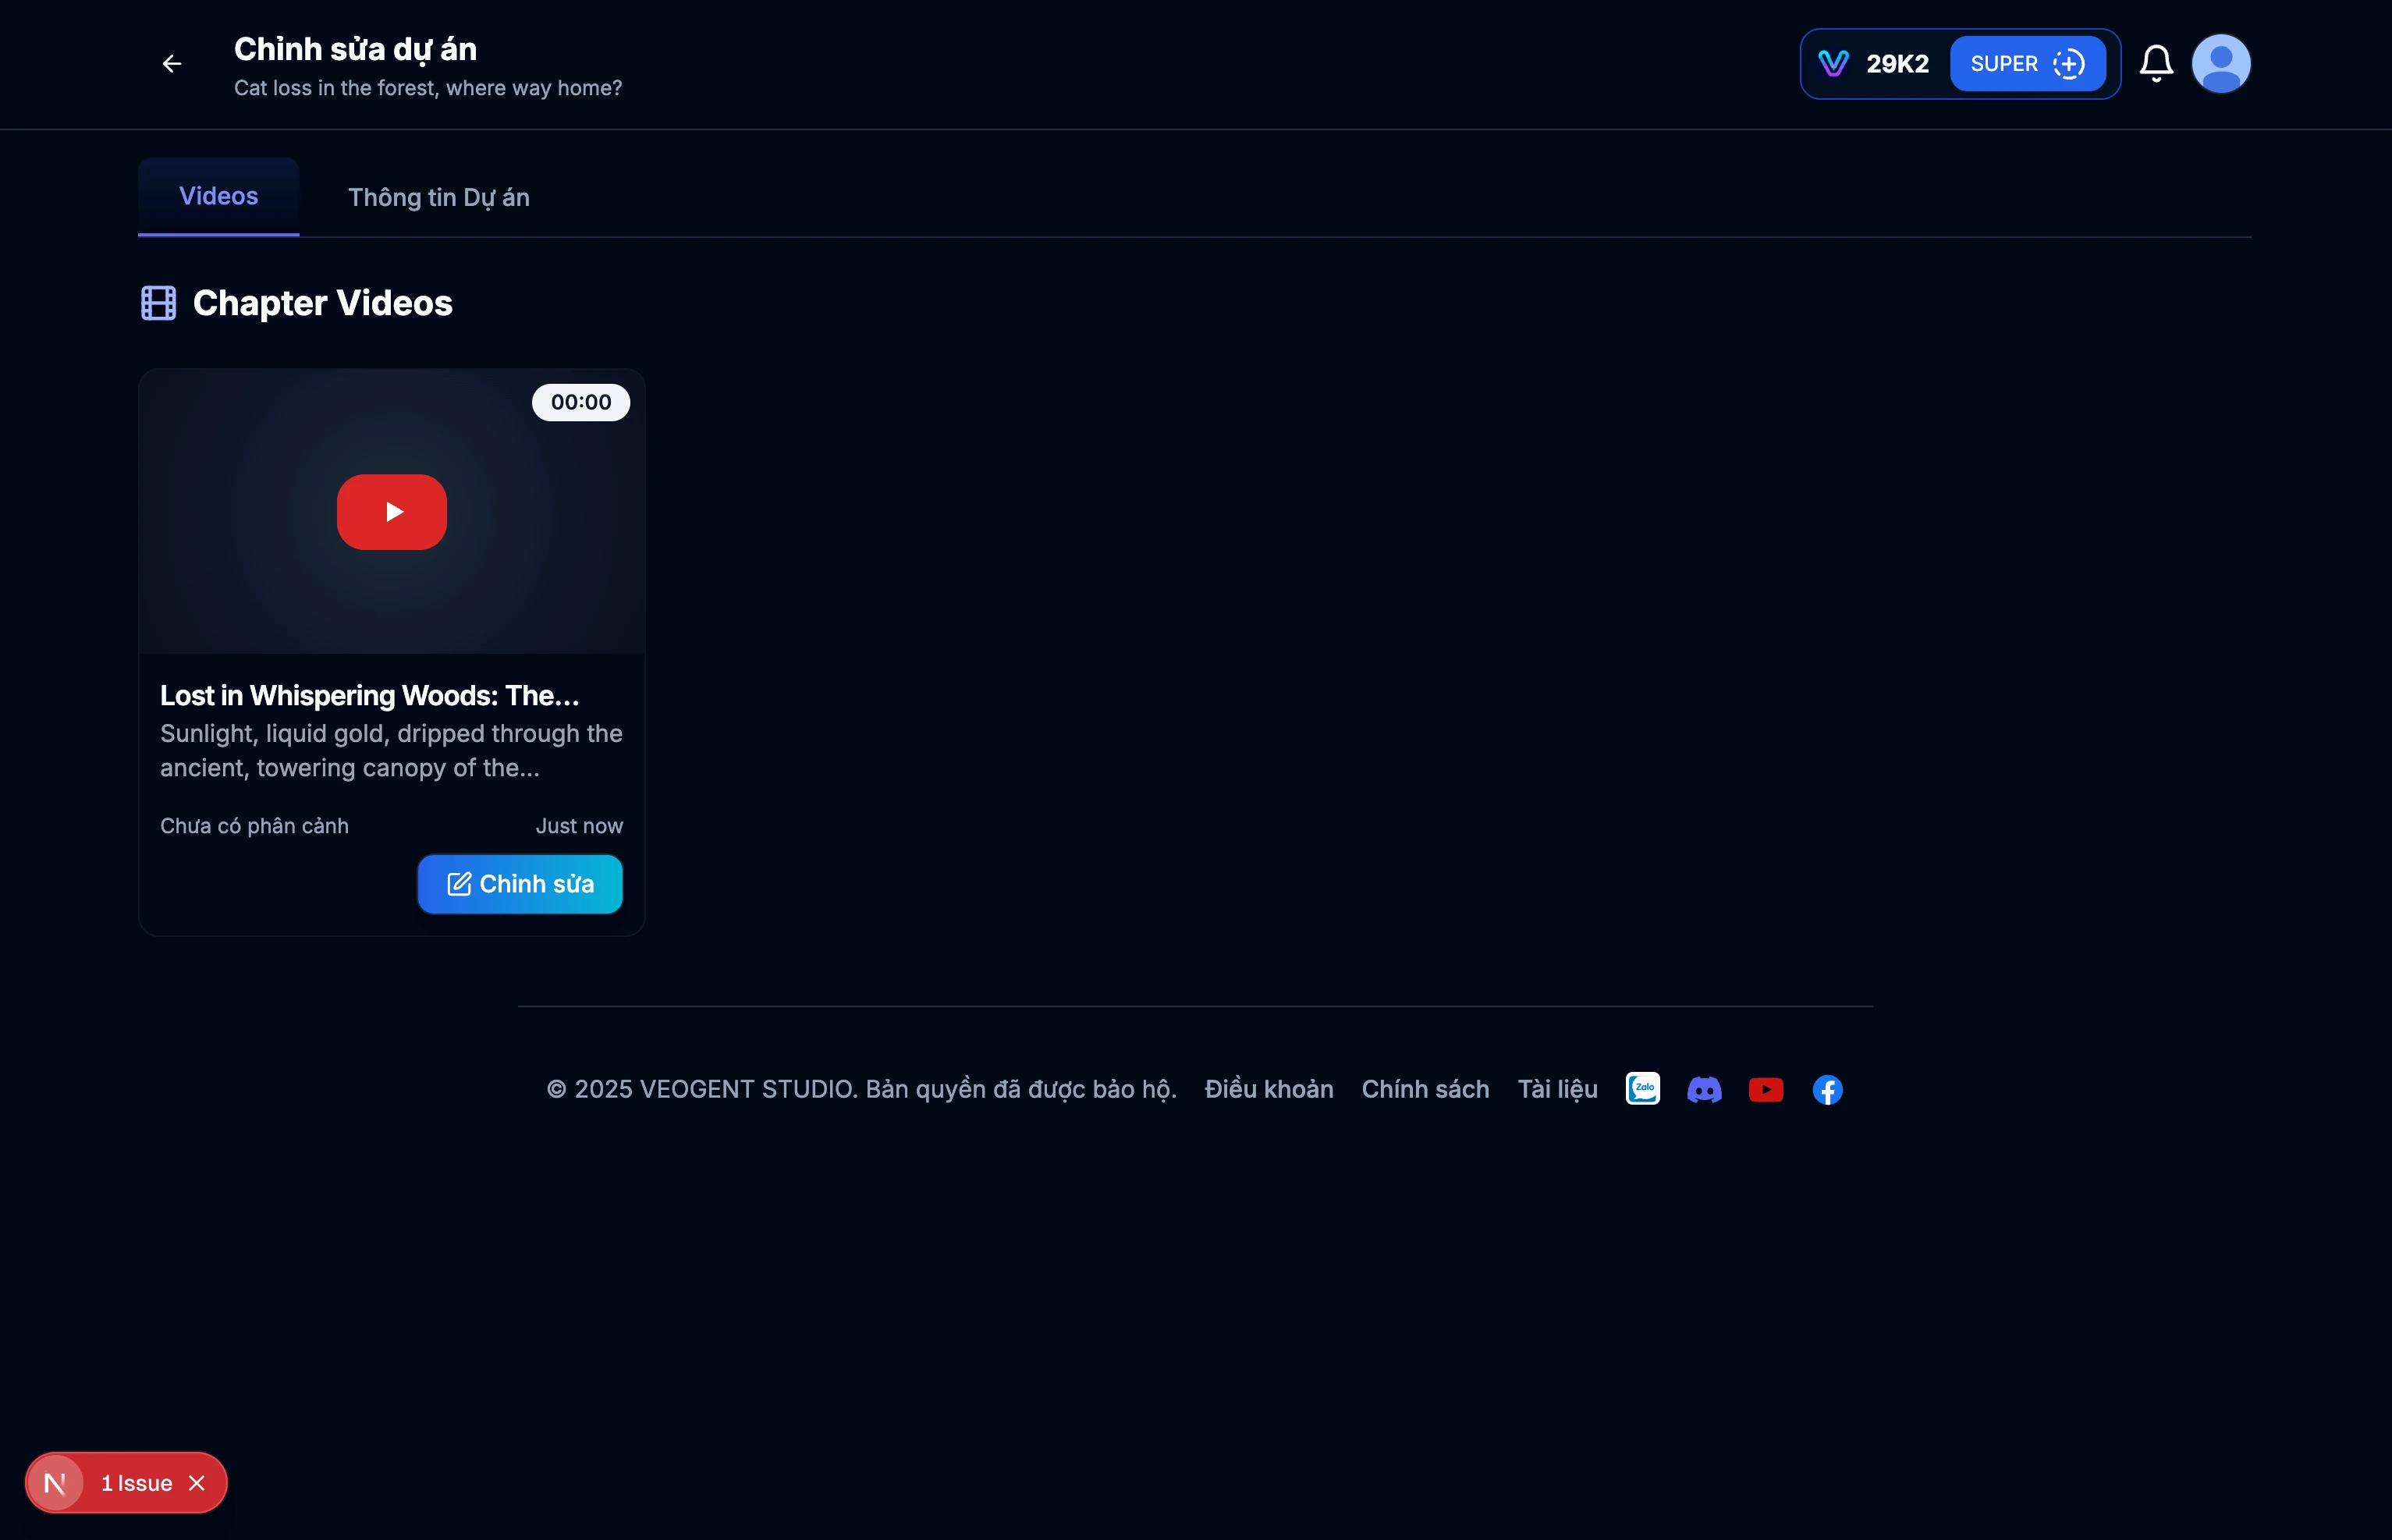
Image: 2.3: Project details page
Tips & Notes:
- Use meaningful project names for easy searching later.
- Describe diverse input content so AI can better understand your project and create relevant content.
- You can manually input project descriptions from external sources.
- Use 'Auto Generate' to quickly create project descriptions.
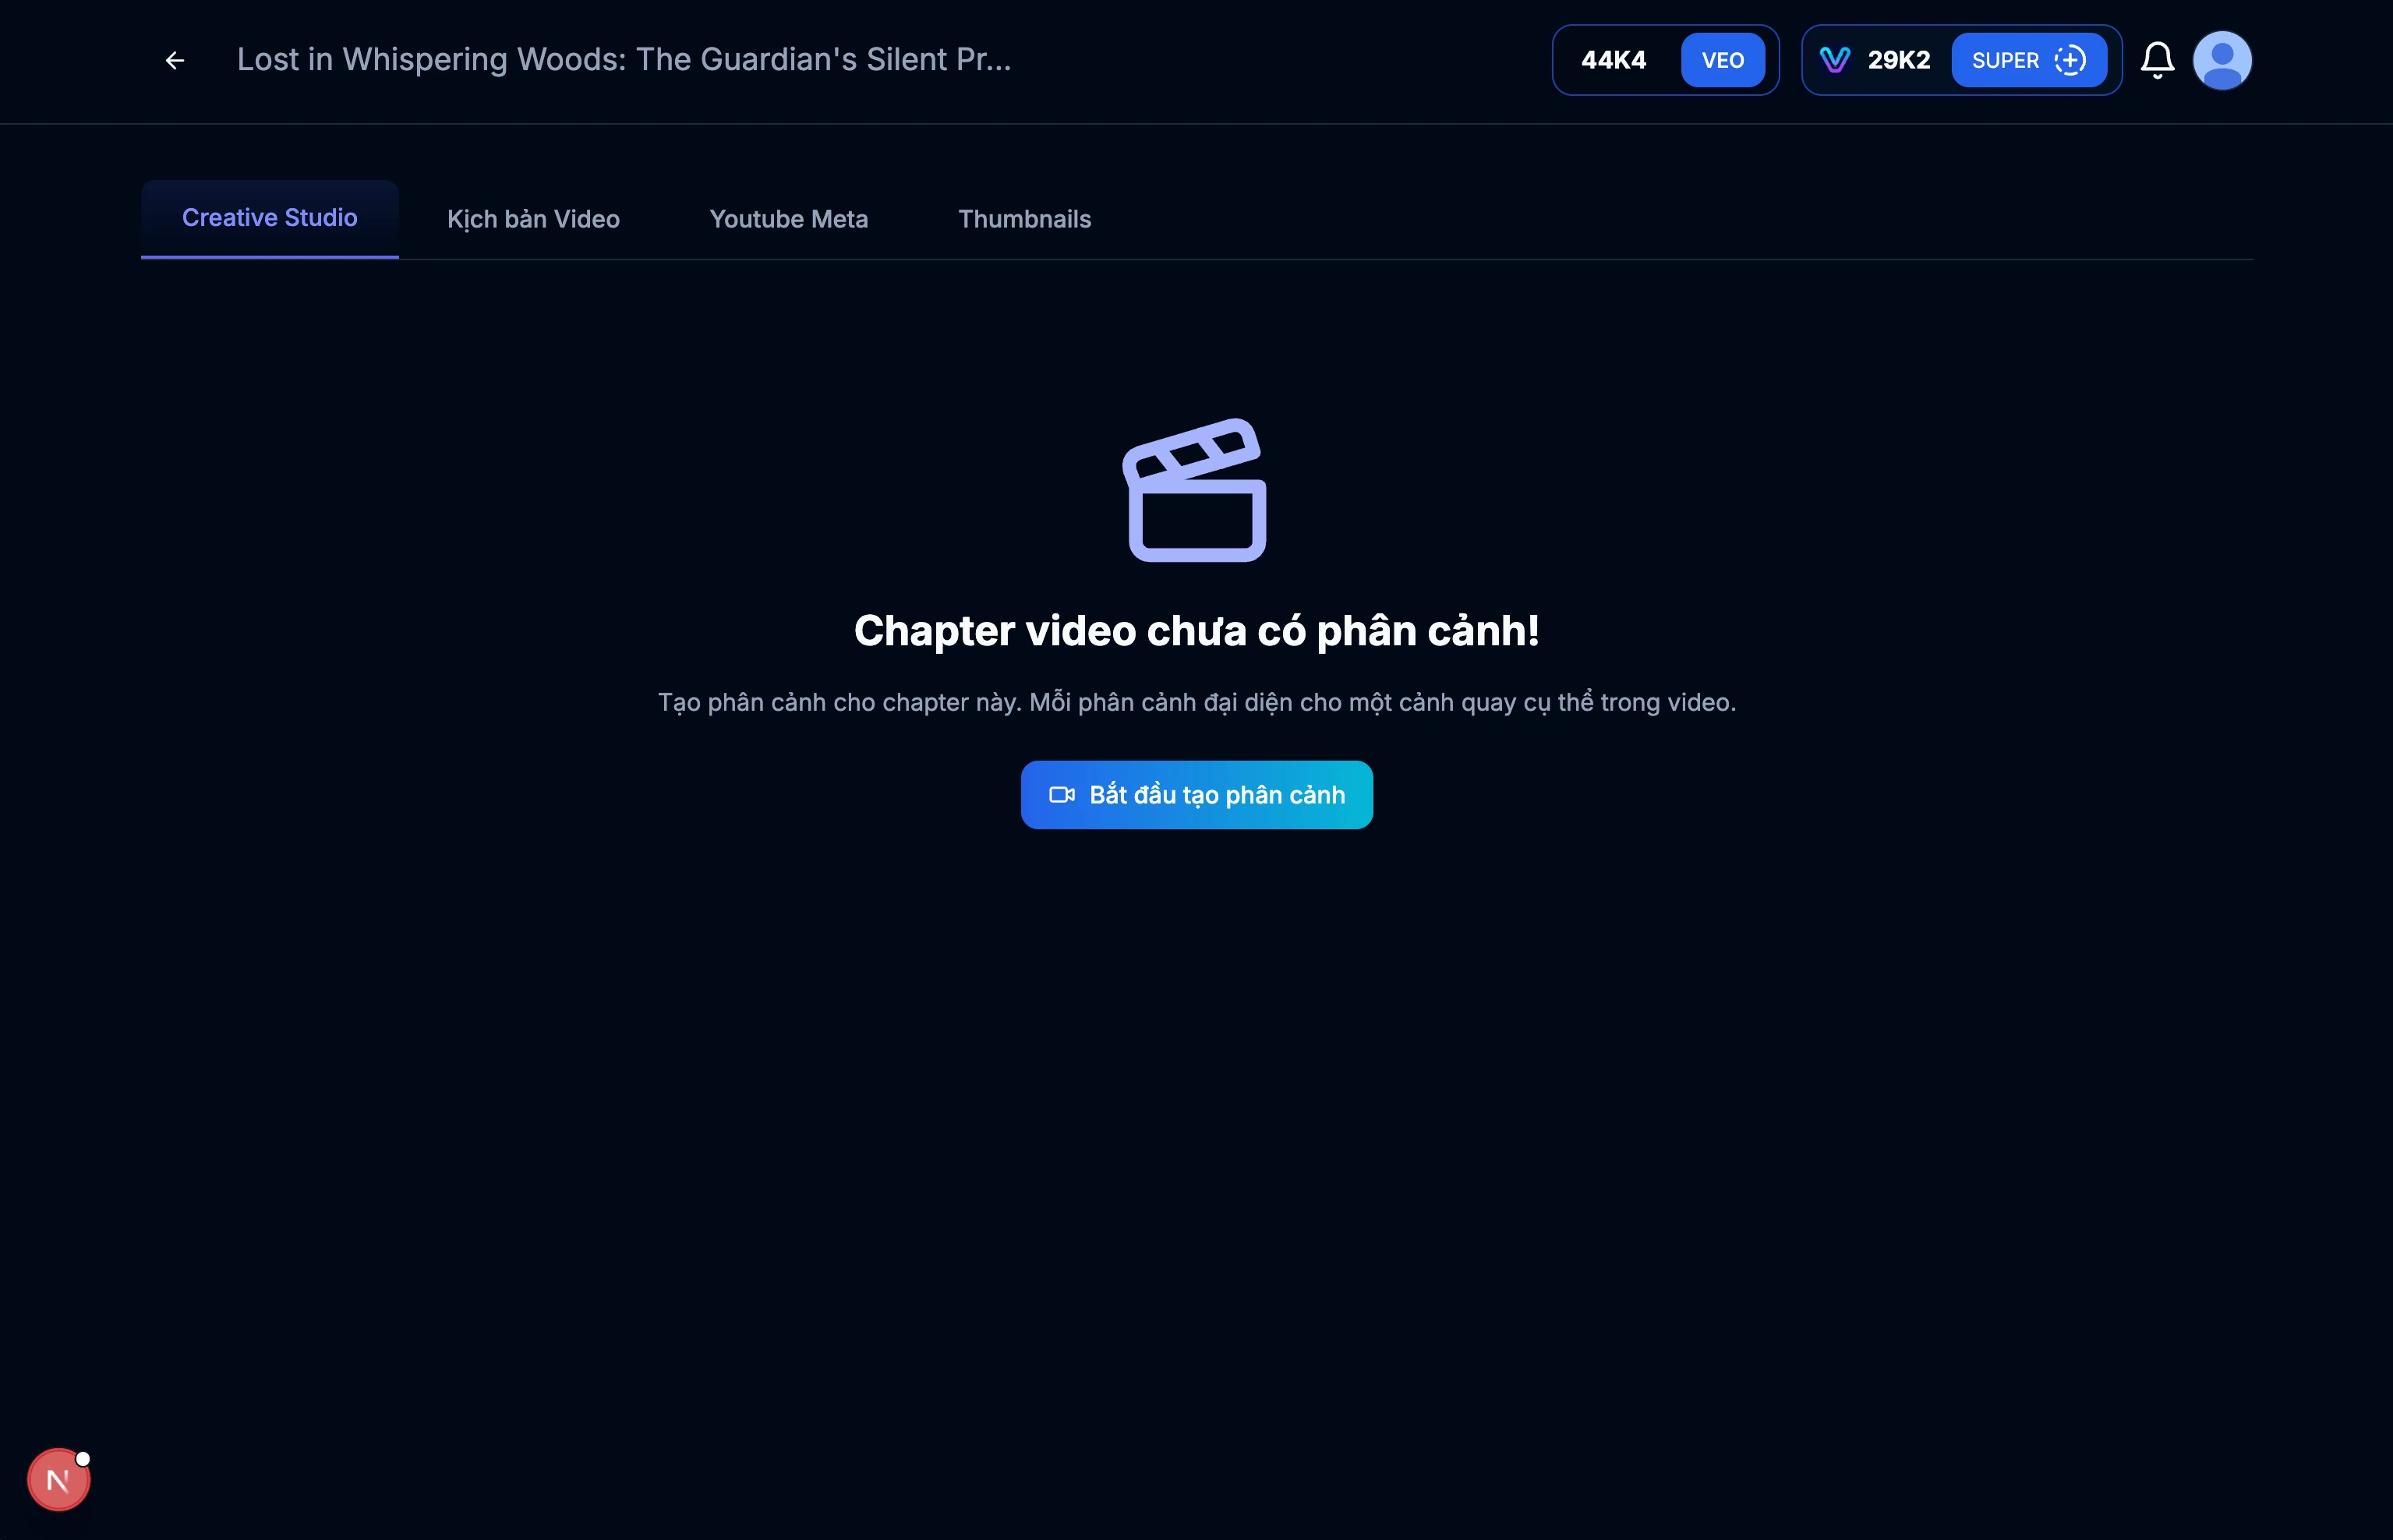
Image: 3.1: Video details page
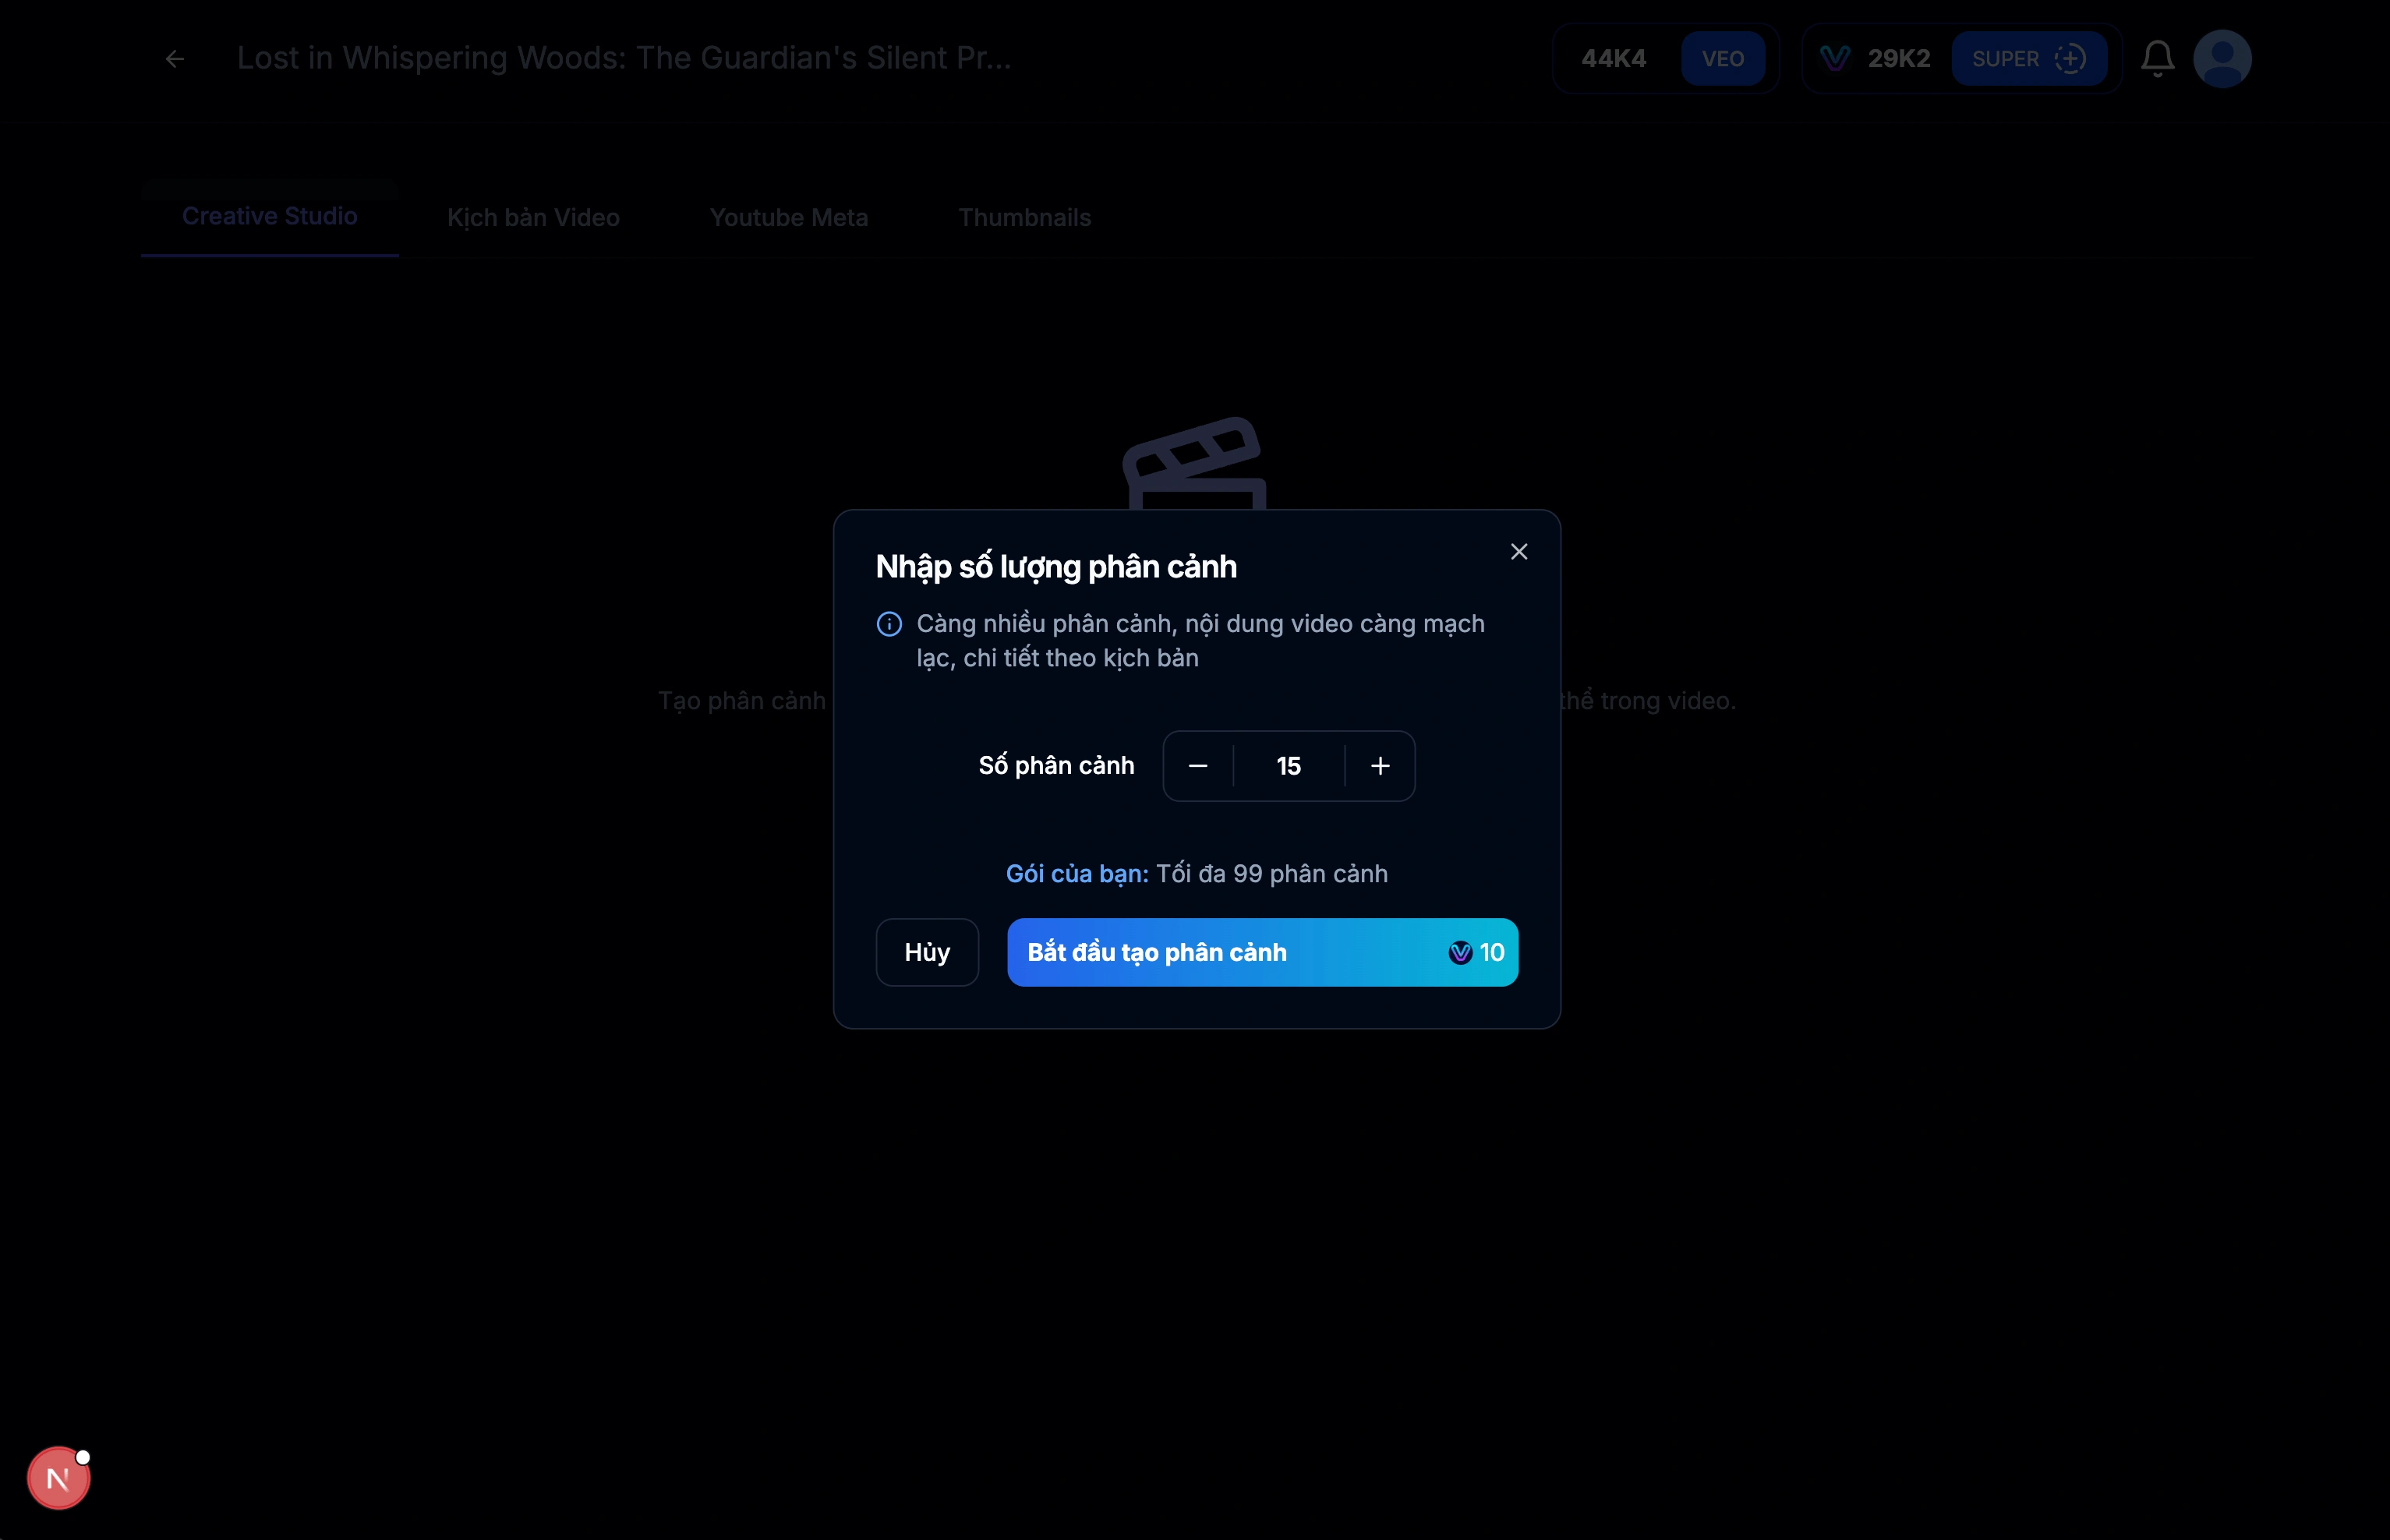
Image: 3.2: Create scripts (scenes) for the video
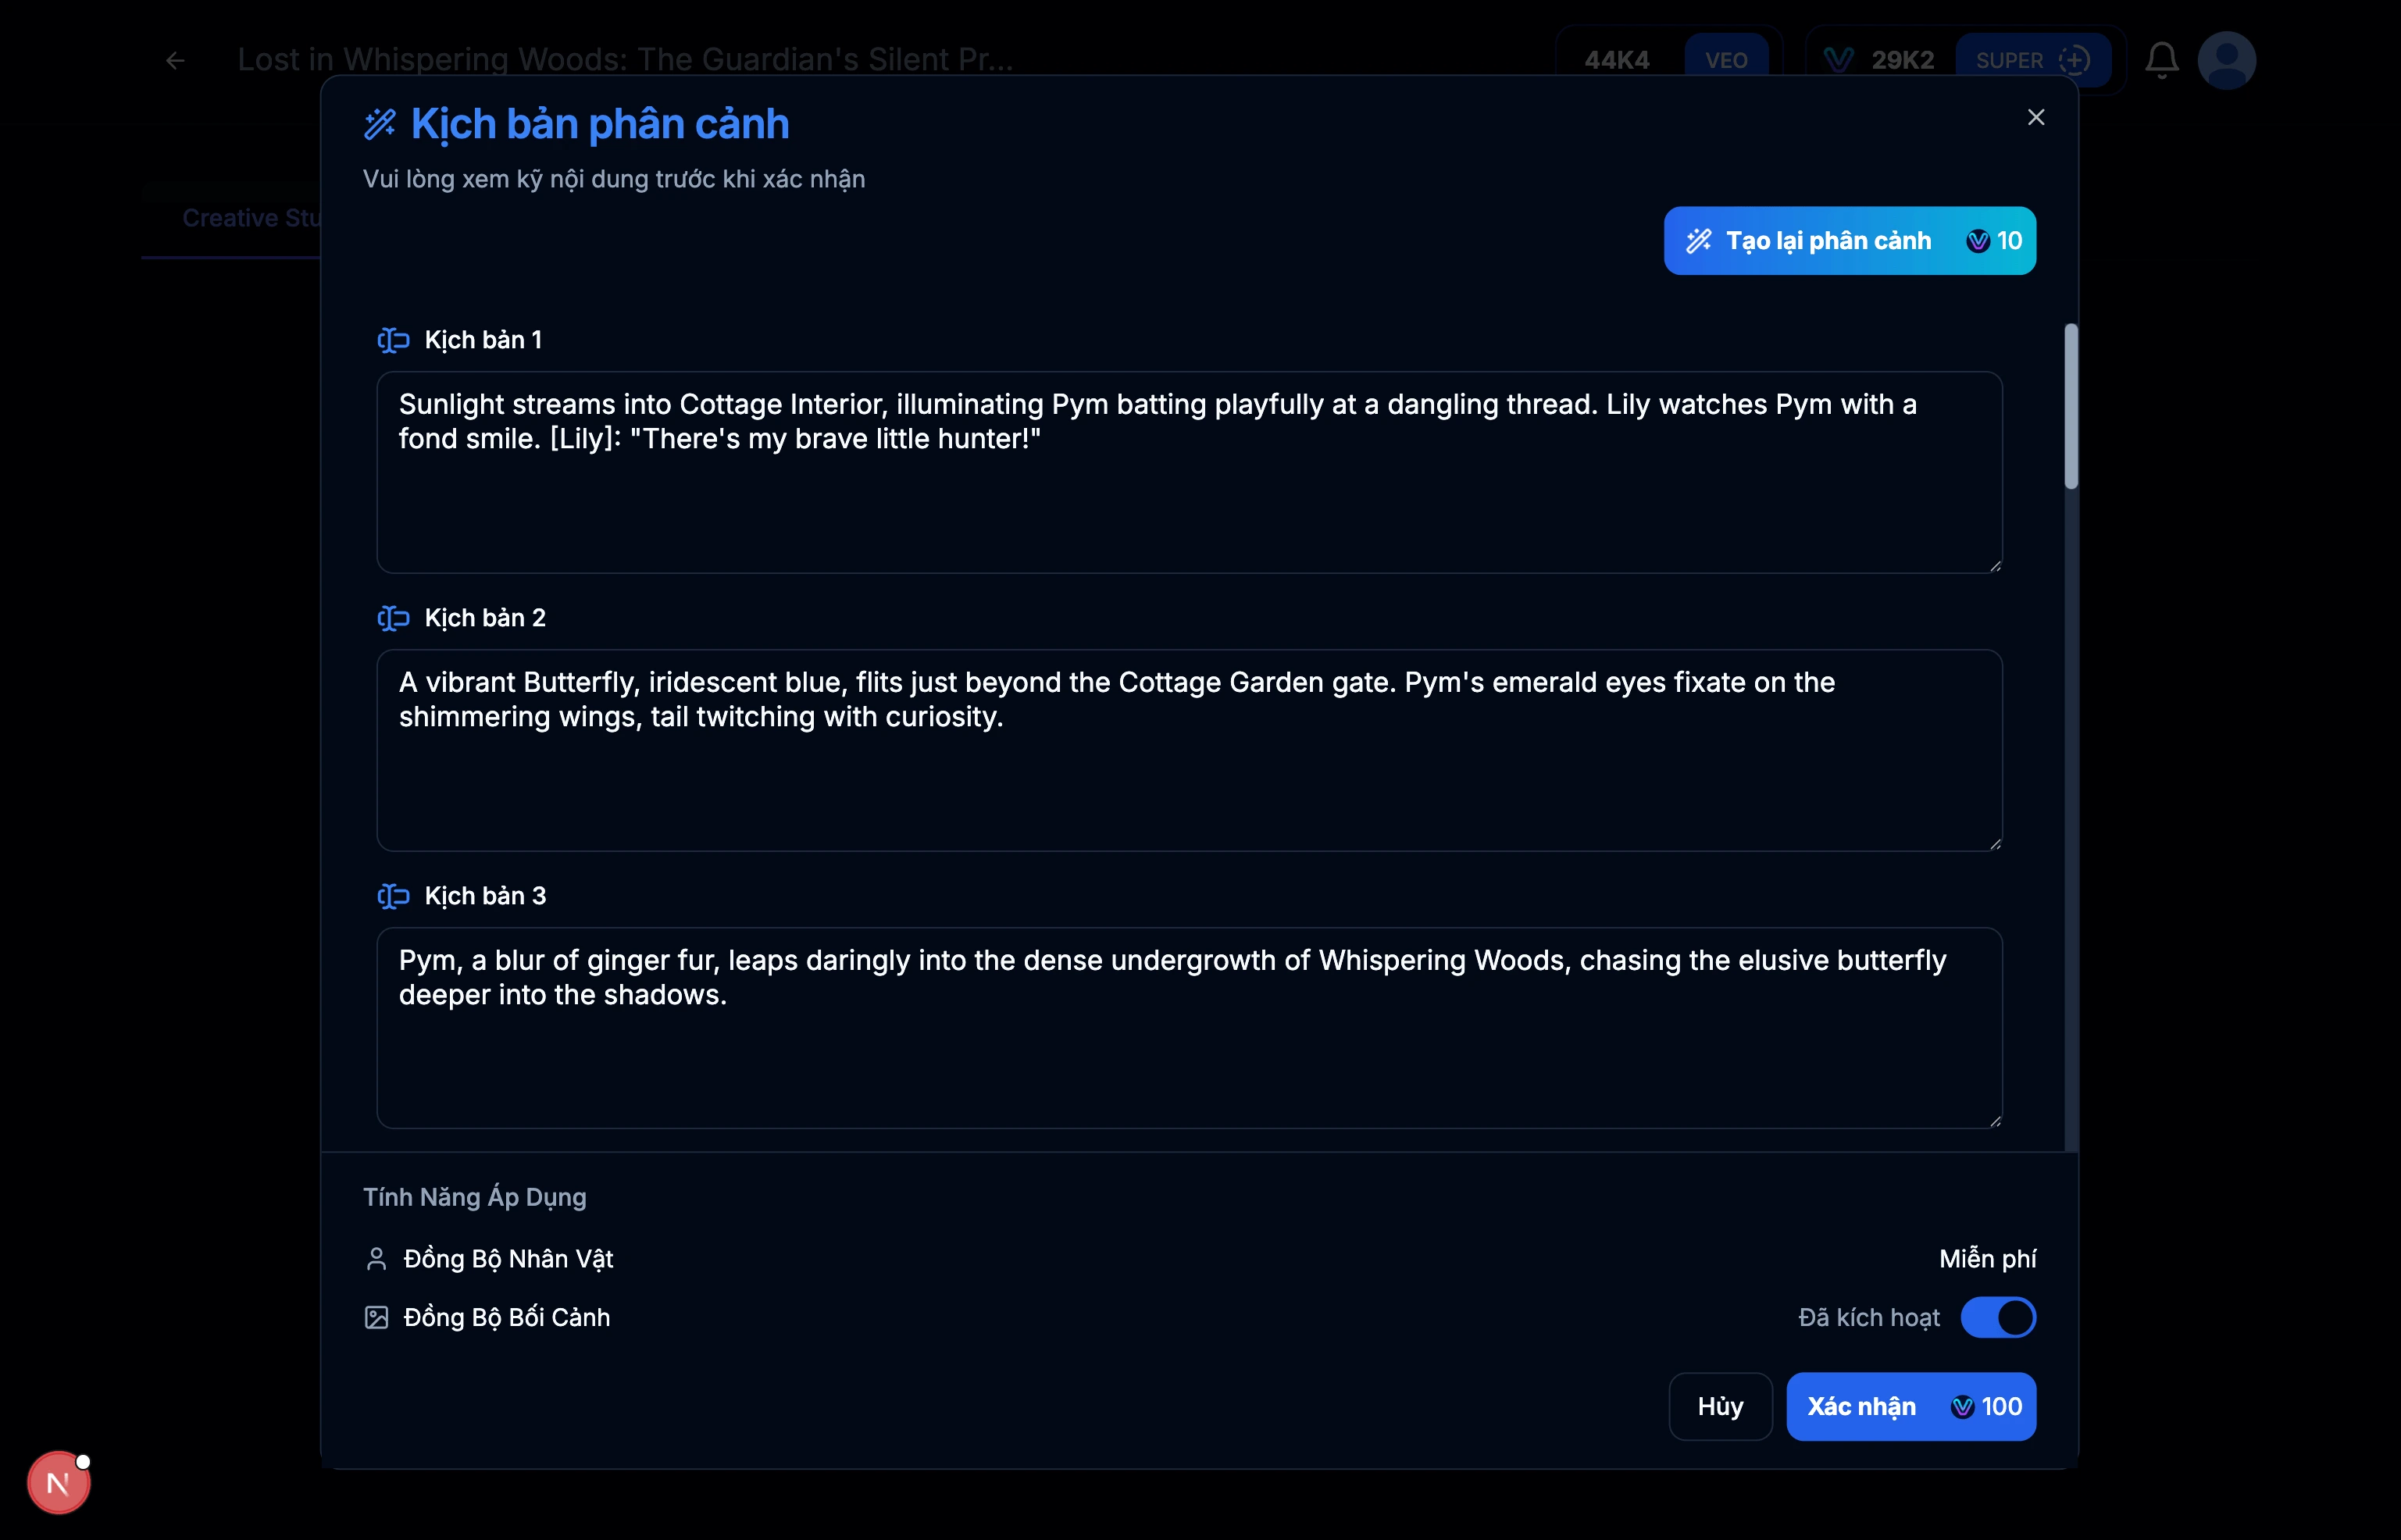
Image: 3.3: Script results for each scene
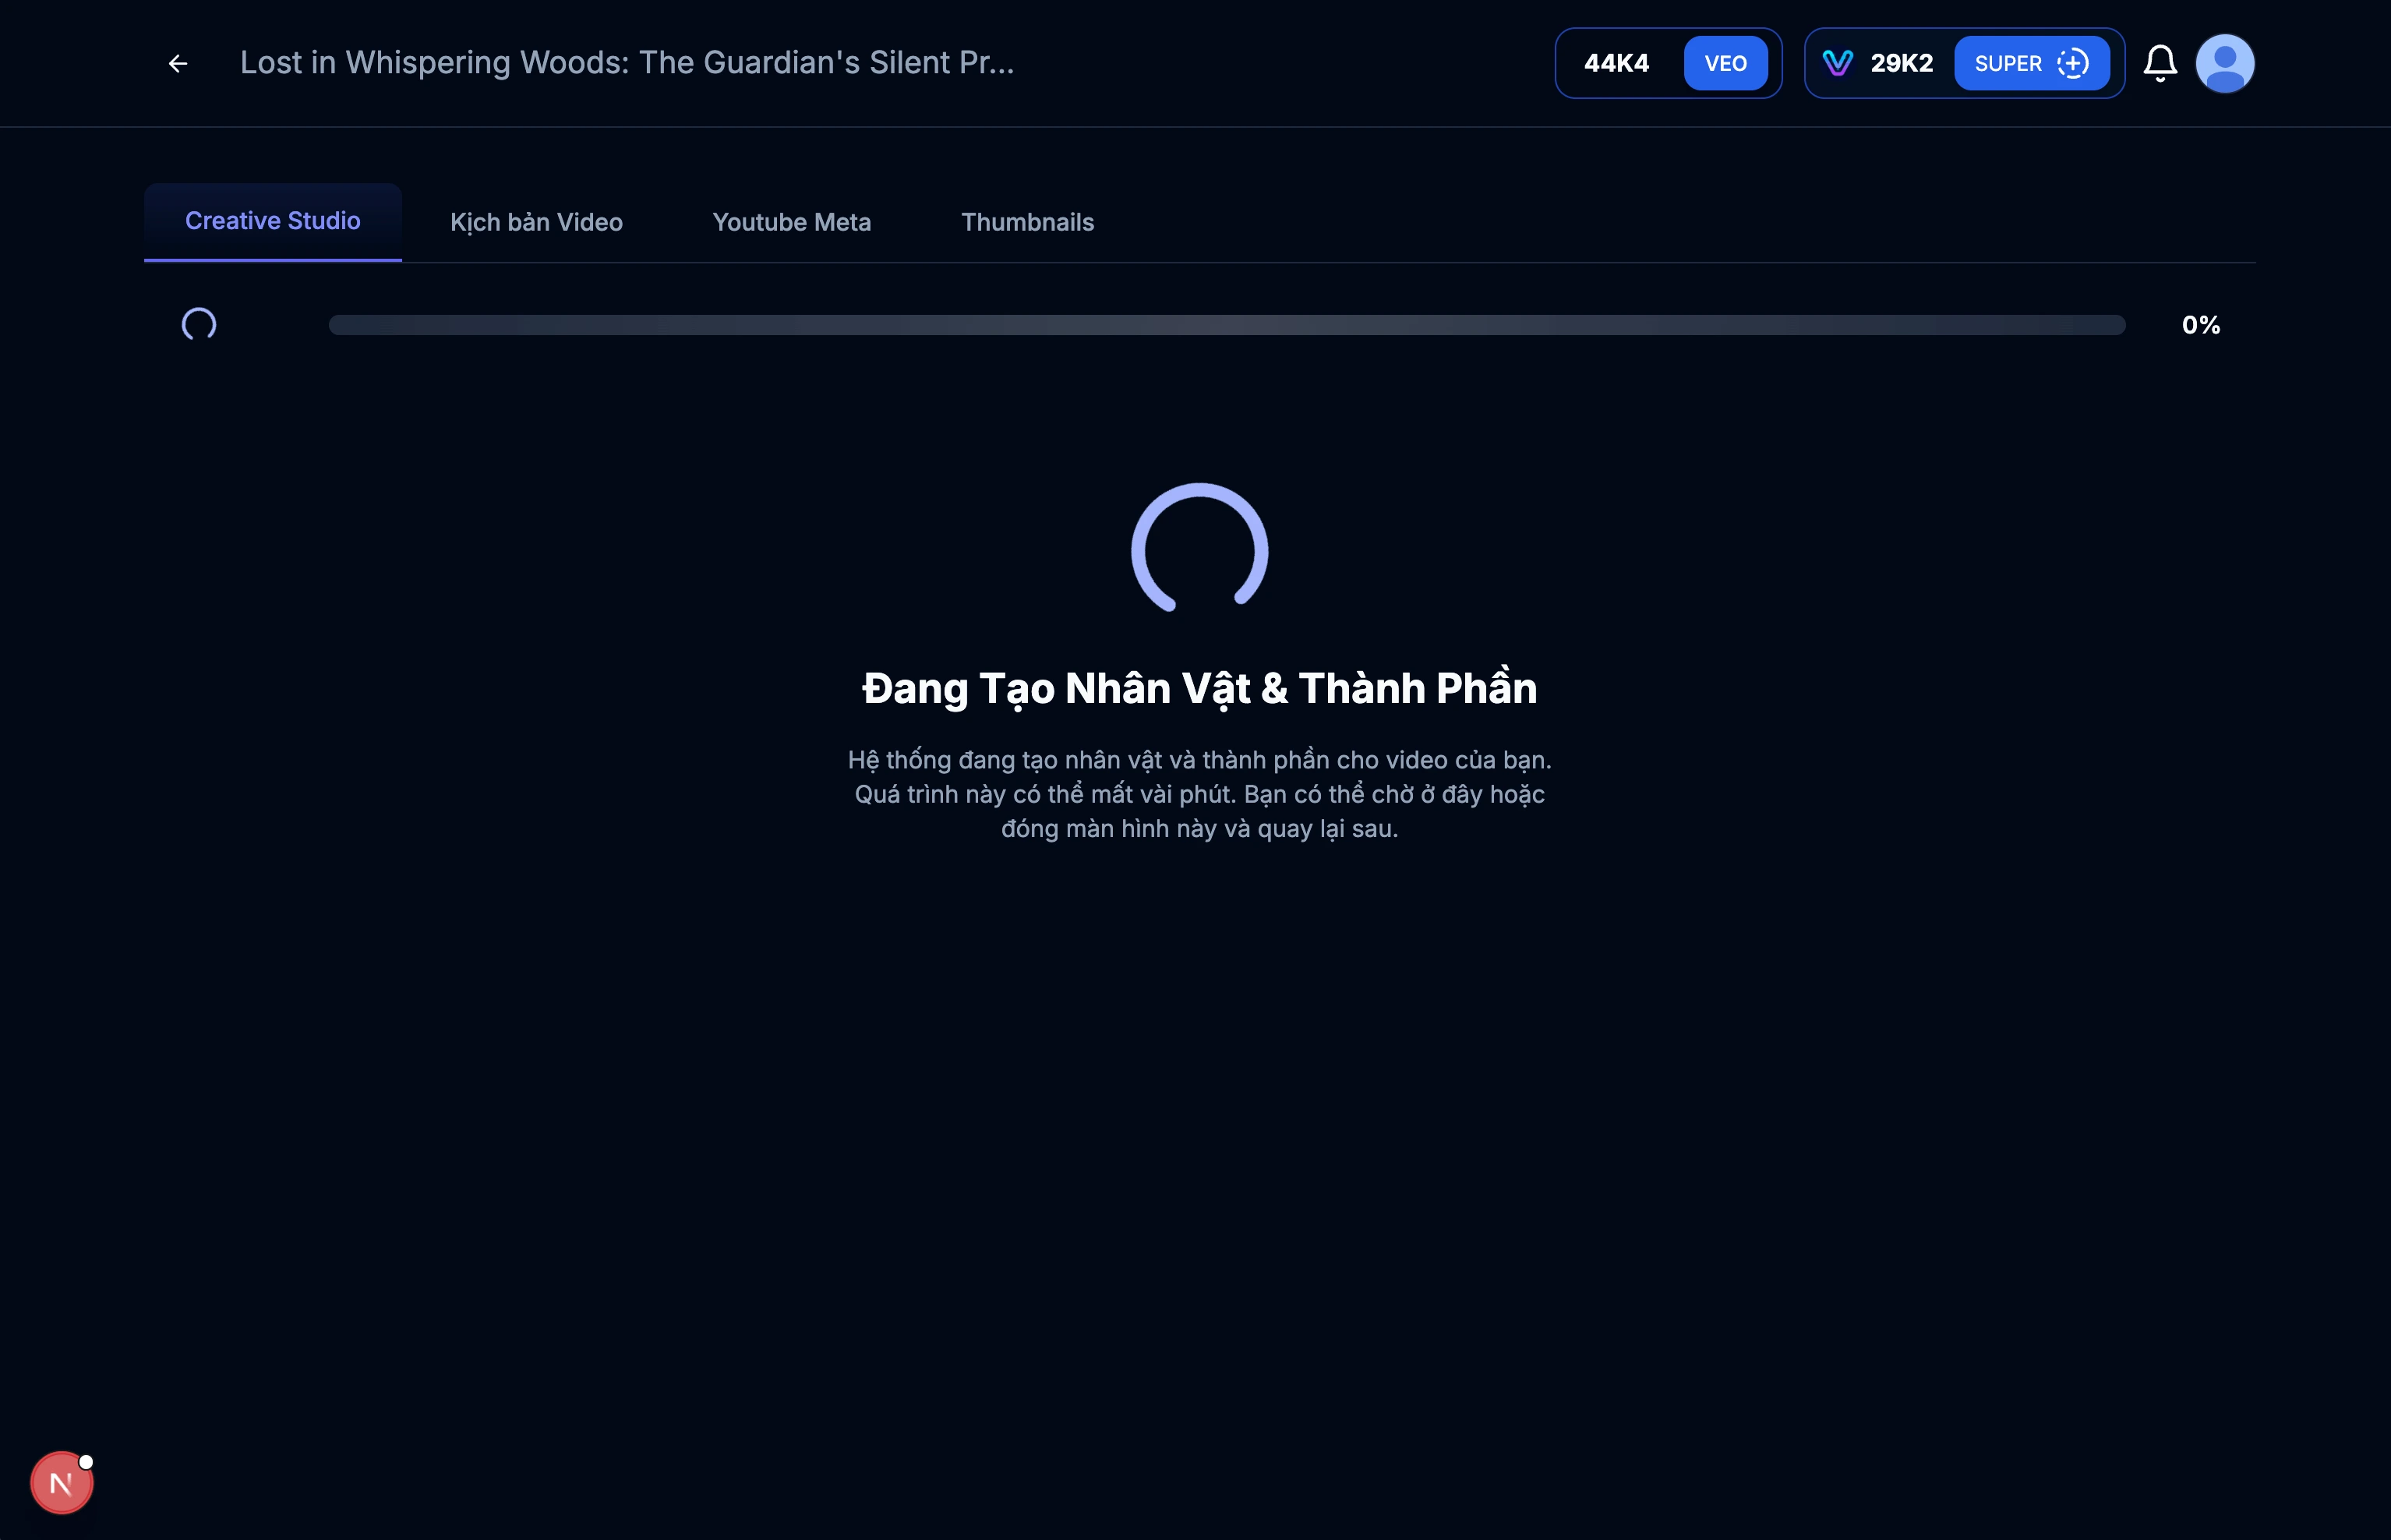
Image: 3.4: Creating characters and context
Tips & Notes:
- Review the video script content and ensure it aligns with your objectives.
- Edit the content as desired if needed.
- The length of the video depends on the number of scenes.
- More scenes mean more detailed video scripts.
- Consider the duration and rhythm of the video when creating scenes.
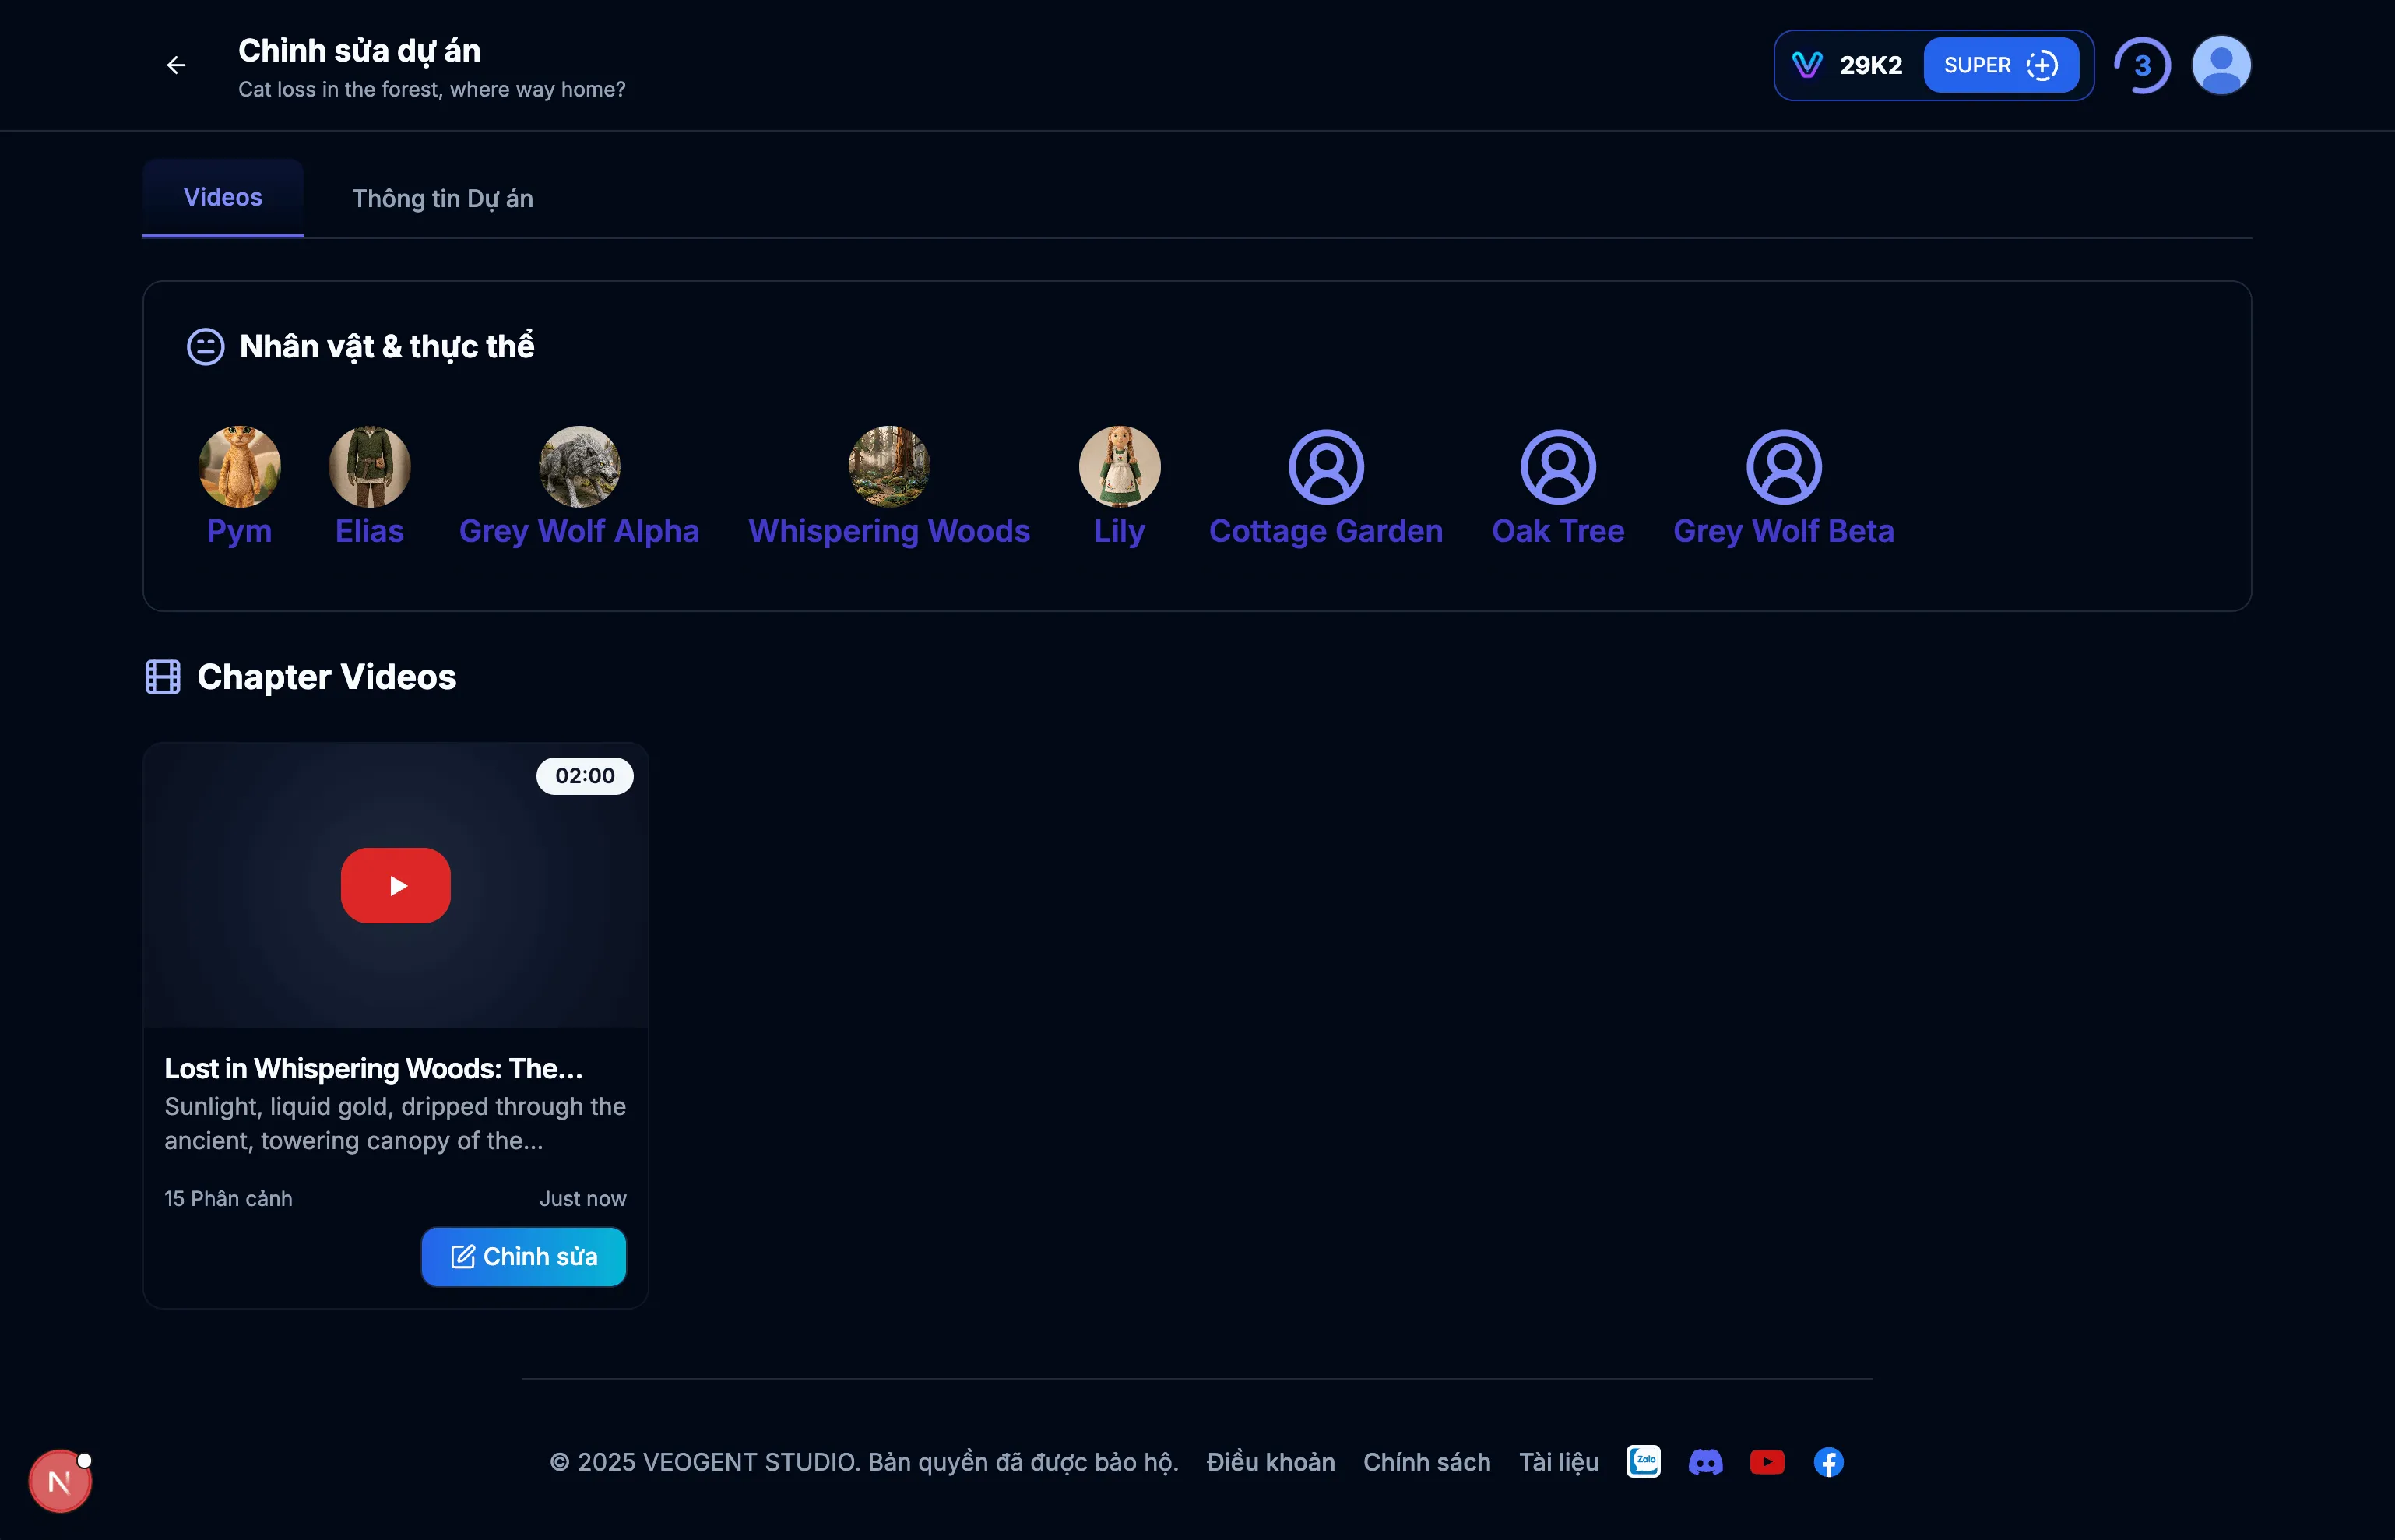
Image: 4.1: Character management interface
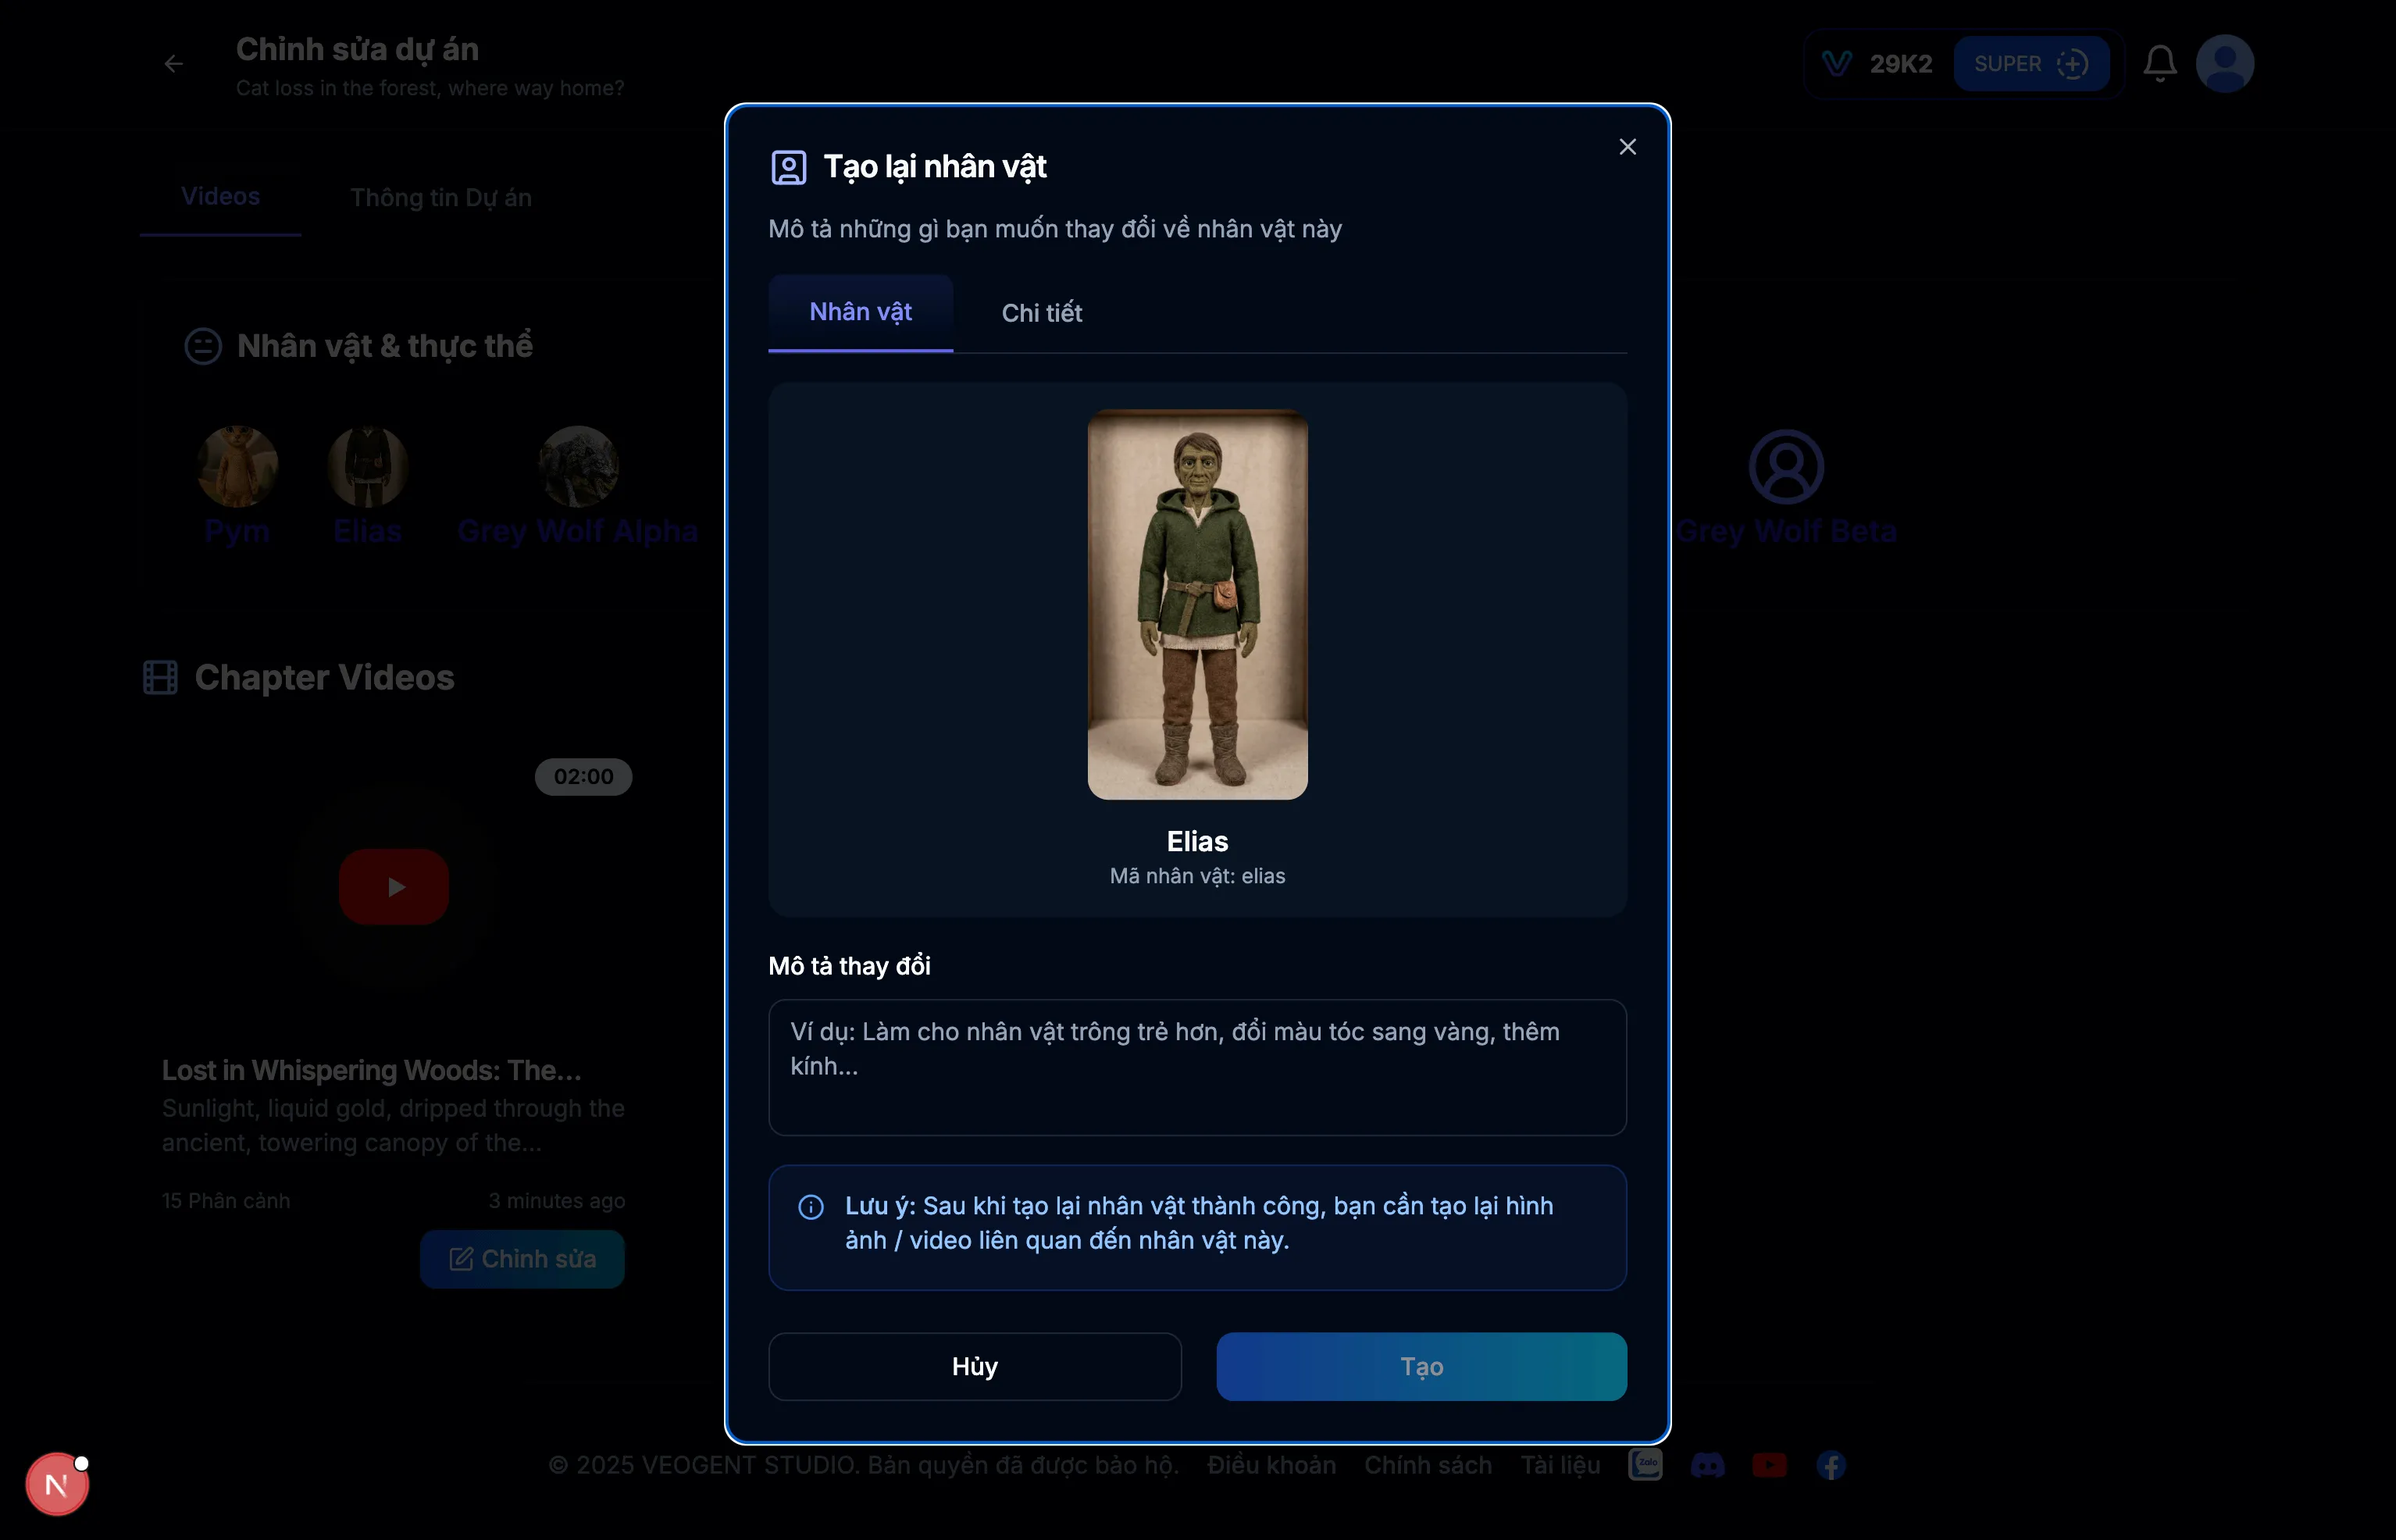
Image: 4.2: Character details
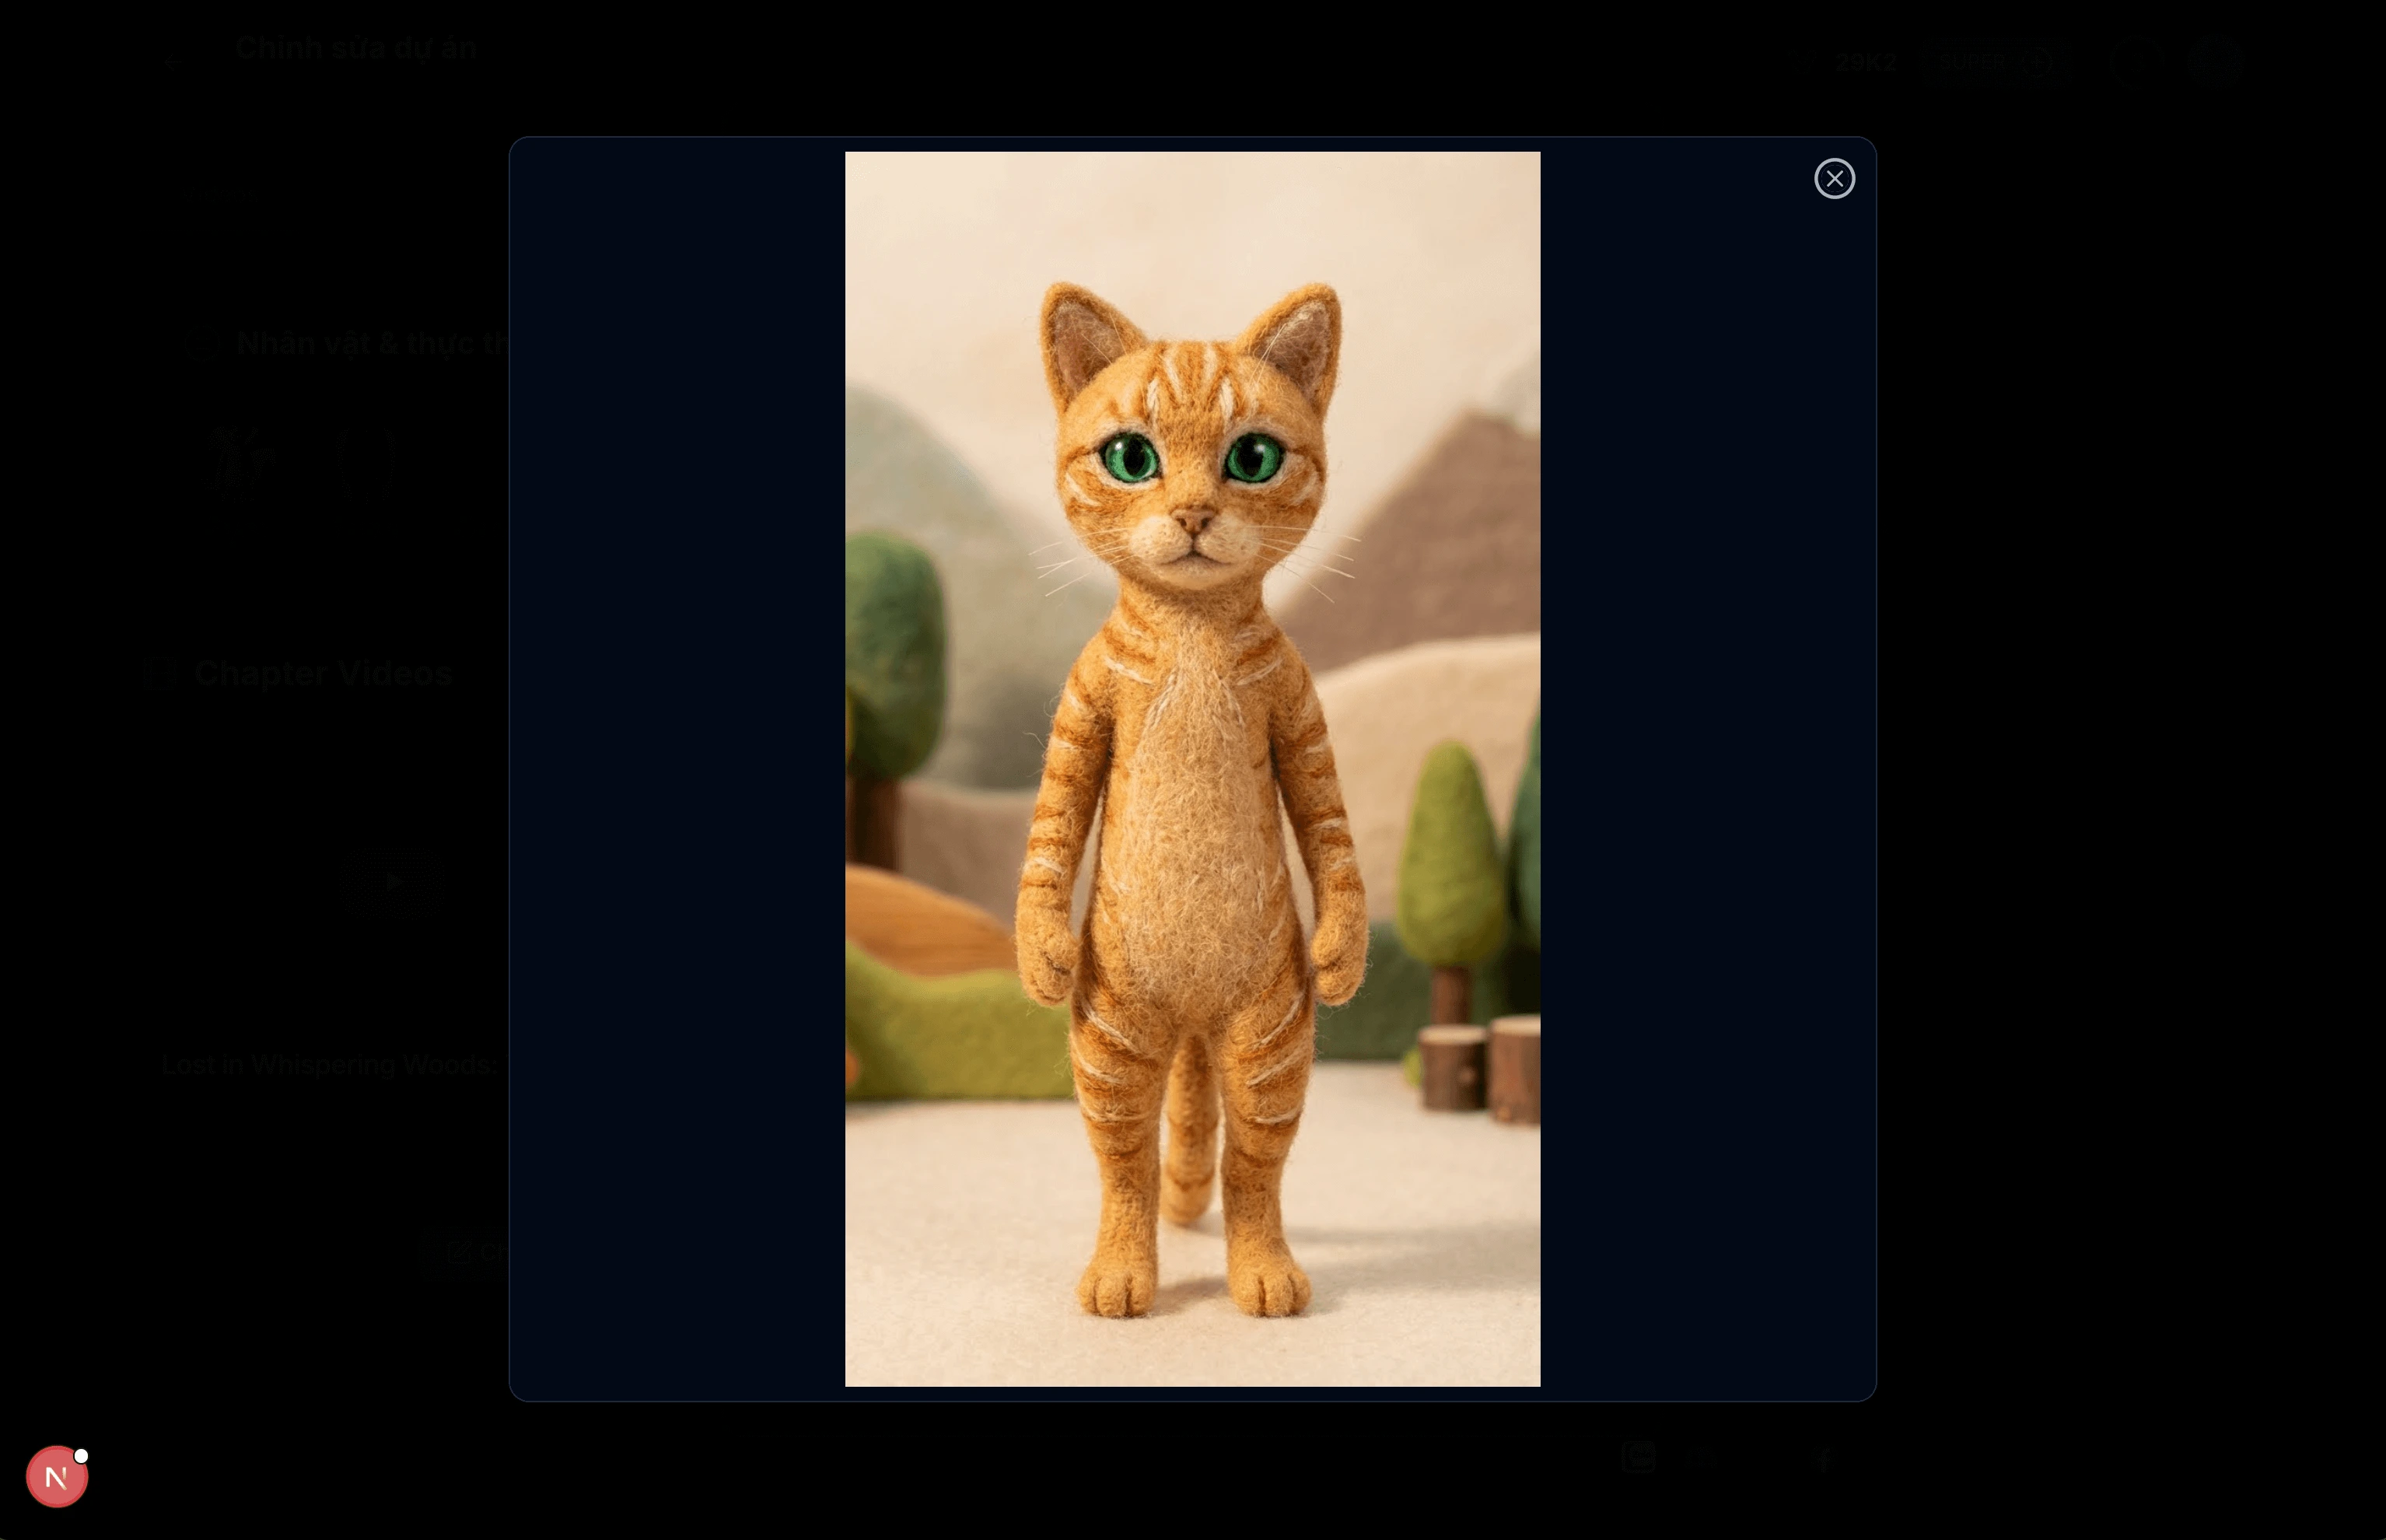
Image: 4.3: Character detailed image
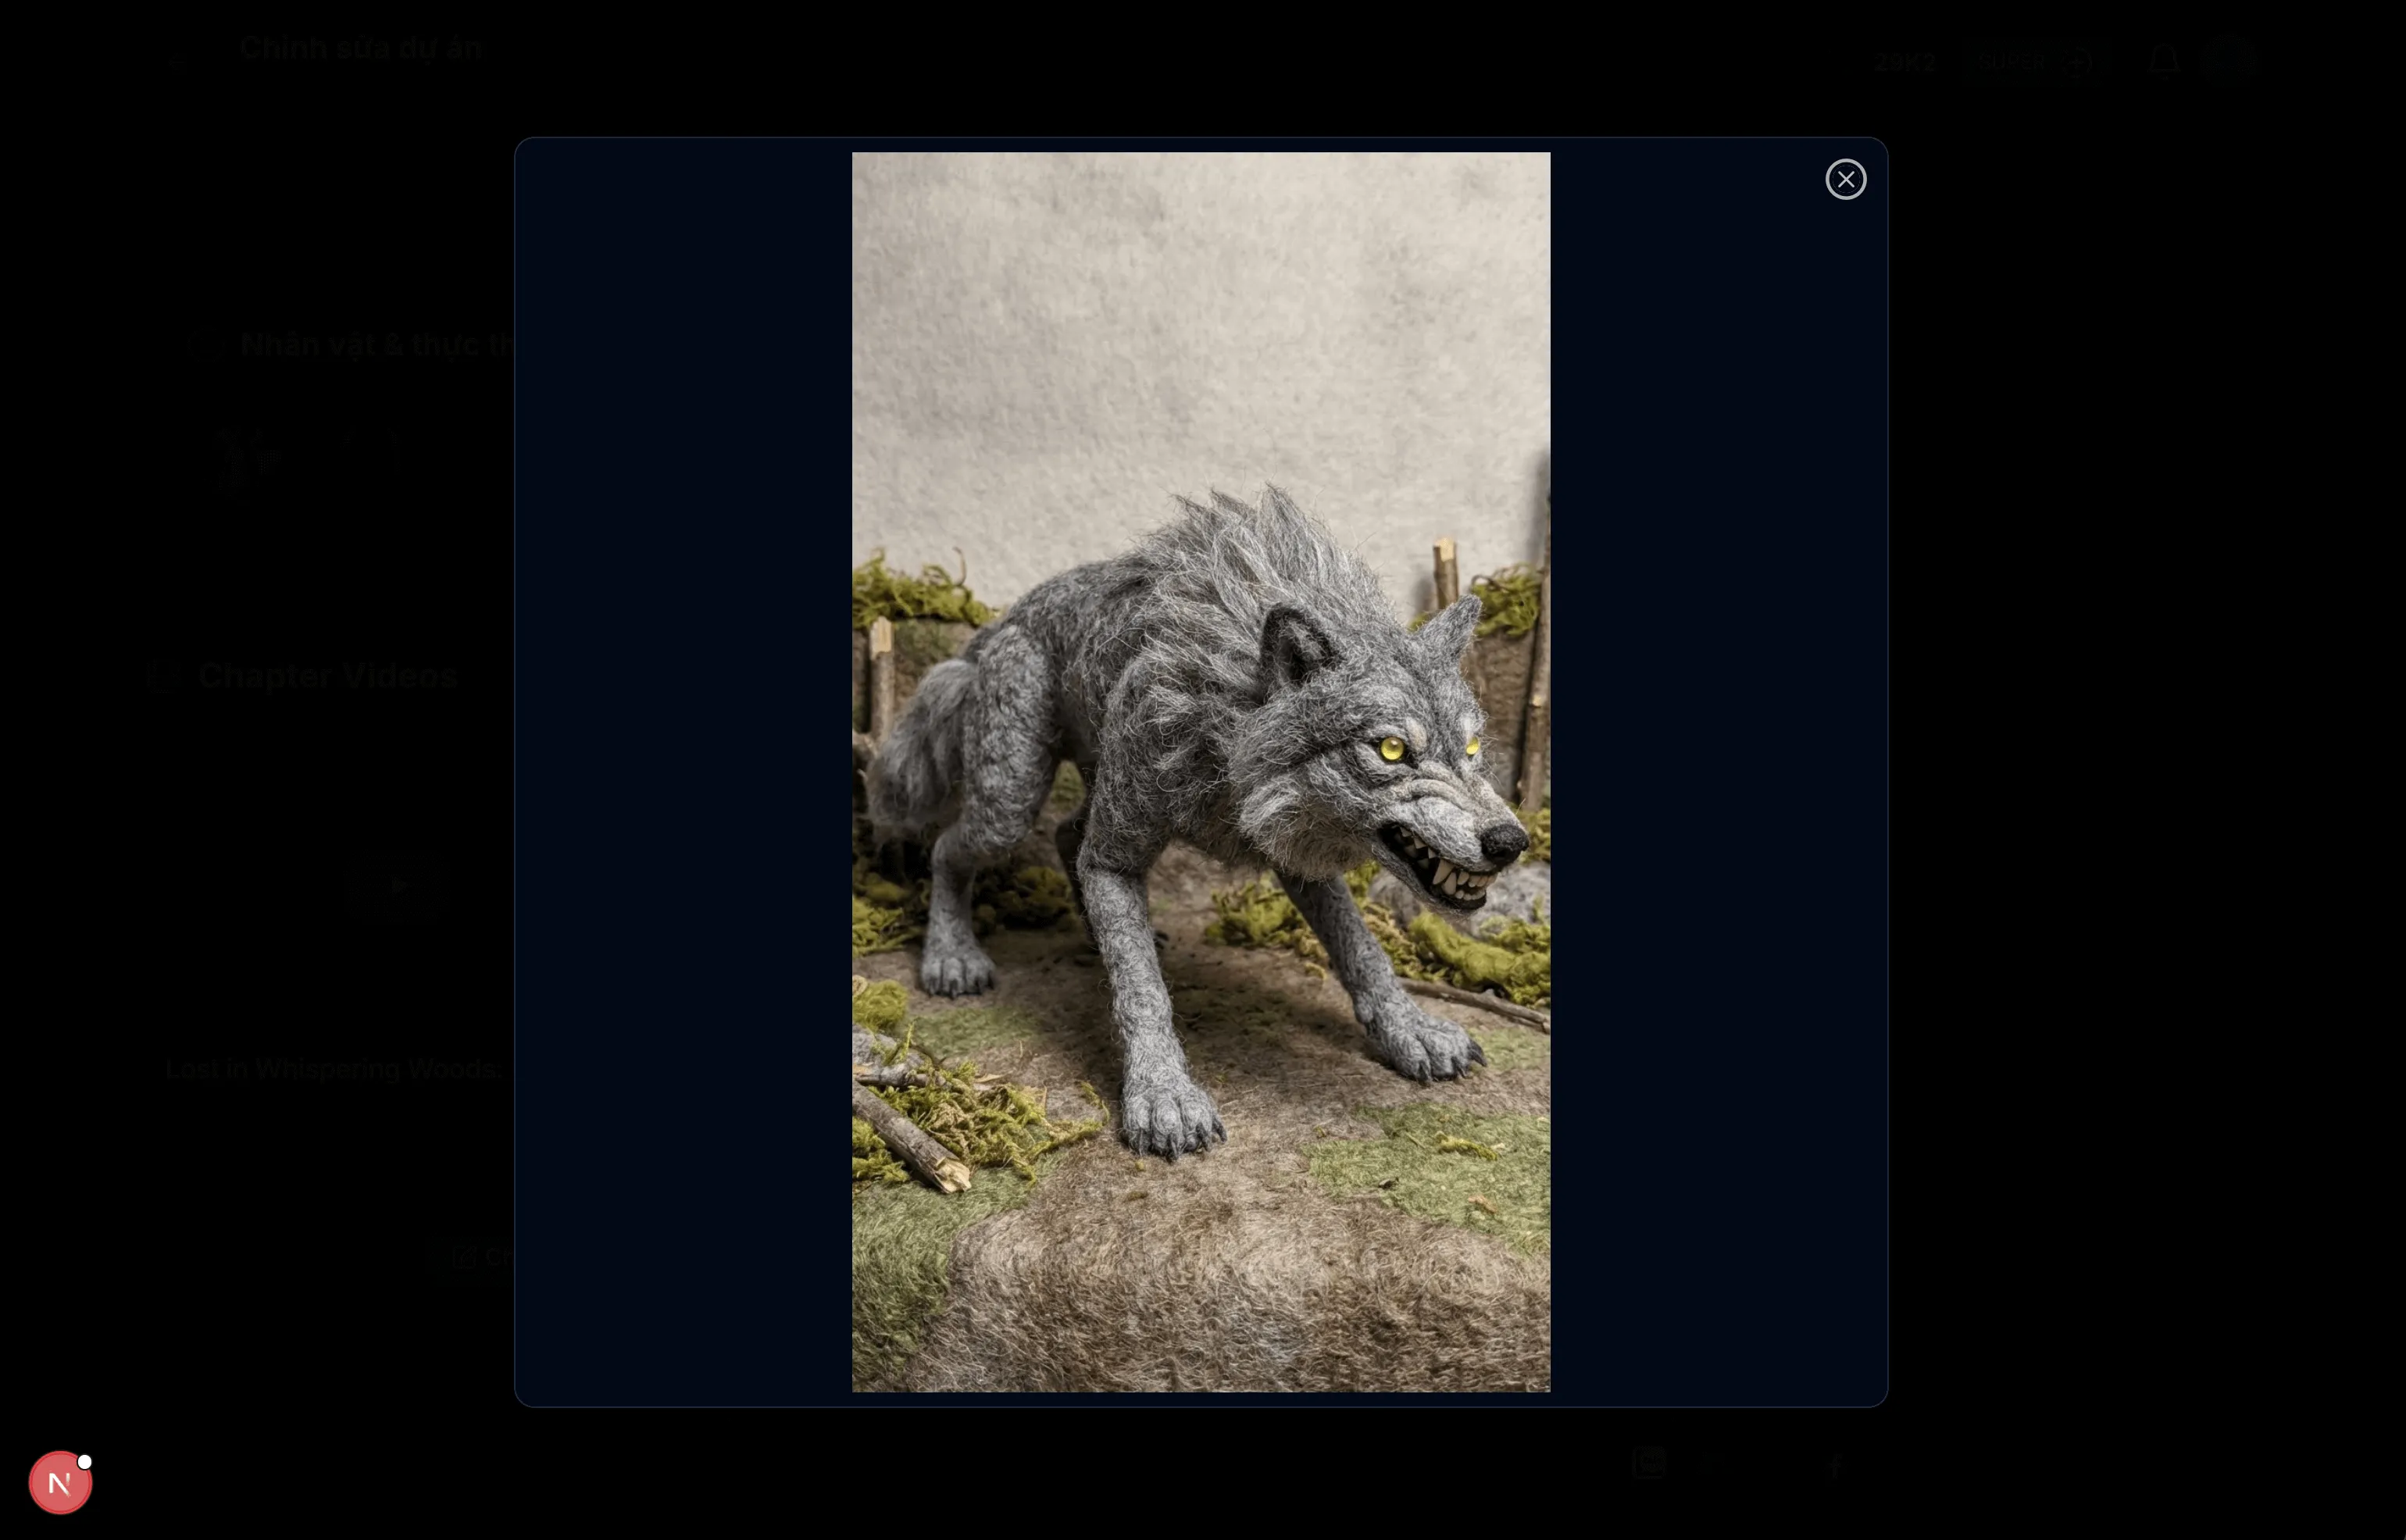
Image: 4.4: Character detailed image
Tips & Notes:
- Use this interface to view and manage character details.
- You can regenerate character images if needed.
- Ensure character descriptions are accurate for better AI generation.
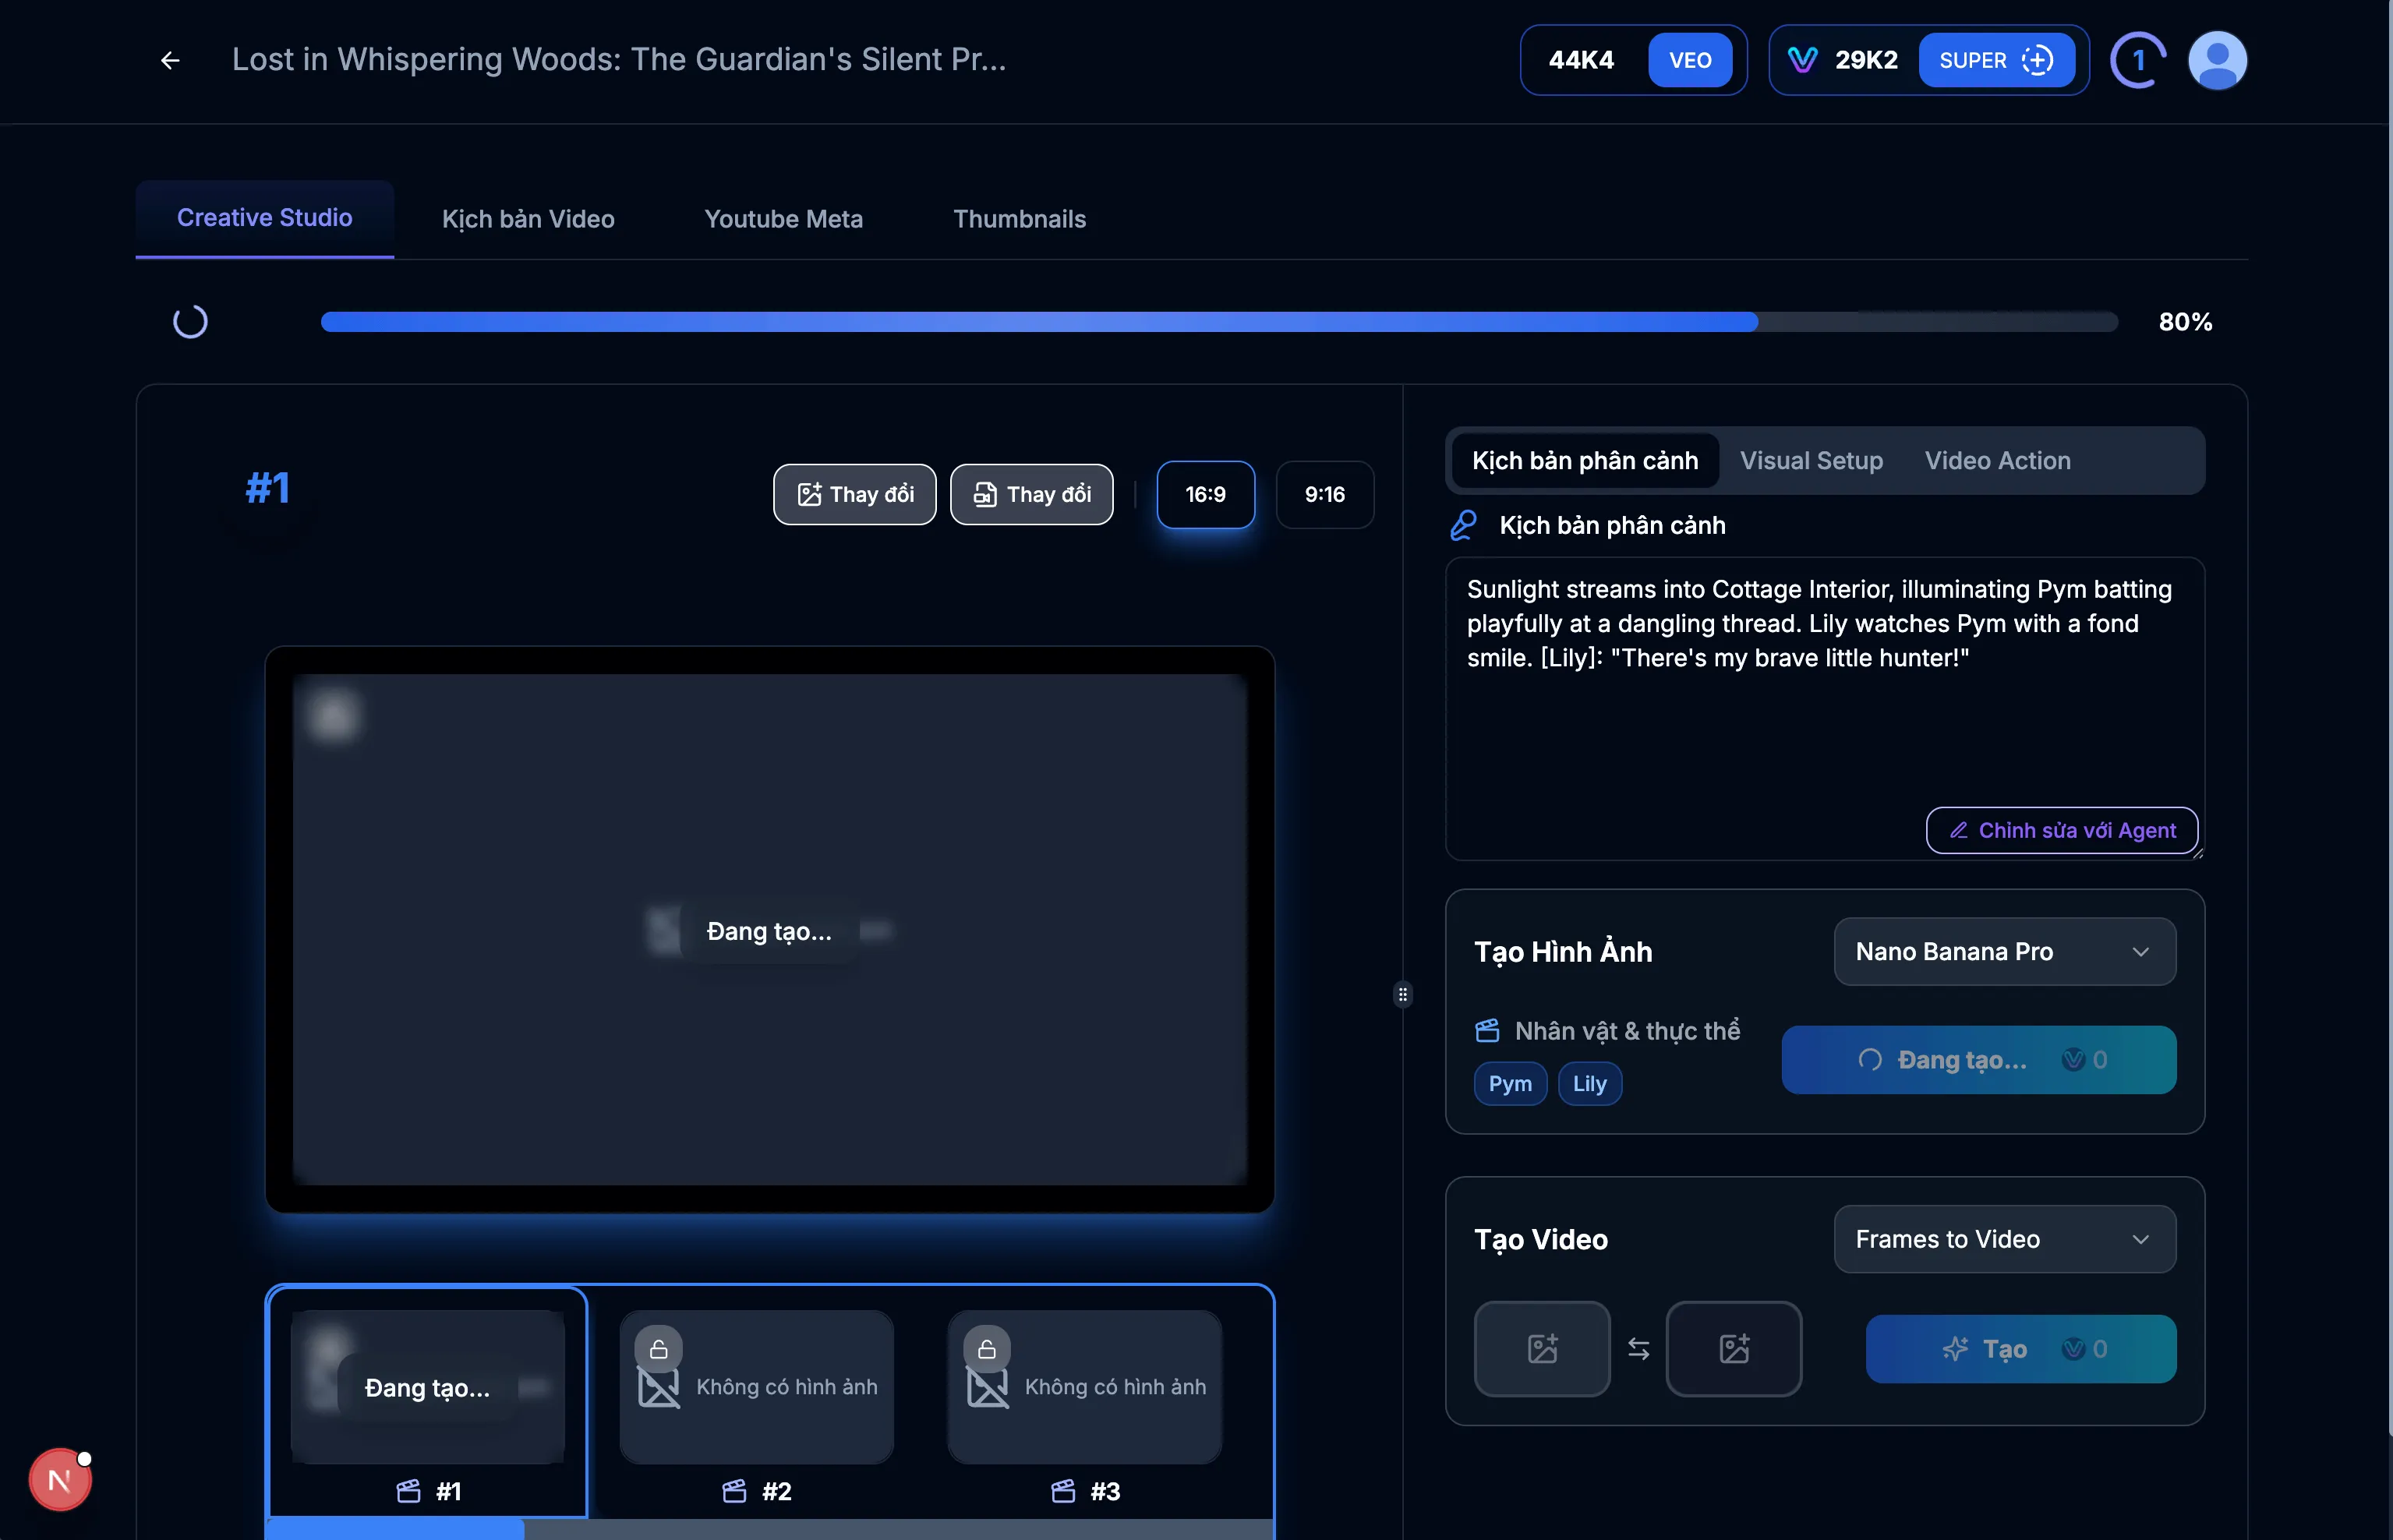
Image: 5.1: Creative Studio

Image: 5.2: Create image for scene #1
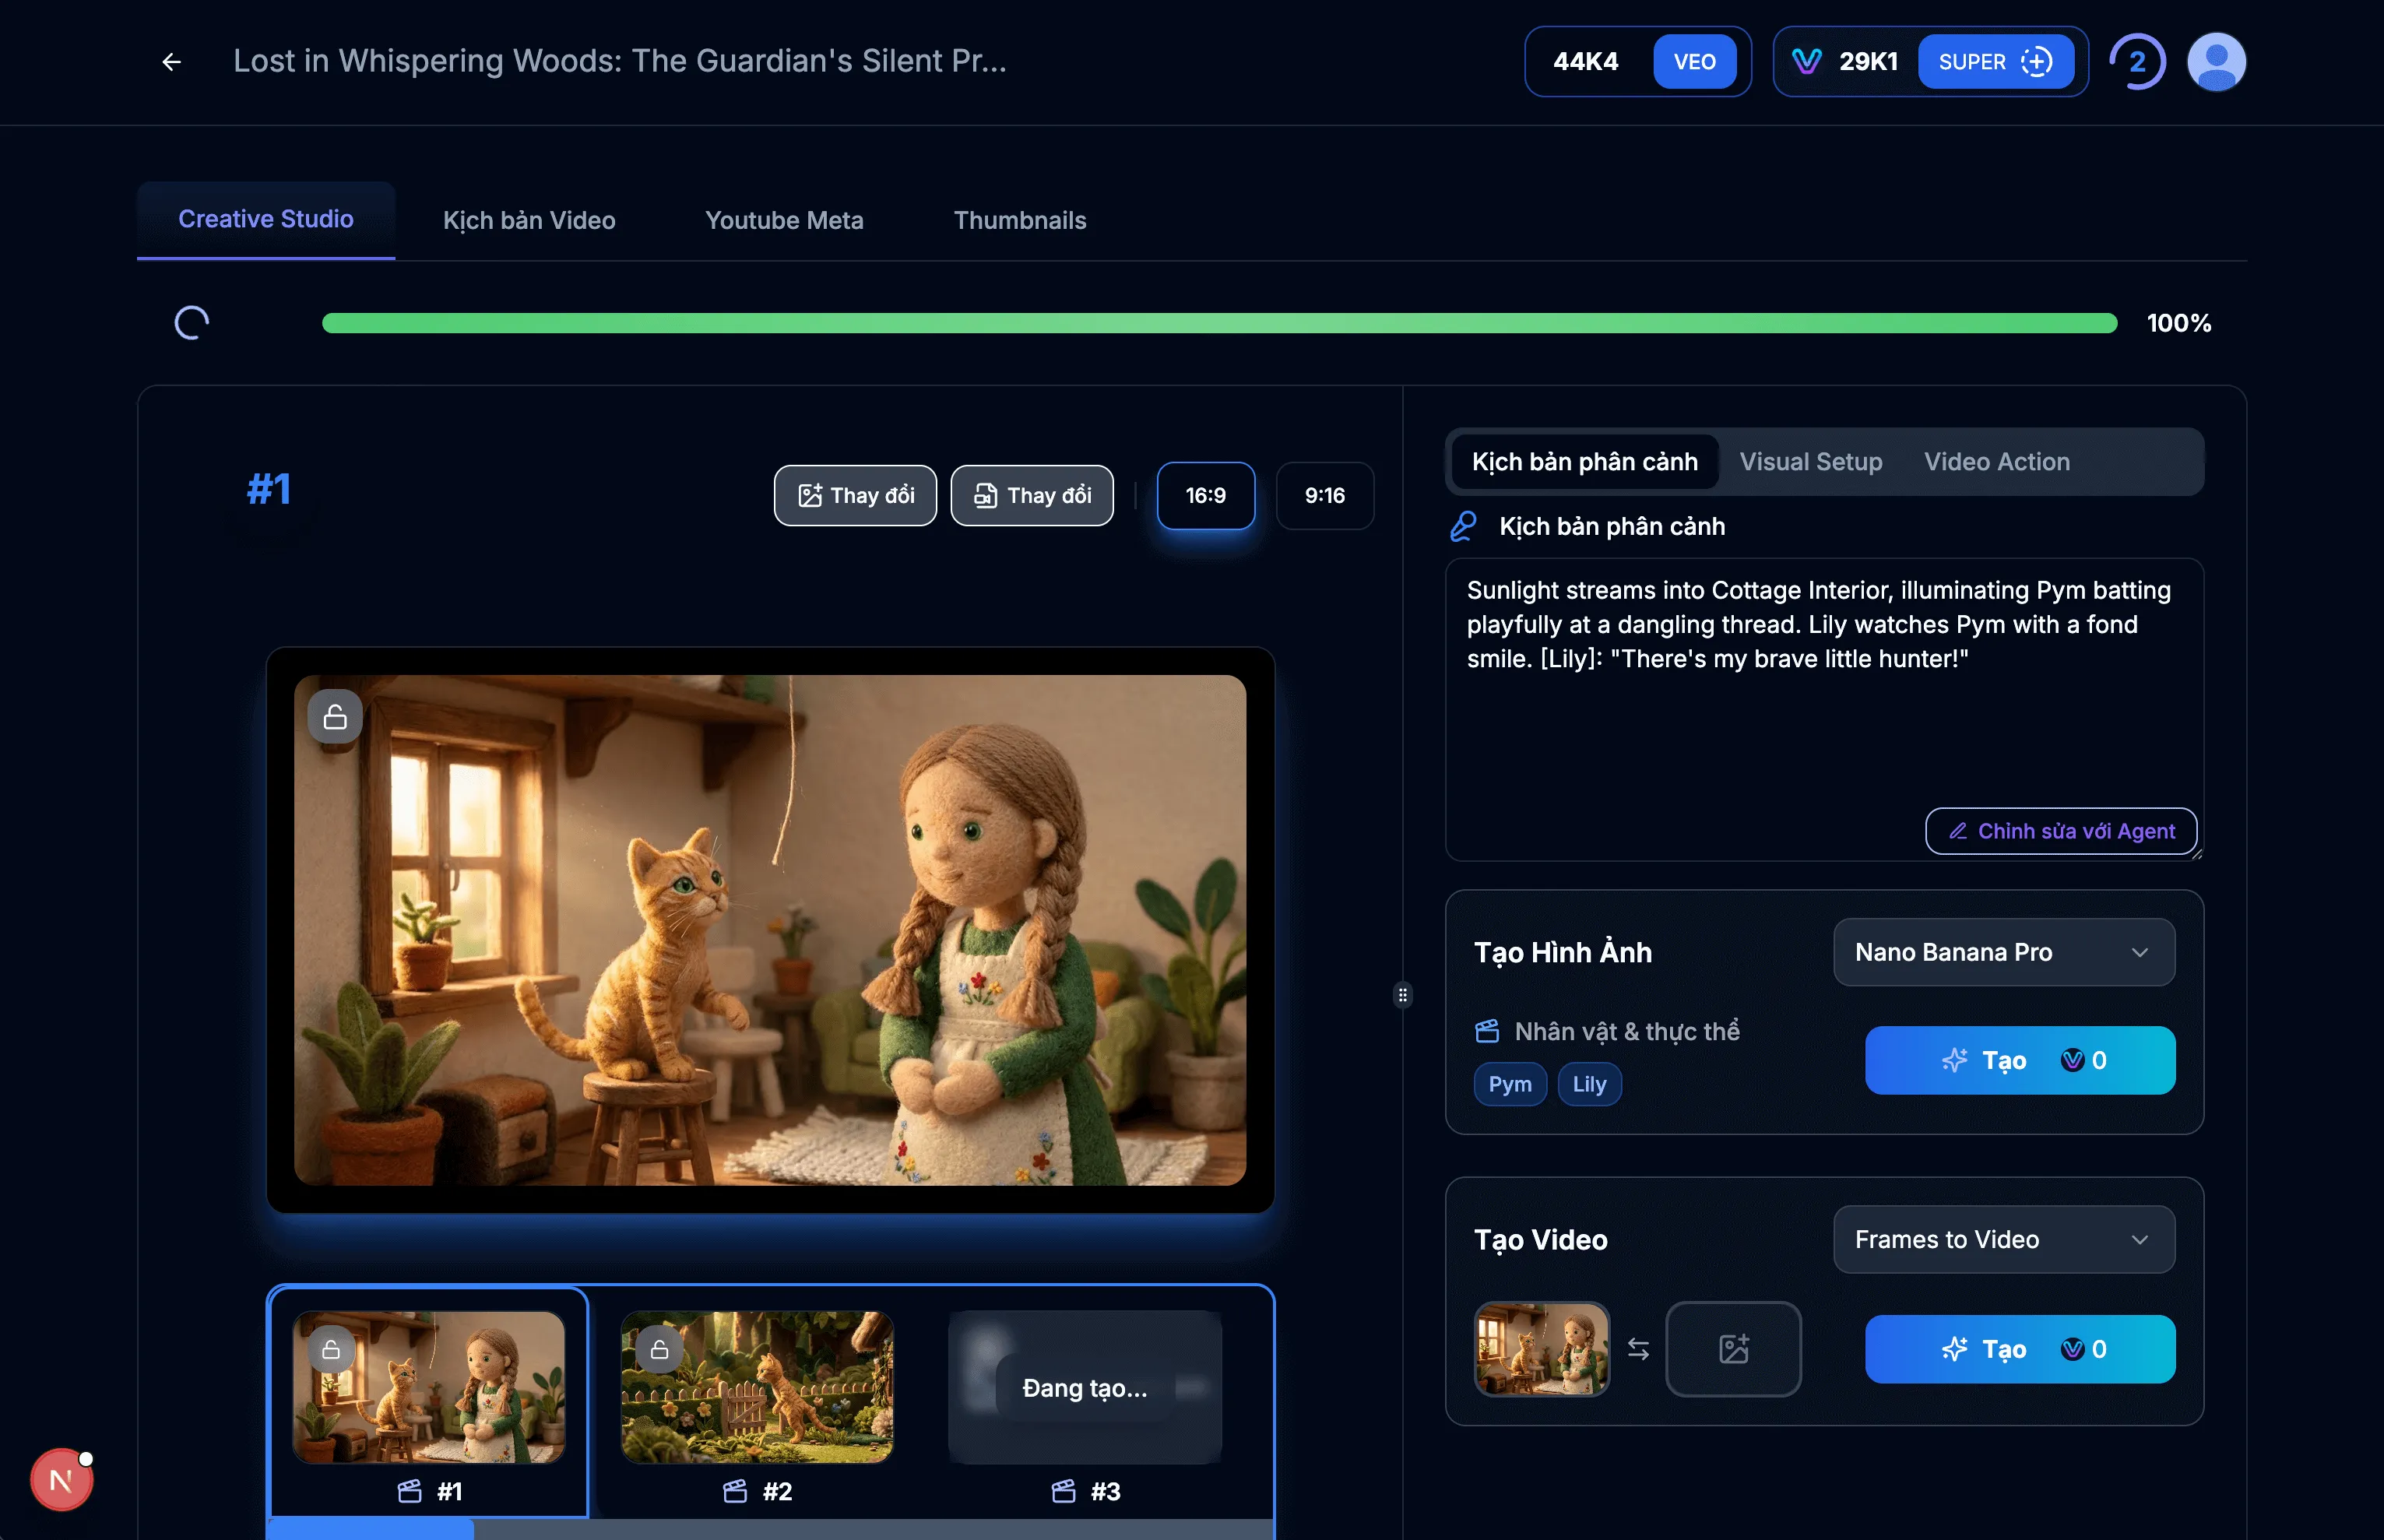
Image: 5.3: Display scene #1 image
Tips & Notes:
- Use this interface to fine-tune every detail of the scene.
- Ensure instructions are clear so AI can generate the content you want.
- You can regenerate different images if needed.
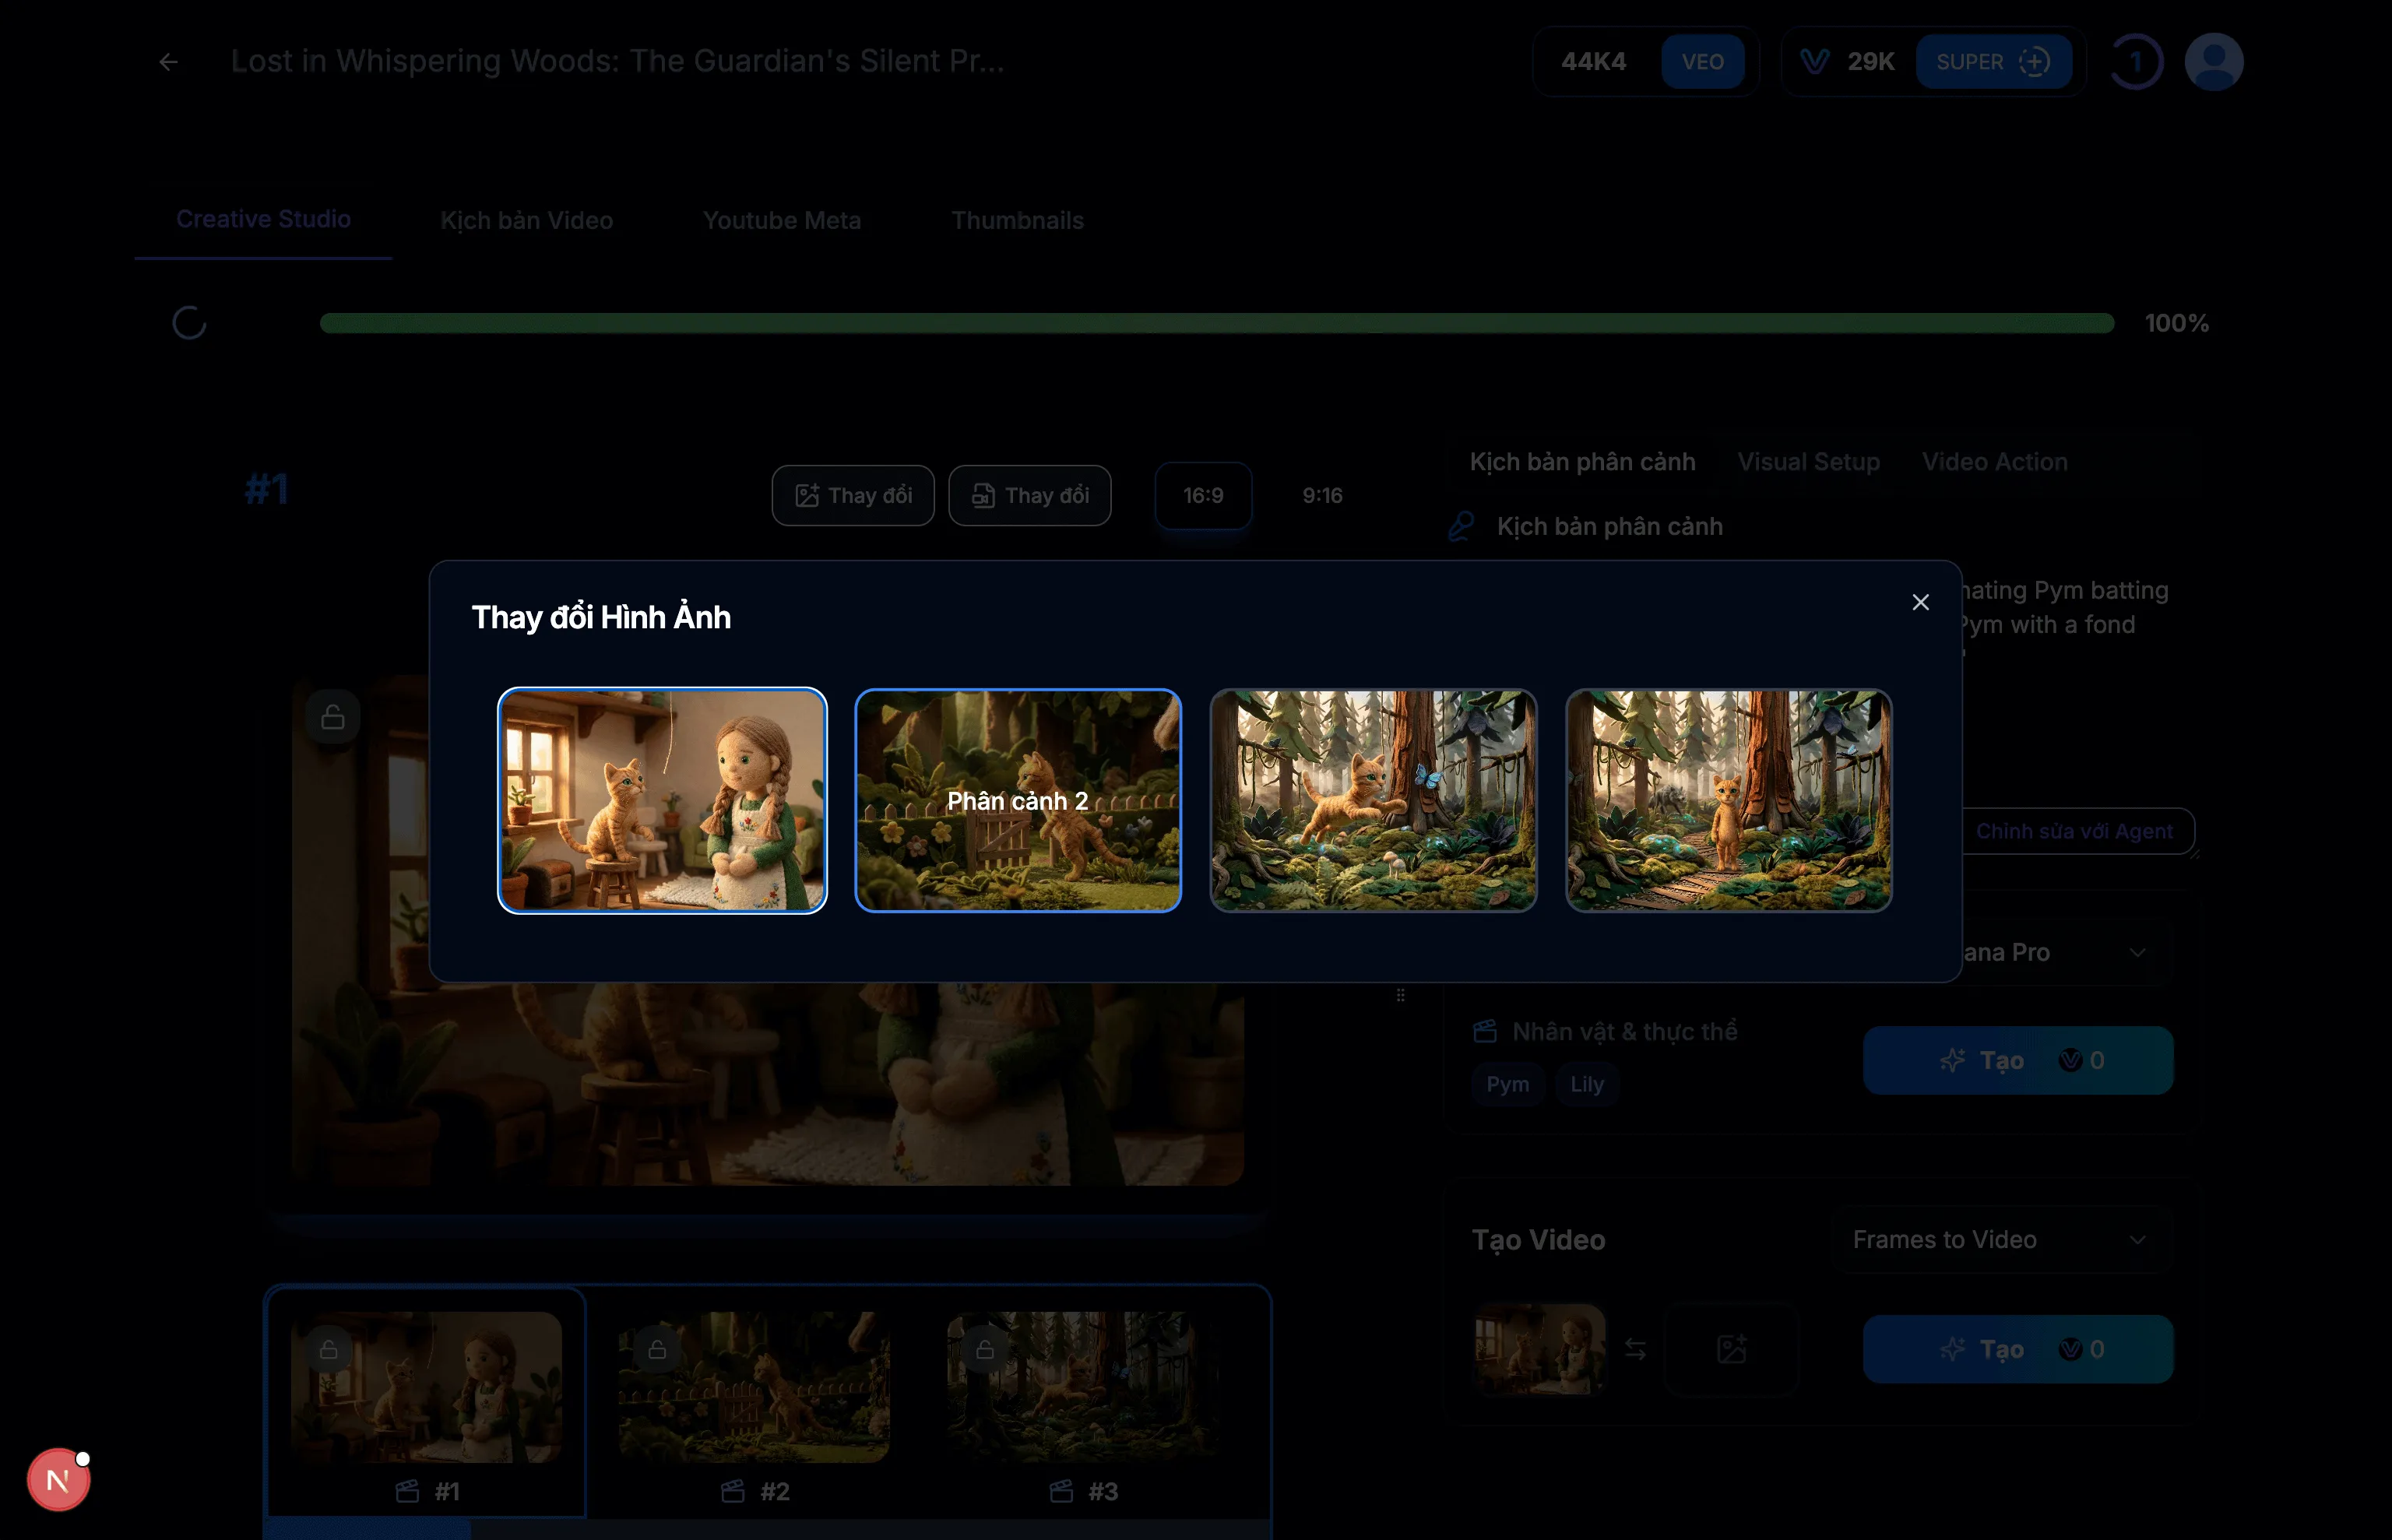
Image: 6.1: Select End Frame as scene #2
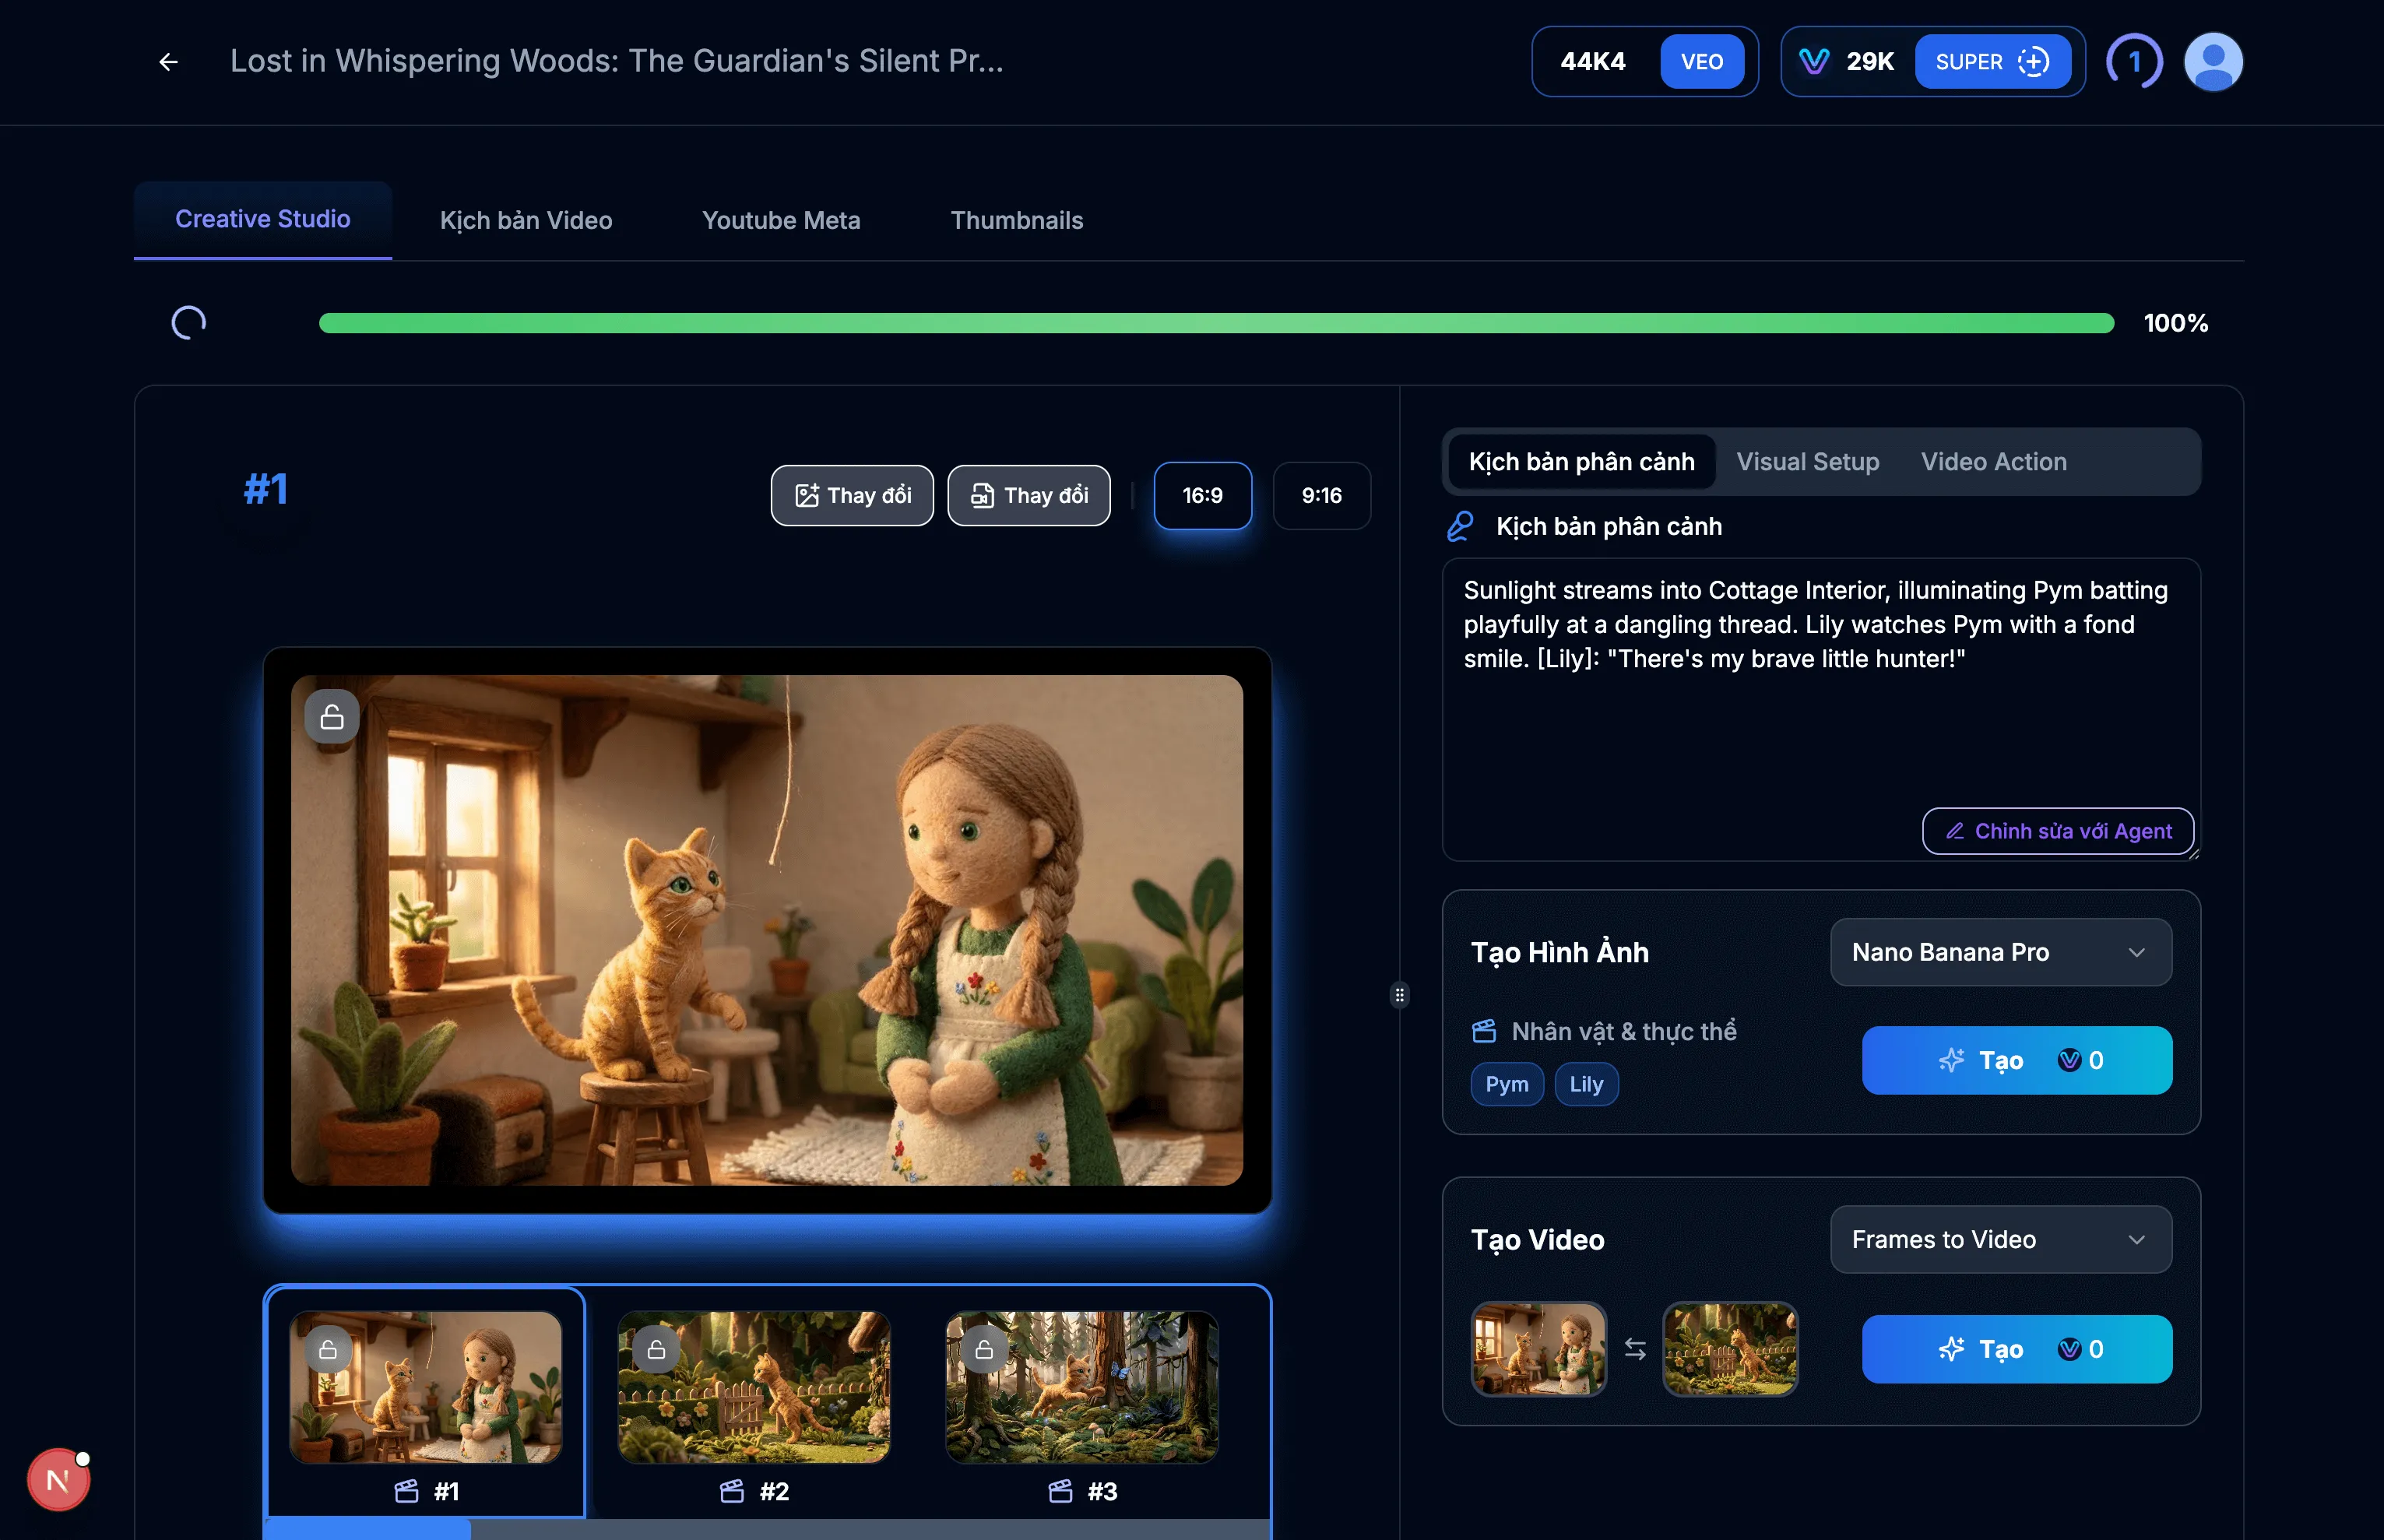
Image: 6.2: Create video for scene
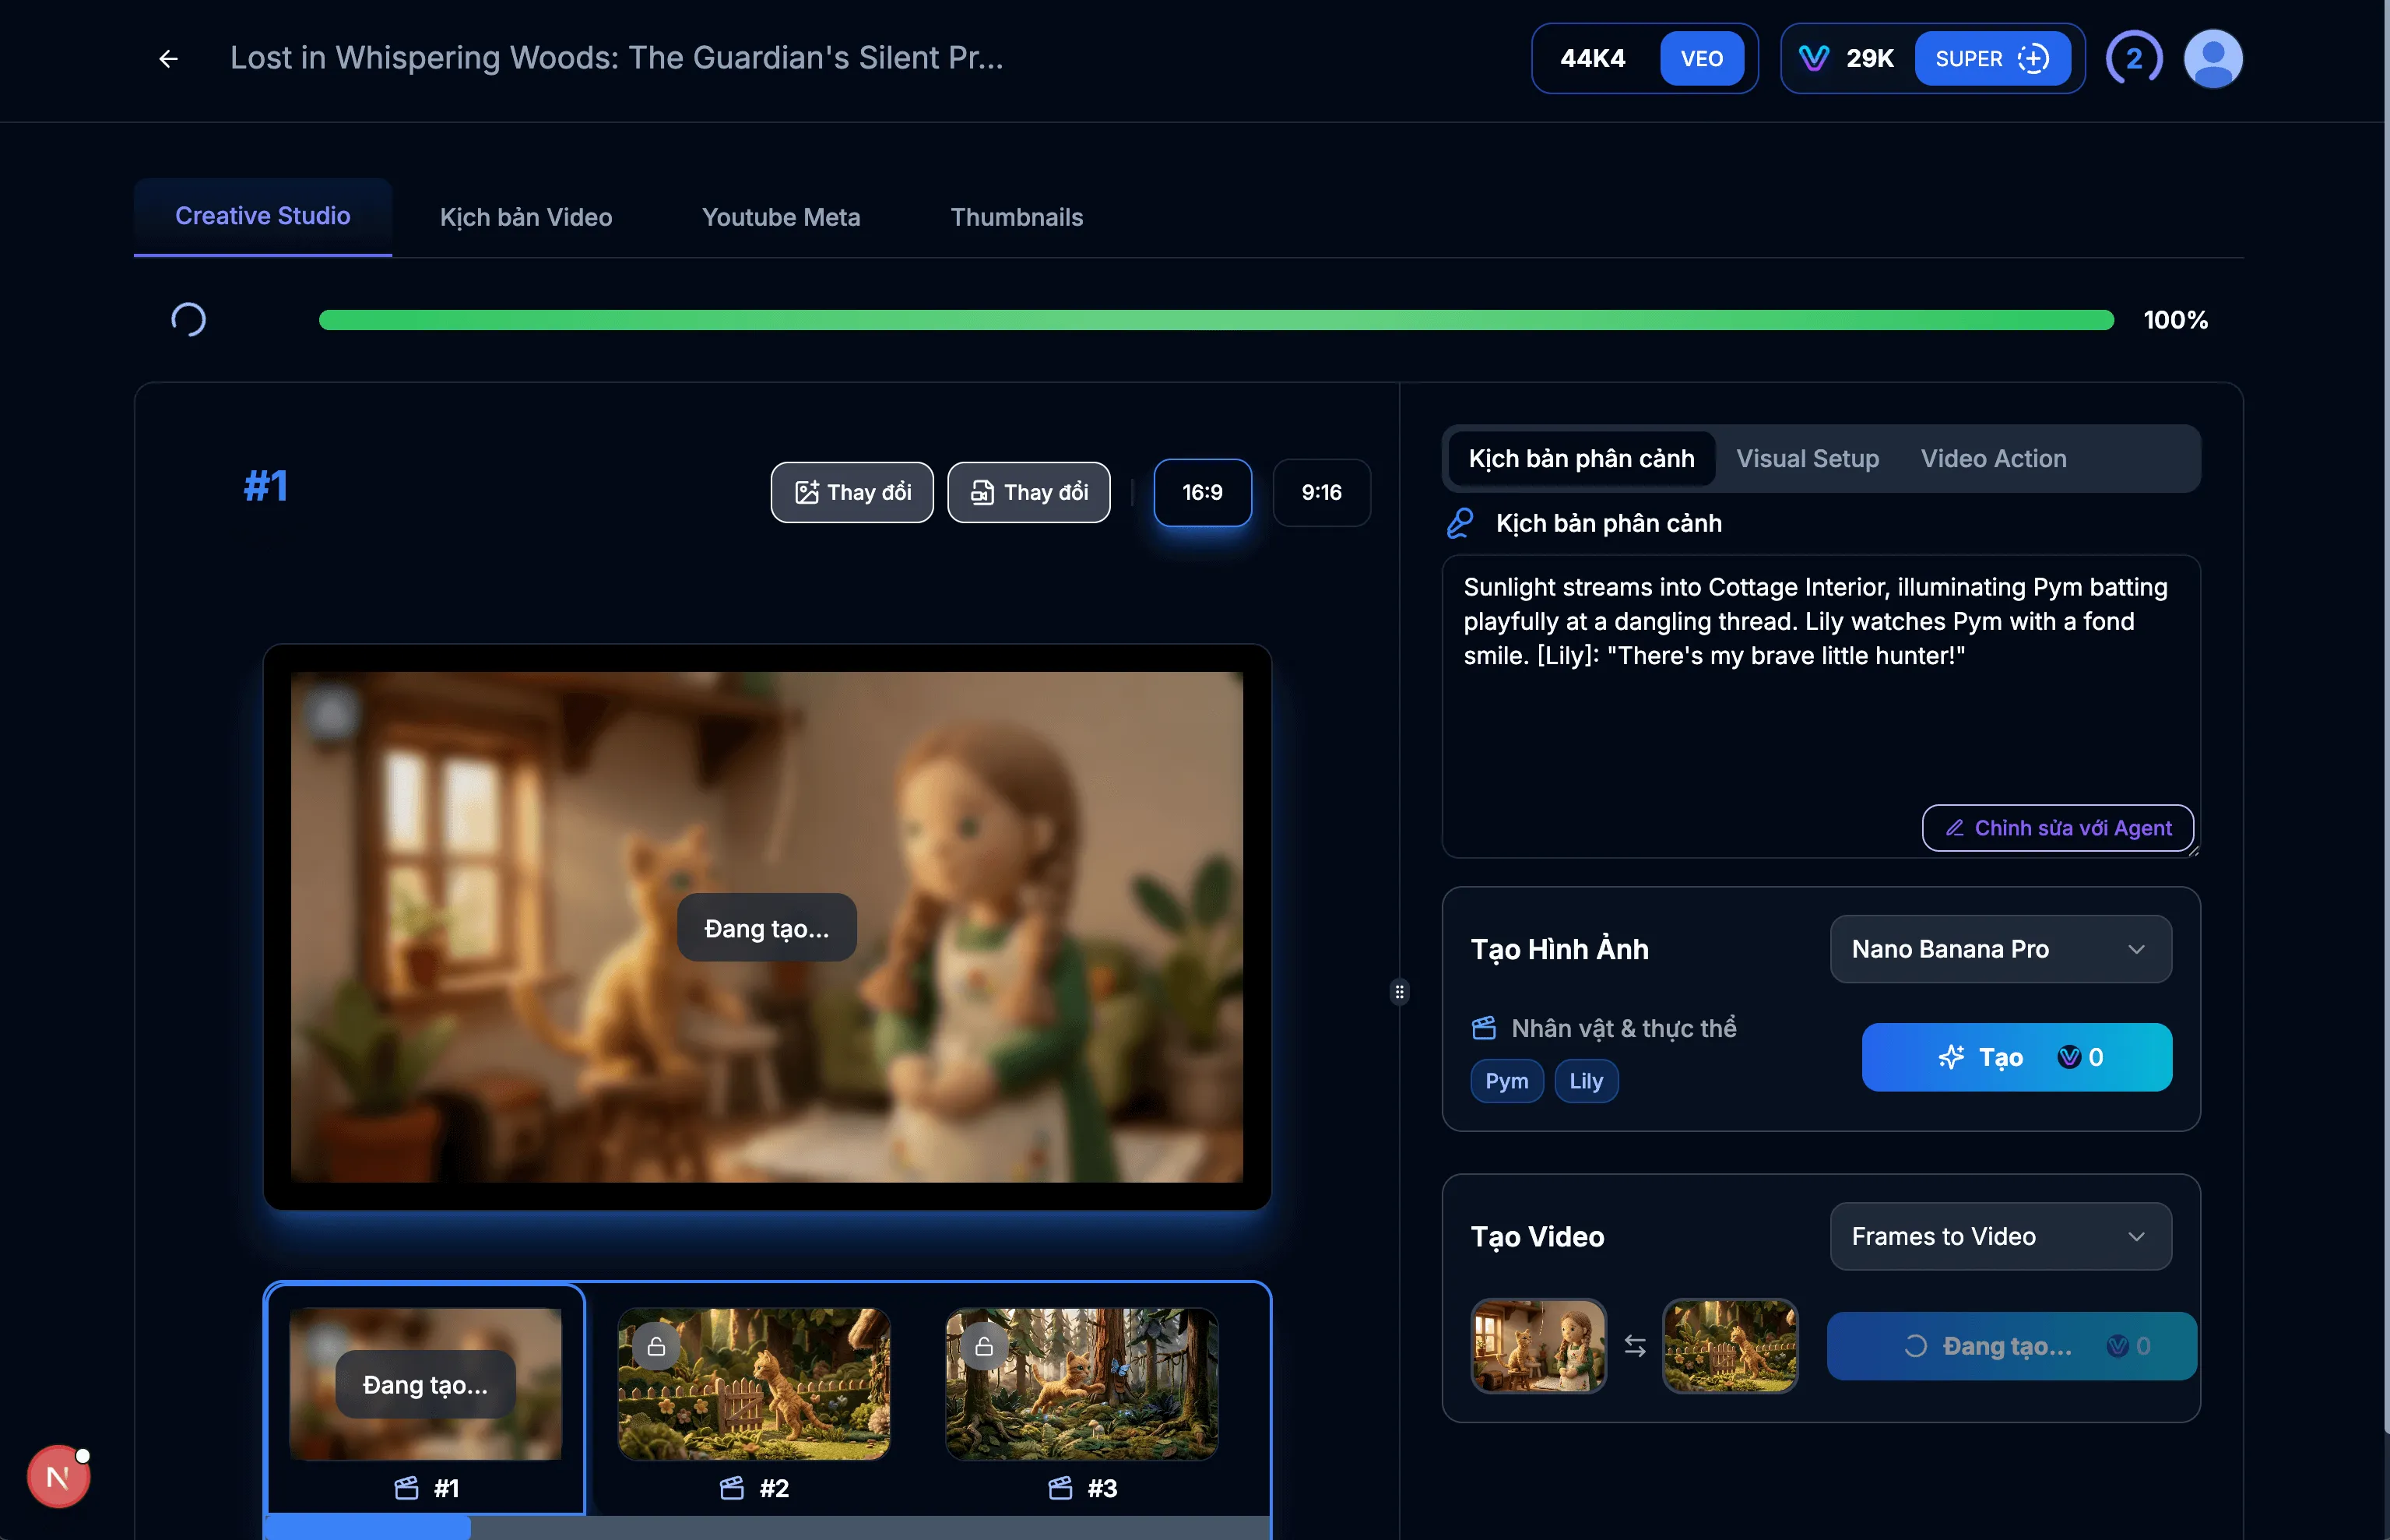
Image: 6.3: Creating video

Image: 6.4: Video created successfully
Tips & Notes:
- If you are not satisfied with the video, you can create another one.
Properly setting up and managing your Flow Authorization Keys is crucial for unlocking the full potential of VEOGENT STUDIO's video generation capabilities. By following this guide, you've learned how to access, generate, copy, and update your Flow Keys.
Remember to periodically check your Flow credit status and update your keys as needed to ensure uninterrupted access to video generation features.