Create Videos for Scene
Learn how to transform your scene images into professional videos with VEOGENT STUDIO
Creating videos is the final and most exciting step in your VEOGENT STUDIO project workflow. This process transforms your scene scripts and generated images into fully animated video content complete with transitions, audio elements, and professional effects.
This guide will walk you through the process of creating videos for your scenes using VEOGENT STUDIO's advanced video generation technology. You'll learn how to initiate the video creation process, review the results, and combine scene videos to complete your project chapters.

Figure 1.1: Scene with generated images ready for video creation
Tips & Notes:
- Ensure all images for the scene are properly generated and approved.
- Check that your Flow Authorization Key is active and properly configured.
- Review your scene scripts to ensure they align with the generated images.
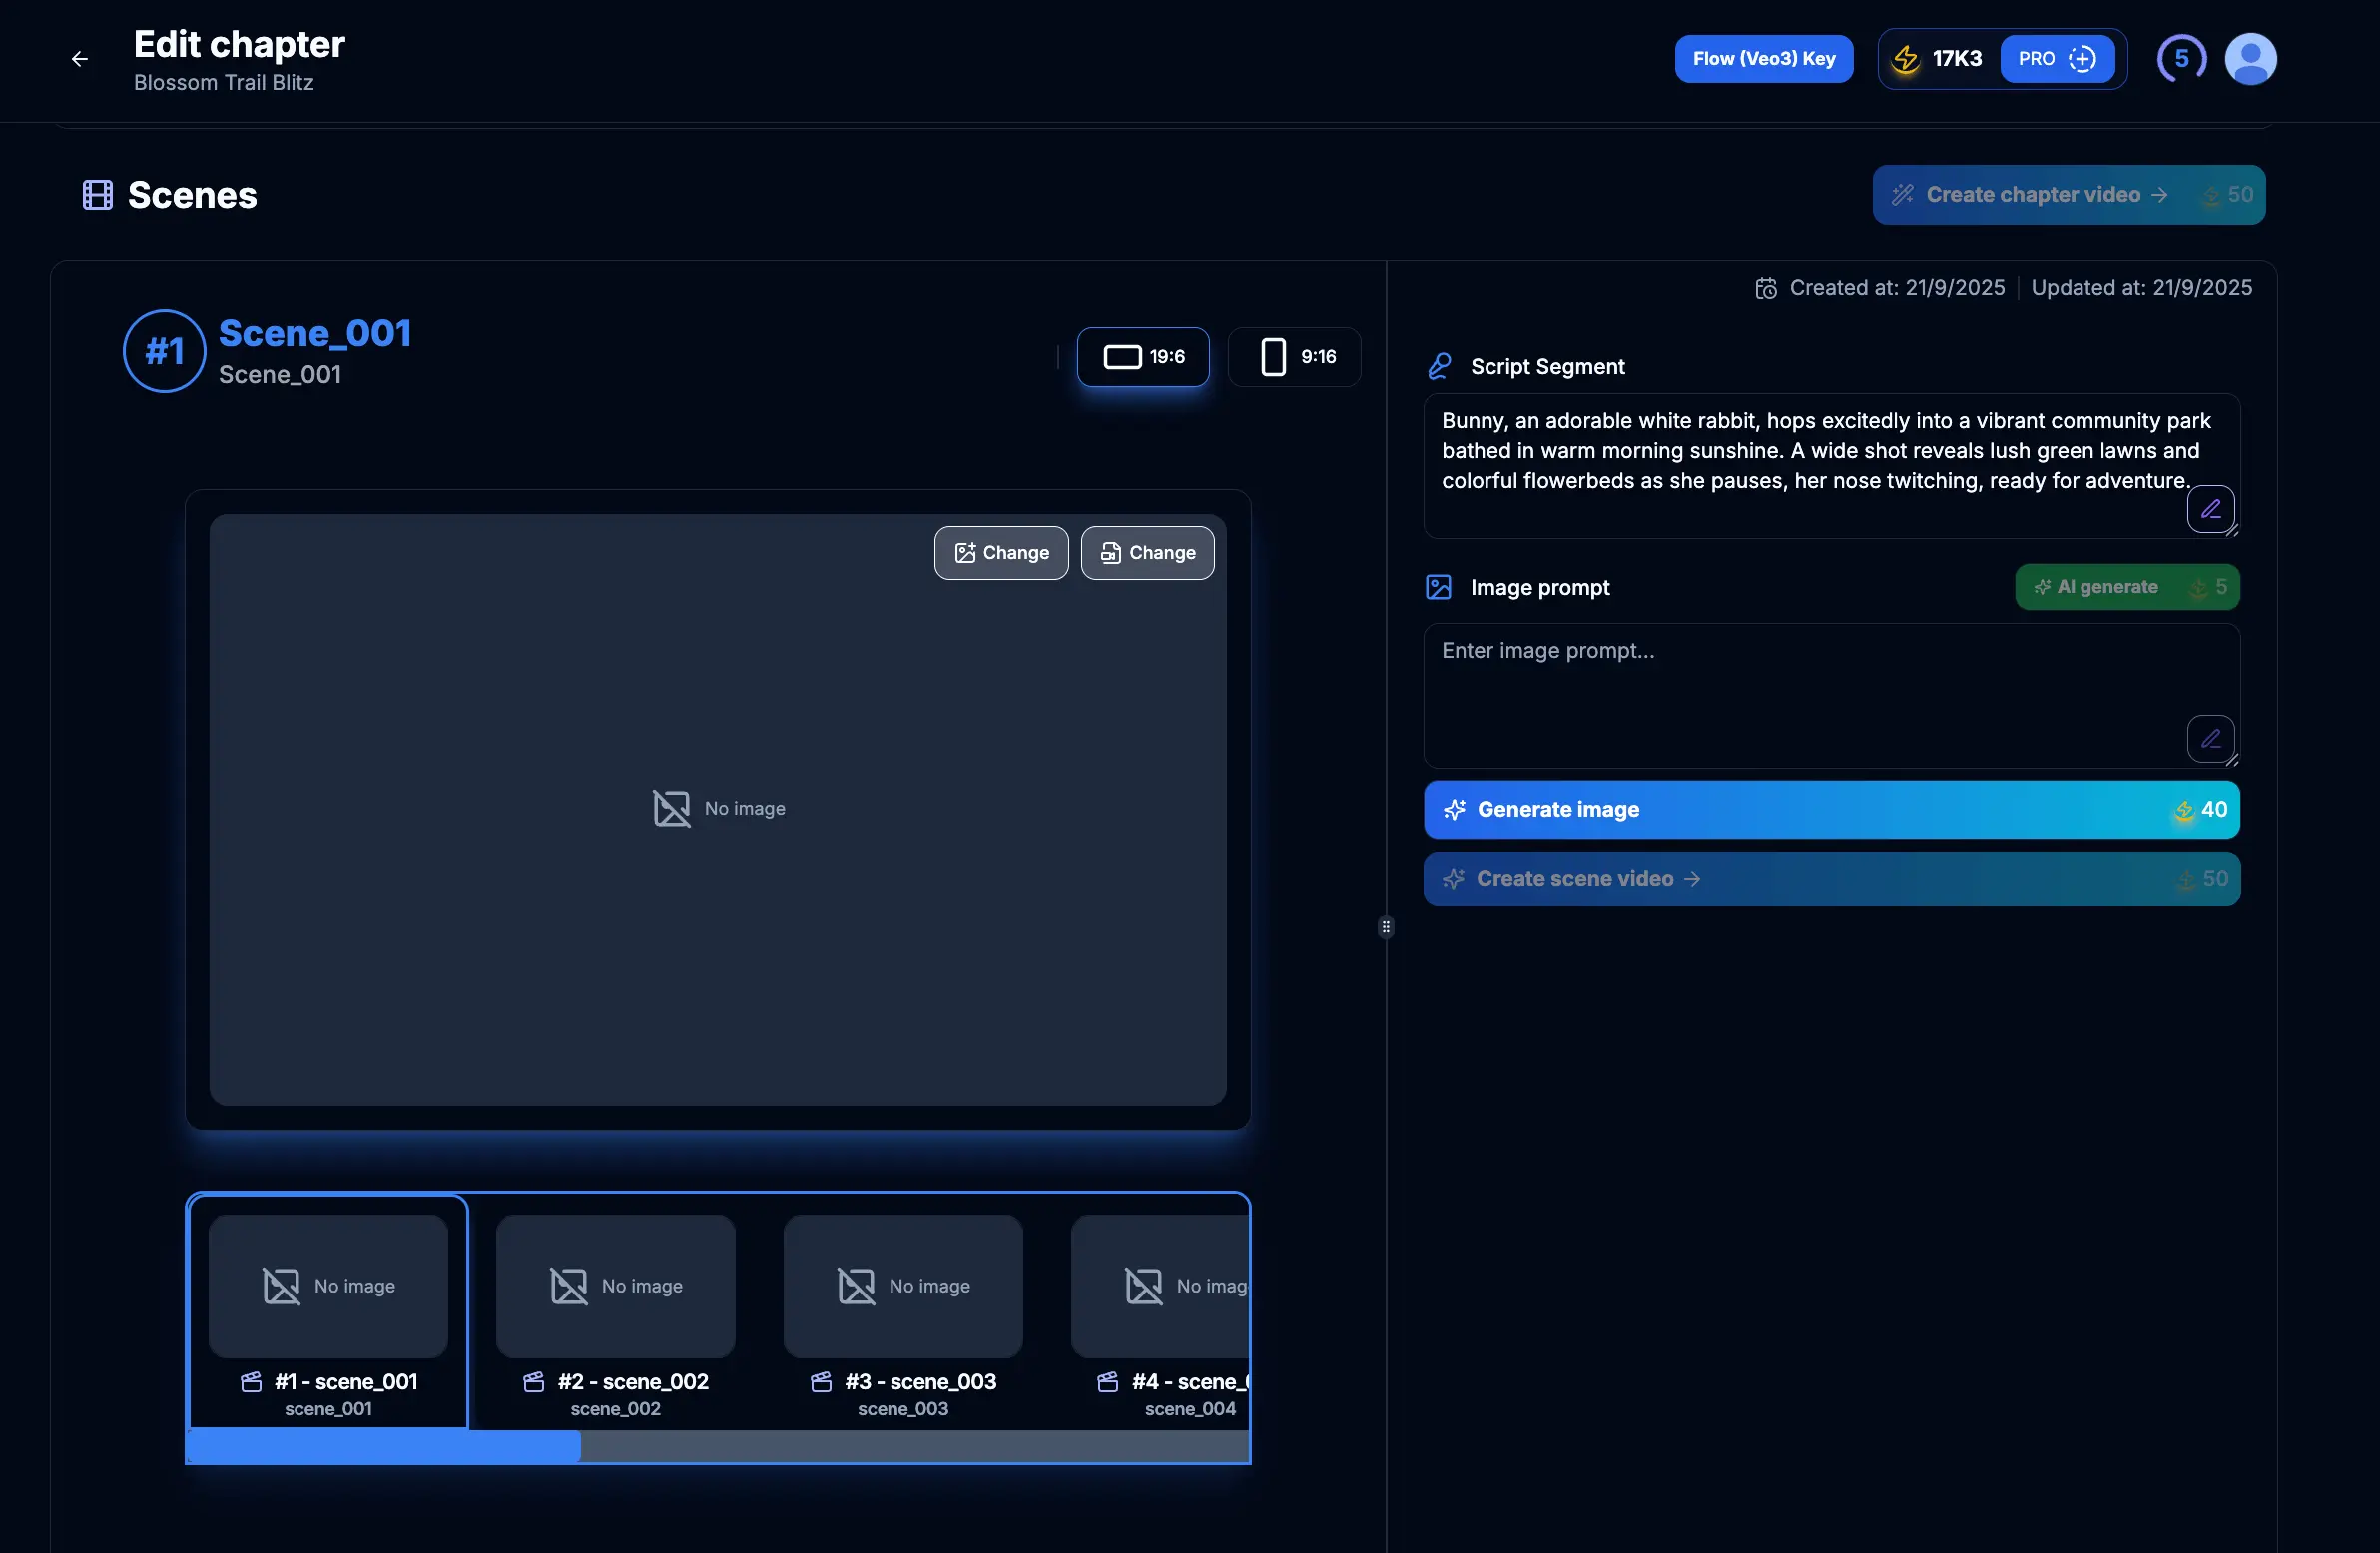
Figure 2.1: Scene management interface
Figure 2.2: Selecting a scene for video creation
Tips & Notes:
- Work through scenes in sequential order for the most coherent final result.
- You can create videos for individual scenes or batch process multiple scenes.
- Make sure to review the scene's images and script before proceeding to video generation.
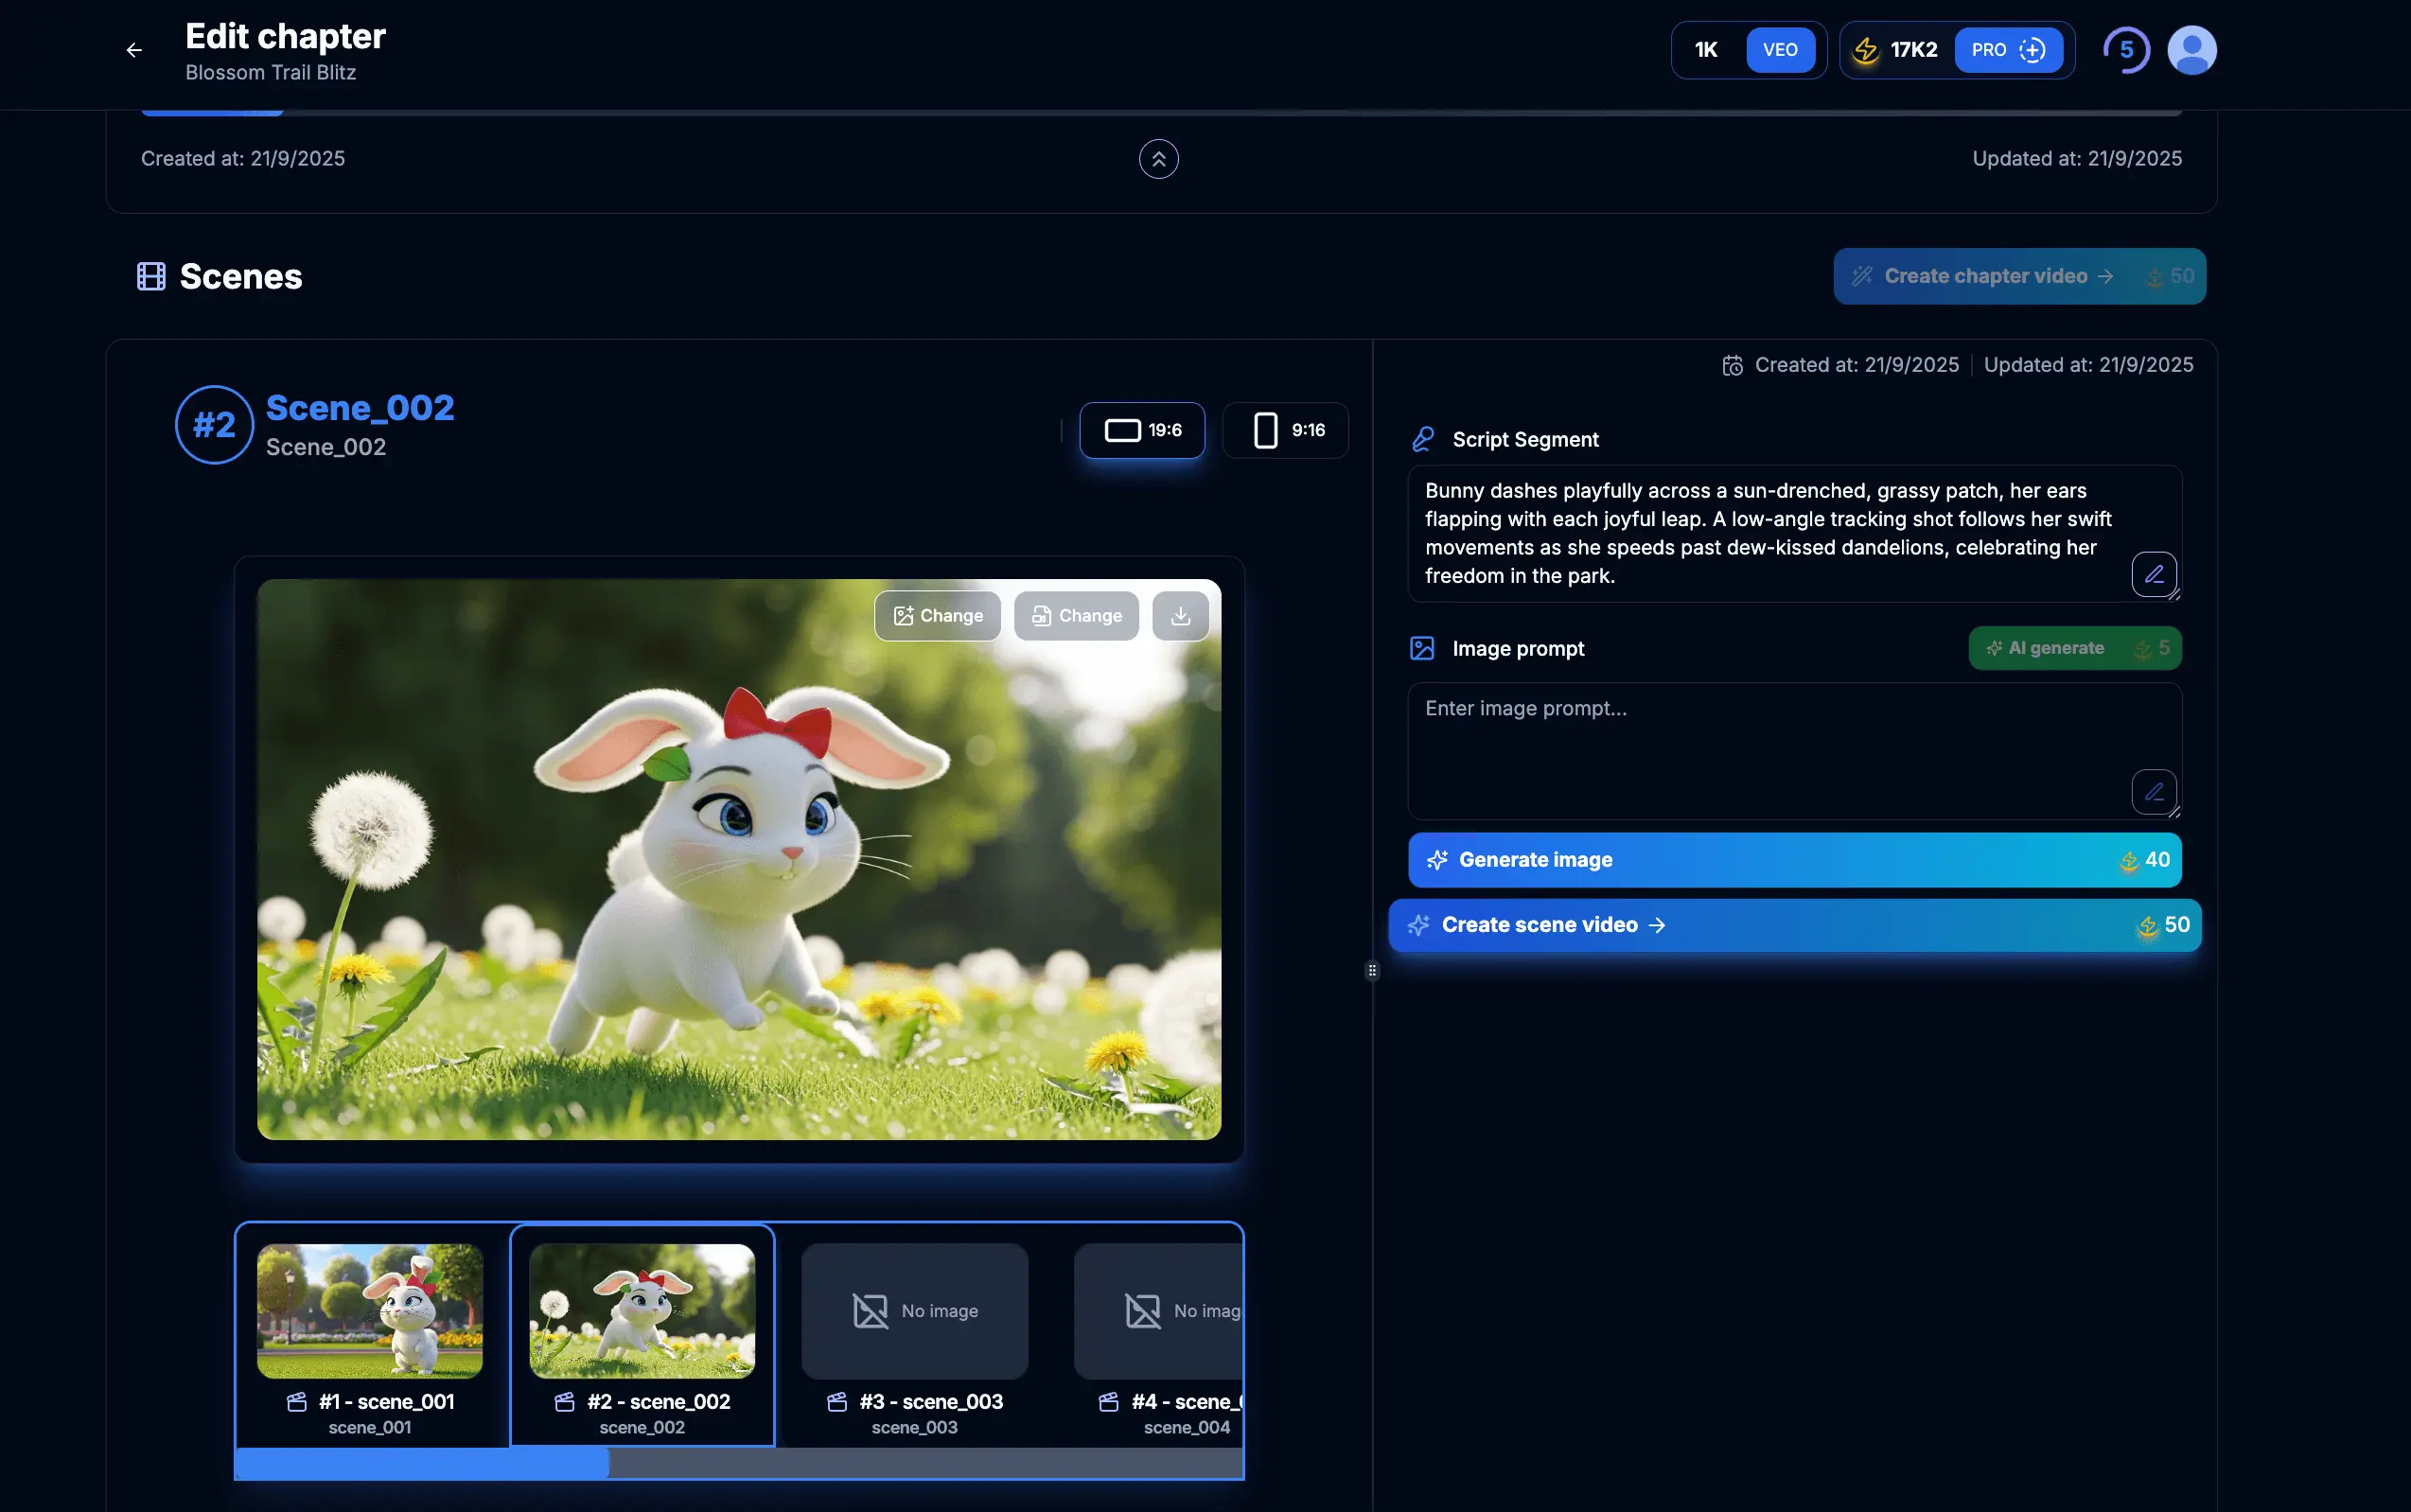
Figure 3.1: Create video for scene
Tips & Notes:
- The video generation process uses your generated images, script, and other elements to create a cohesive video.
- Video creation requires credits and a valid Flow Authorization Key.
- More complex scenes may take longer to process into video format.
Figure 4.1: Video processing in progress
Tips & Notes:
- Video processing times vary based on scene complexity and server load.
- You can work on other aspects of your project while waiting for video processing to complete.
- The system will notify you when your video is ready for review.
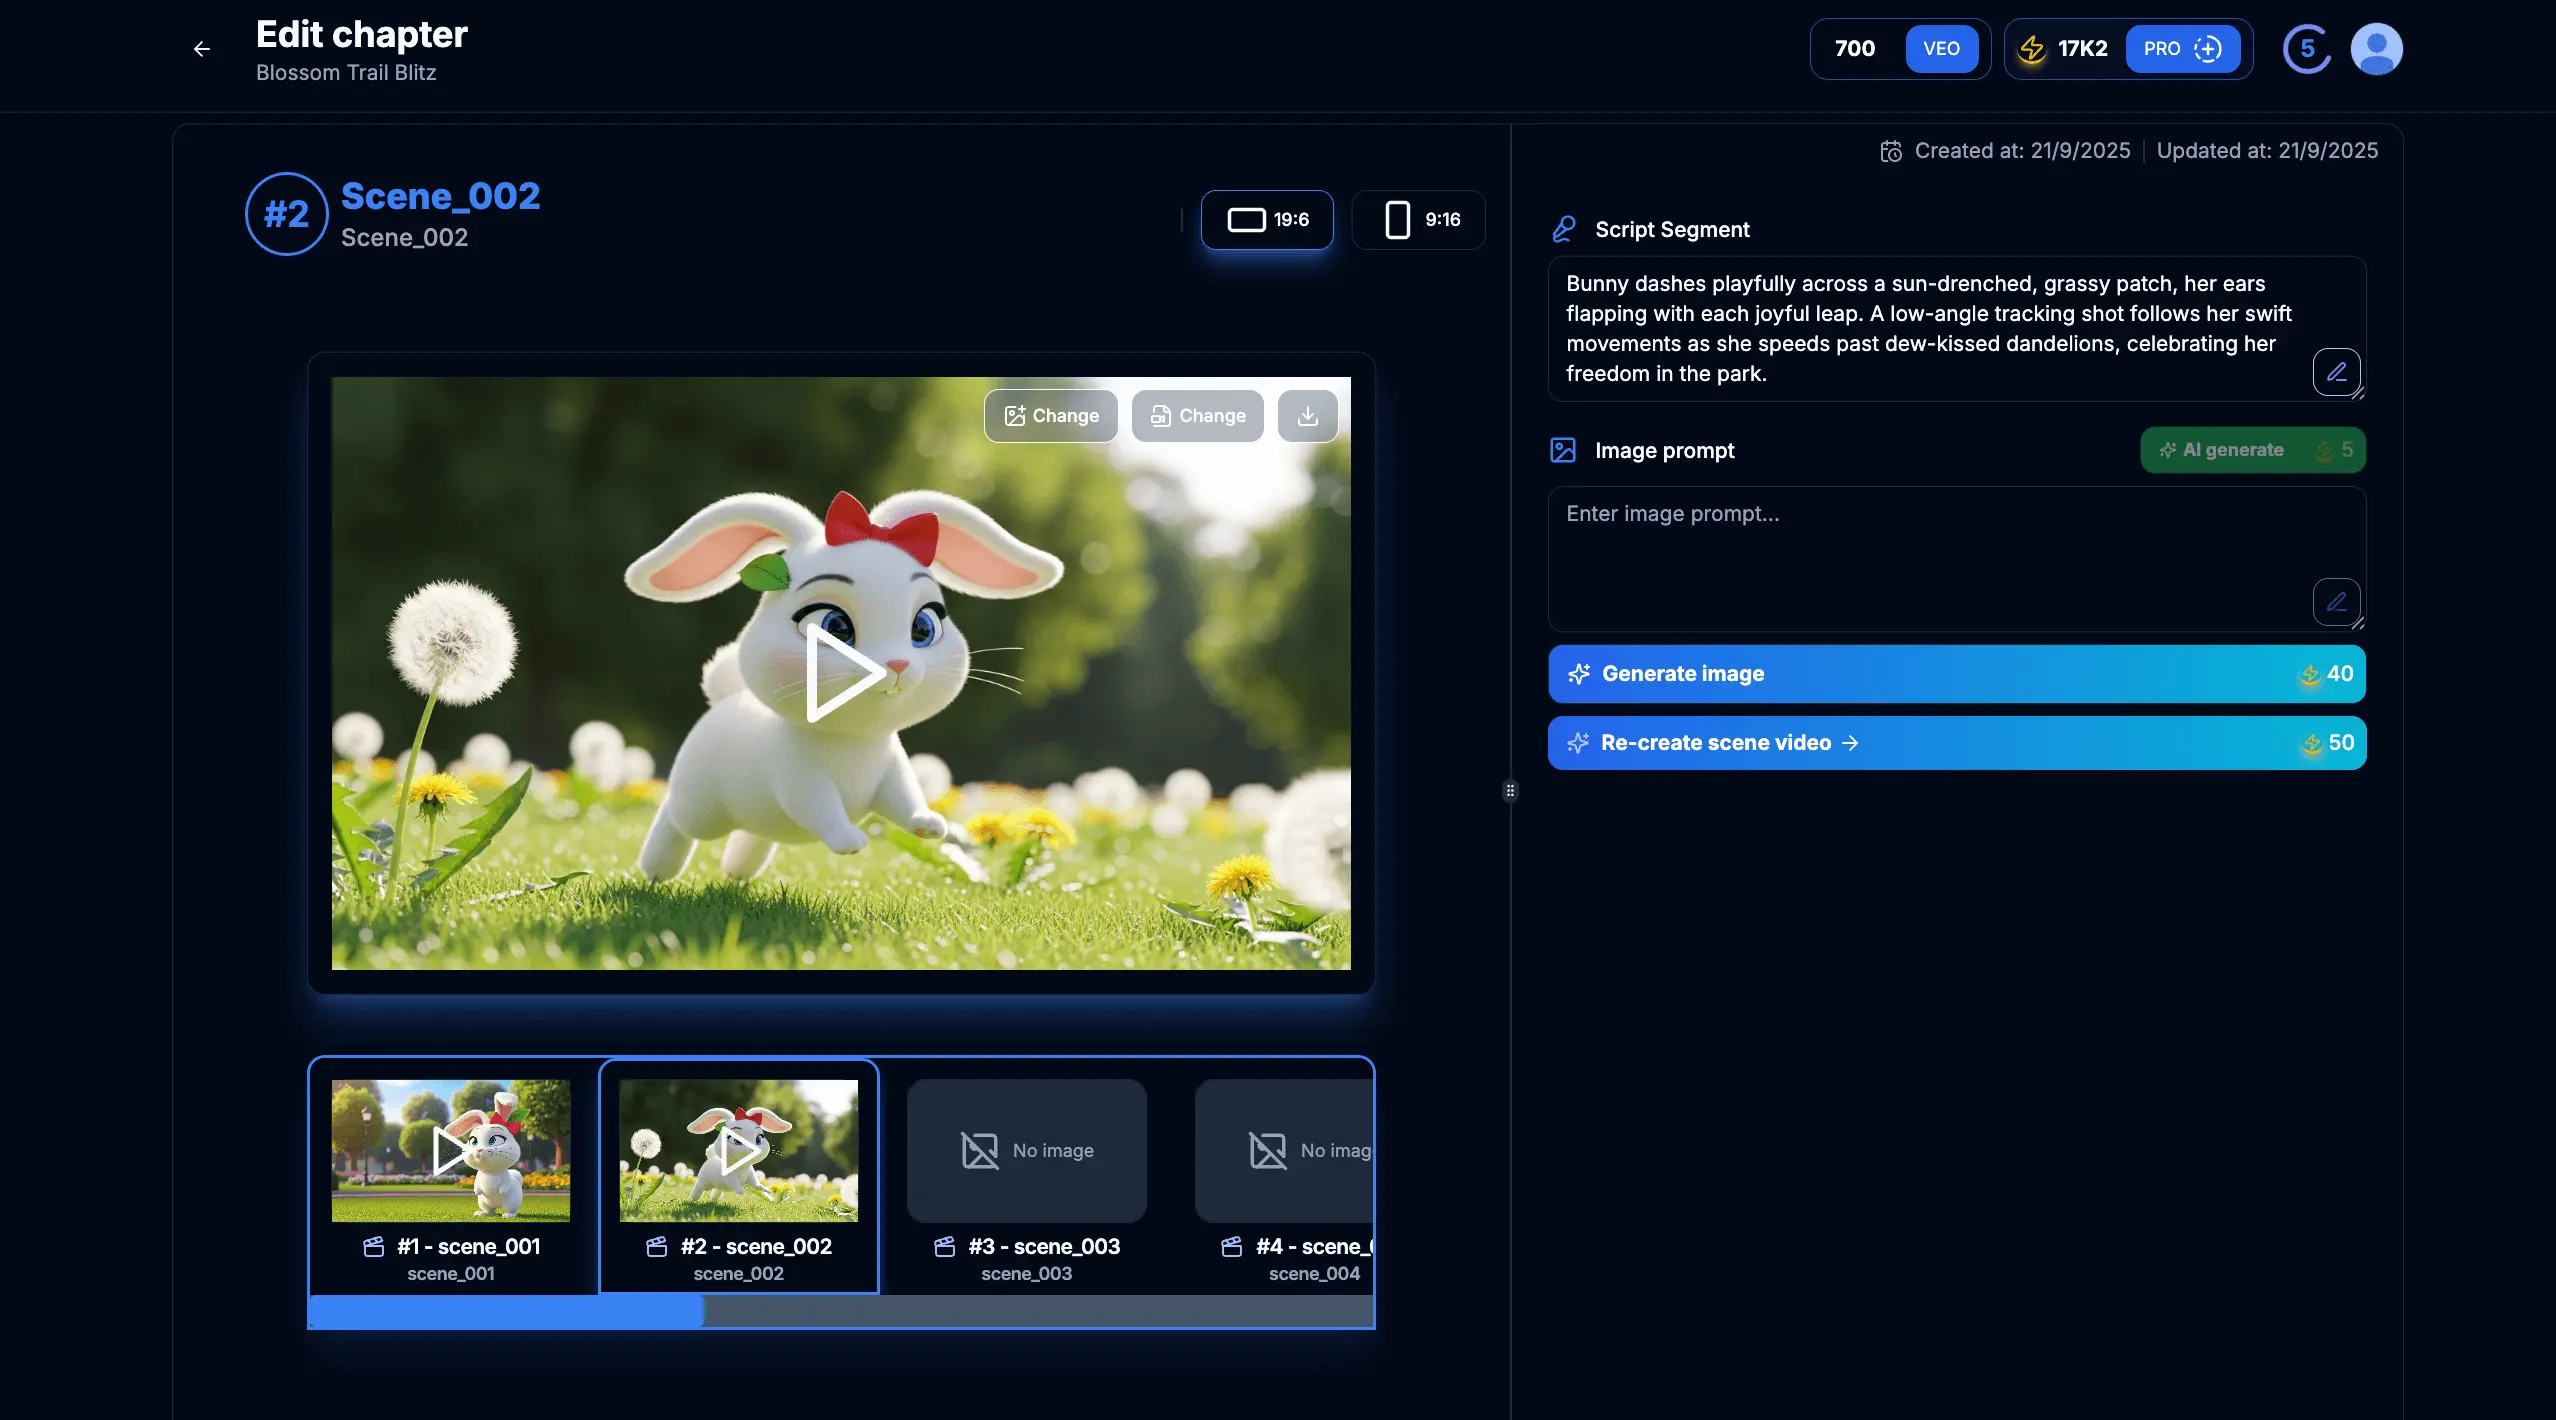
Figure 5.1: Scene video generated and ready for review
Tips & Notes:
- Check that the video properly represents your scene script and images.
- Verify that transitions between elements are smooth and professional.
- Ensure that any text or subtitles are clear and correctly timed.
- Pay attention to audio quality and synchronization with visual elements.
Figure 6.1: Creating an alternative version of the scene video
Tips & Notes:
- You might want to regenerate videos if timing, transitions, or audio elements need improvement.
- Each video generation will consume credits, so use this feature judiciously.
- Consider making changes to the scene script or images before regenerating if the video doesn't match your vision.
Figure 7.1: Multiple completed scene videos ready to be combined
Tips & Notes:
- Maintain consistency across all scene videos within a chapter.
- Review the flow between consecutive scene videos to ensure smooth transitions.
- Consider the overall narrative structure when reviewing your complete set of scene videos.
Creating videos for your scenes is the culmination of your work in VEOGENT STUDIO. This process brings together all the elements you've developed — scripts, characters, and images — into a professional video output that's ready to engage your audience.
With your scene videos completed, you now have the building blocks to assemble complete chapter videos and ultimately, a finished video project. You can download, share, and publish these videos to showcase your creative work and achieve your communication goals.