Generate Images for Scene
Learn how to create AI-generated images that bring your scene scripts to life
Visualizing your scenes is a critical step in the video creation process. VEOGENT STUDIO's AI image generation tools allow you to transform your written scripts into compelling visual content that will form the foundation of your final videos.
This guide will walk you through our 5-step process for generating scene images: accessing the scene management interface, selecting scenes for image generation, waiting for AI processing, reviewing and regenerating images as needed, and efficiently generating images for multiple scenes. With these tools, you'll be able to create professional visual content that perfectly represents your creative vision.
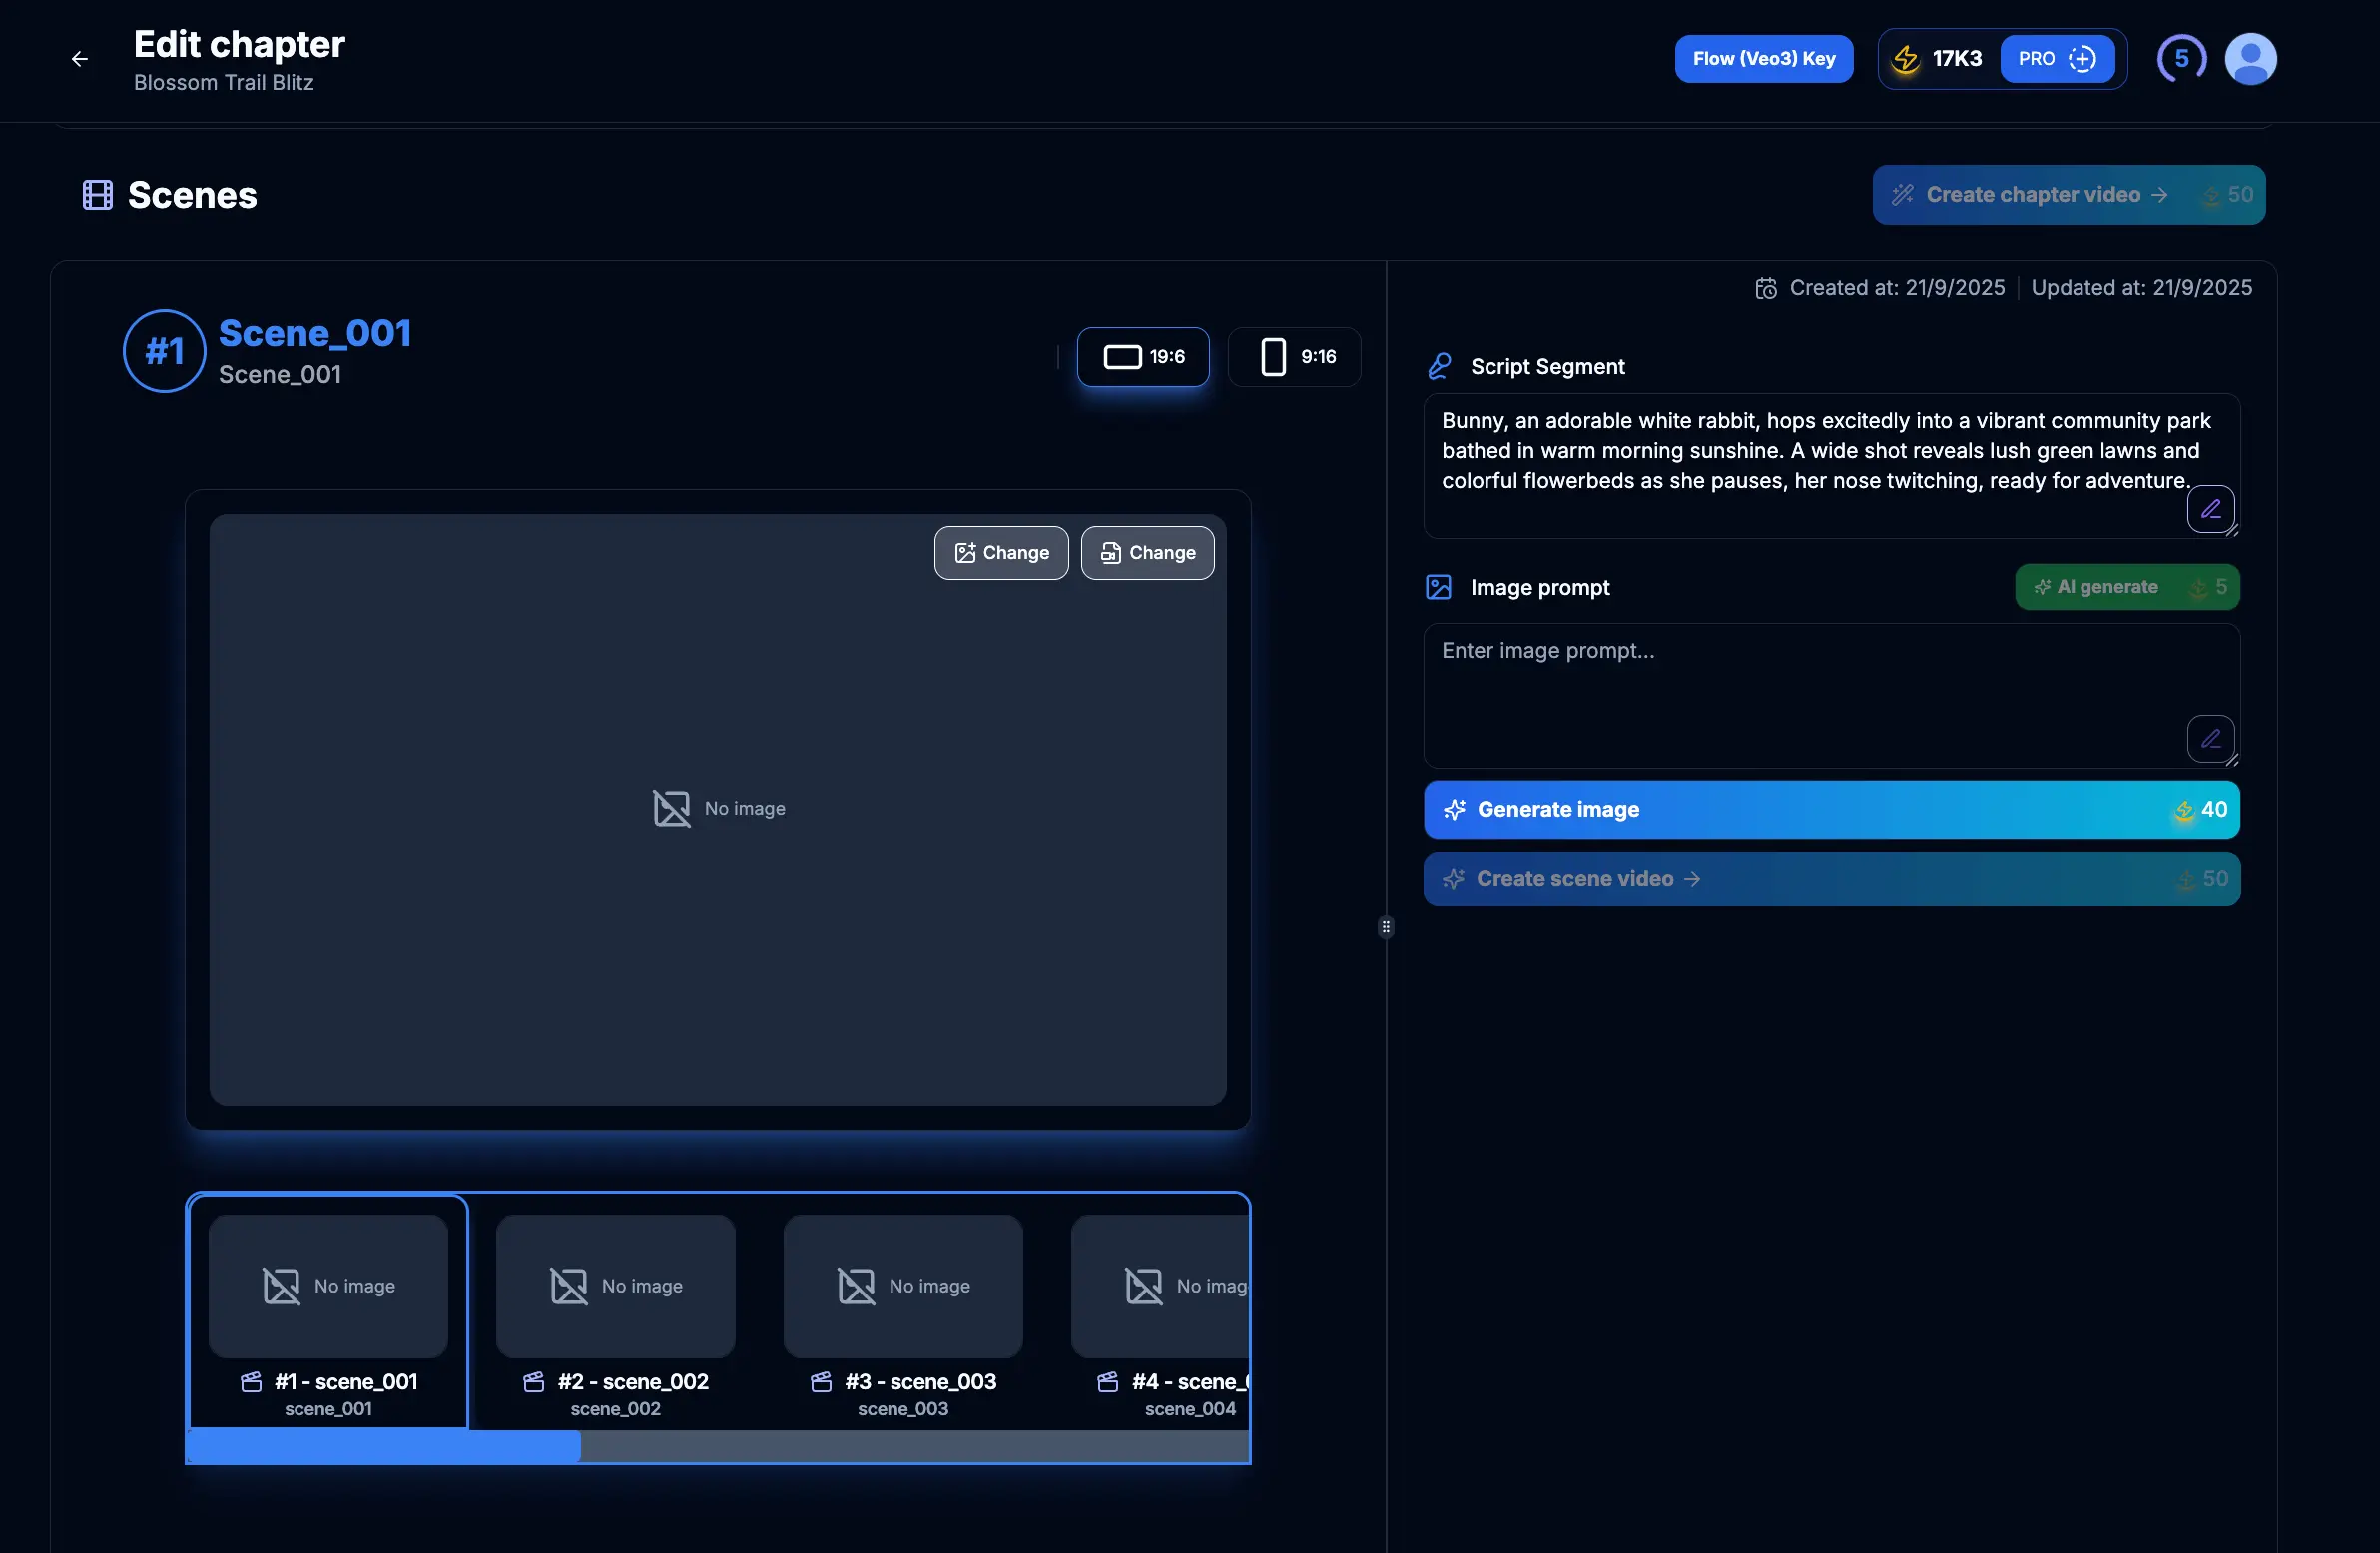
Figure 1.1: Scene management interface
Tips & Notes:
- Make sure your scenes have well-written scripts before generating images.
- Review the scene description to ensure it contains clear visual elements that can be represented in images.
- Each scene can have multiple images generated for different parts of the script.
Figure 2.1: Selecting a scene for image generation

Figure 2.2: Initiating image generation for the selected scene
Tips & Notes:
- It's usually best to work through scenes in sequential order.
- Consider which scenes are most important visually and prioritize those.
- Make sure the scene script contains enough descriptive details for the AI to generate appropriate images.
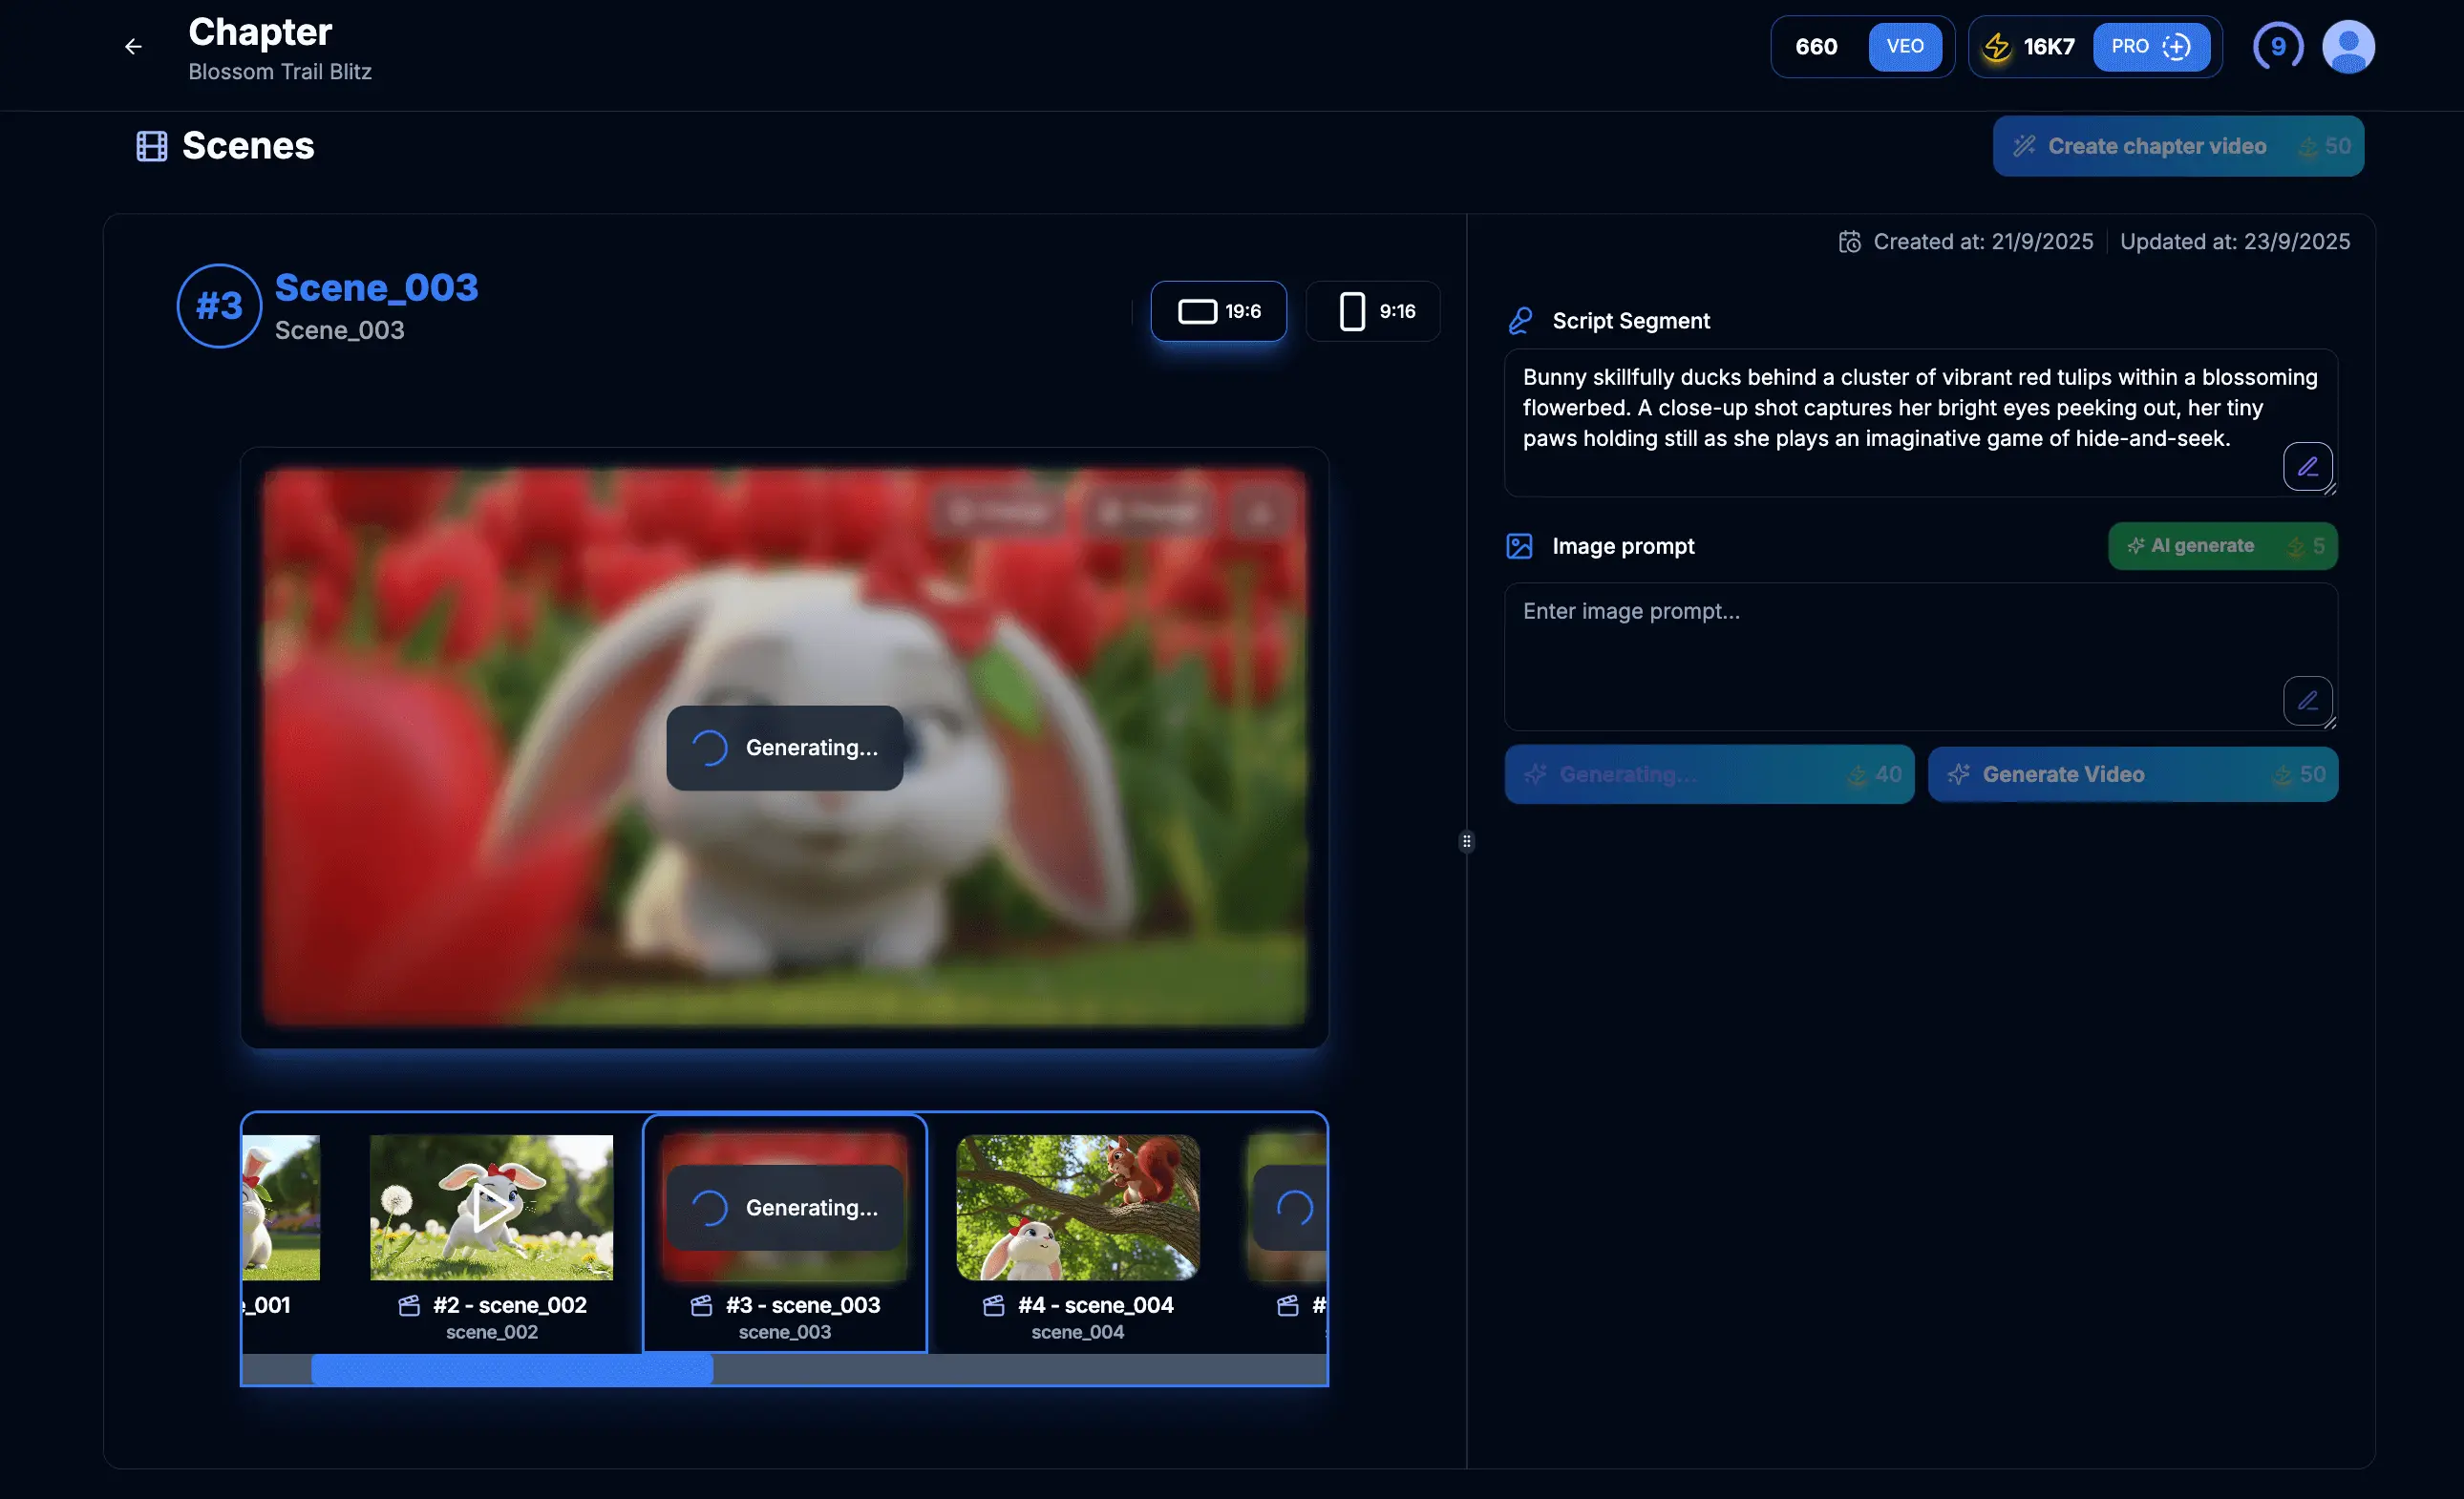
Figure 3.1: AI image generation in progress
Tips & Notes:
- The AI uses both the scene script and any character descriptions to generate relevant images.
- More detailed scene descriptions generally result in more accurate images.
- Use this waiting time to review other aspects of your project or plan upcoming scenes.
- The system will notify you when the generation process is complete.
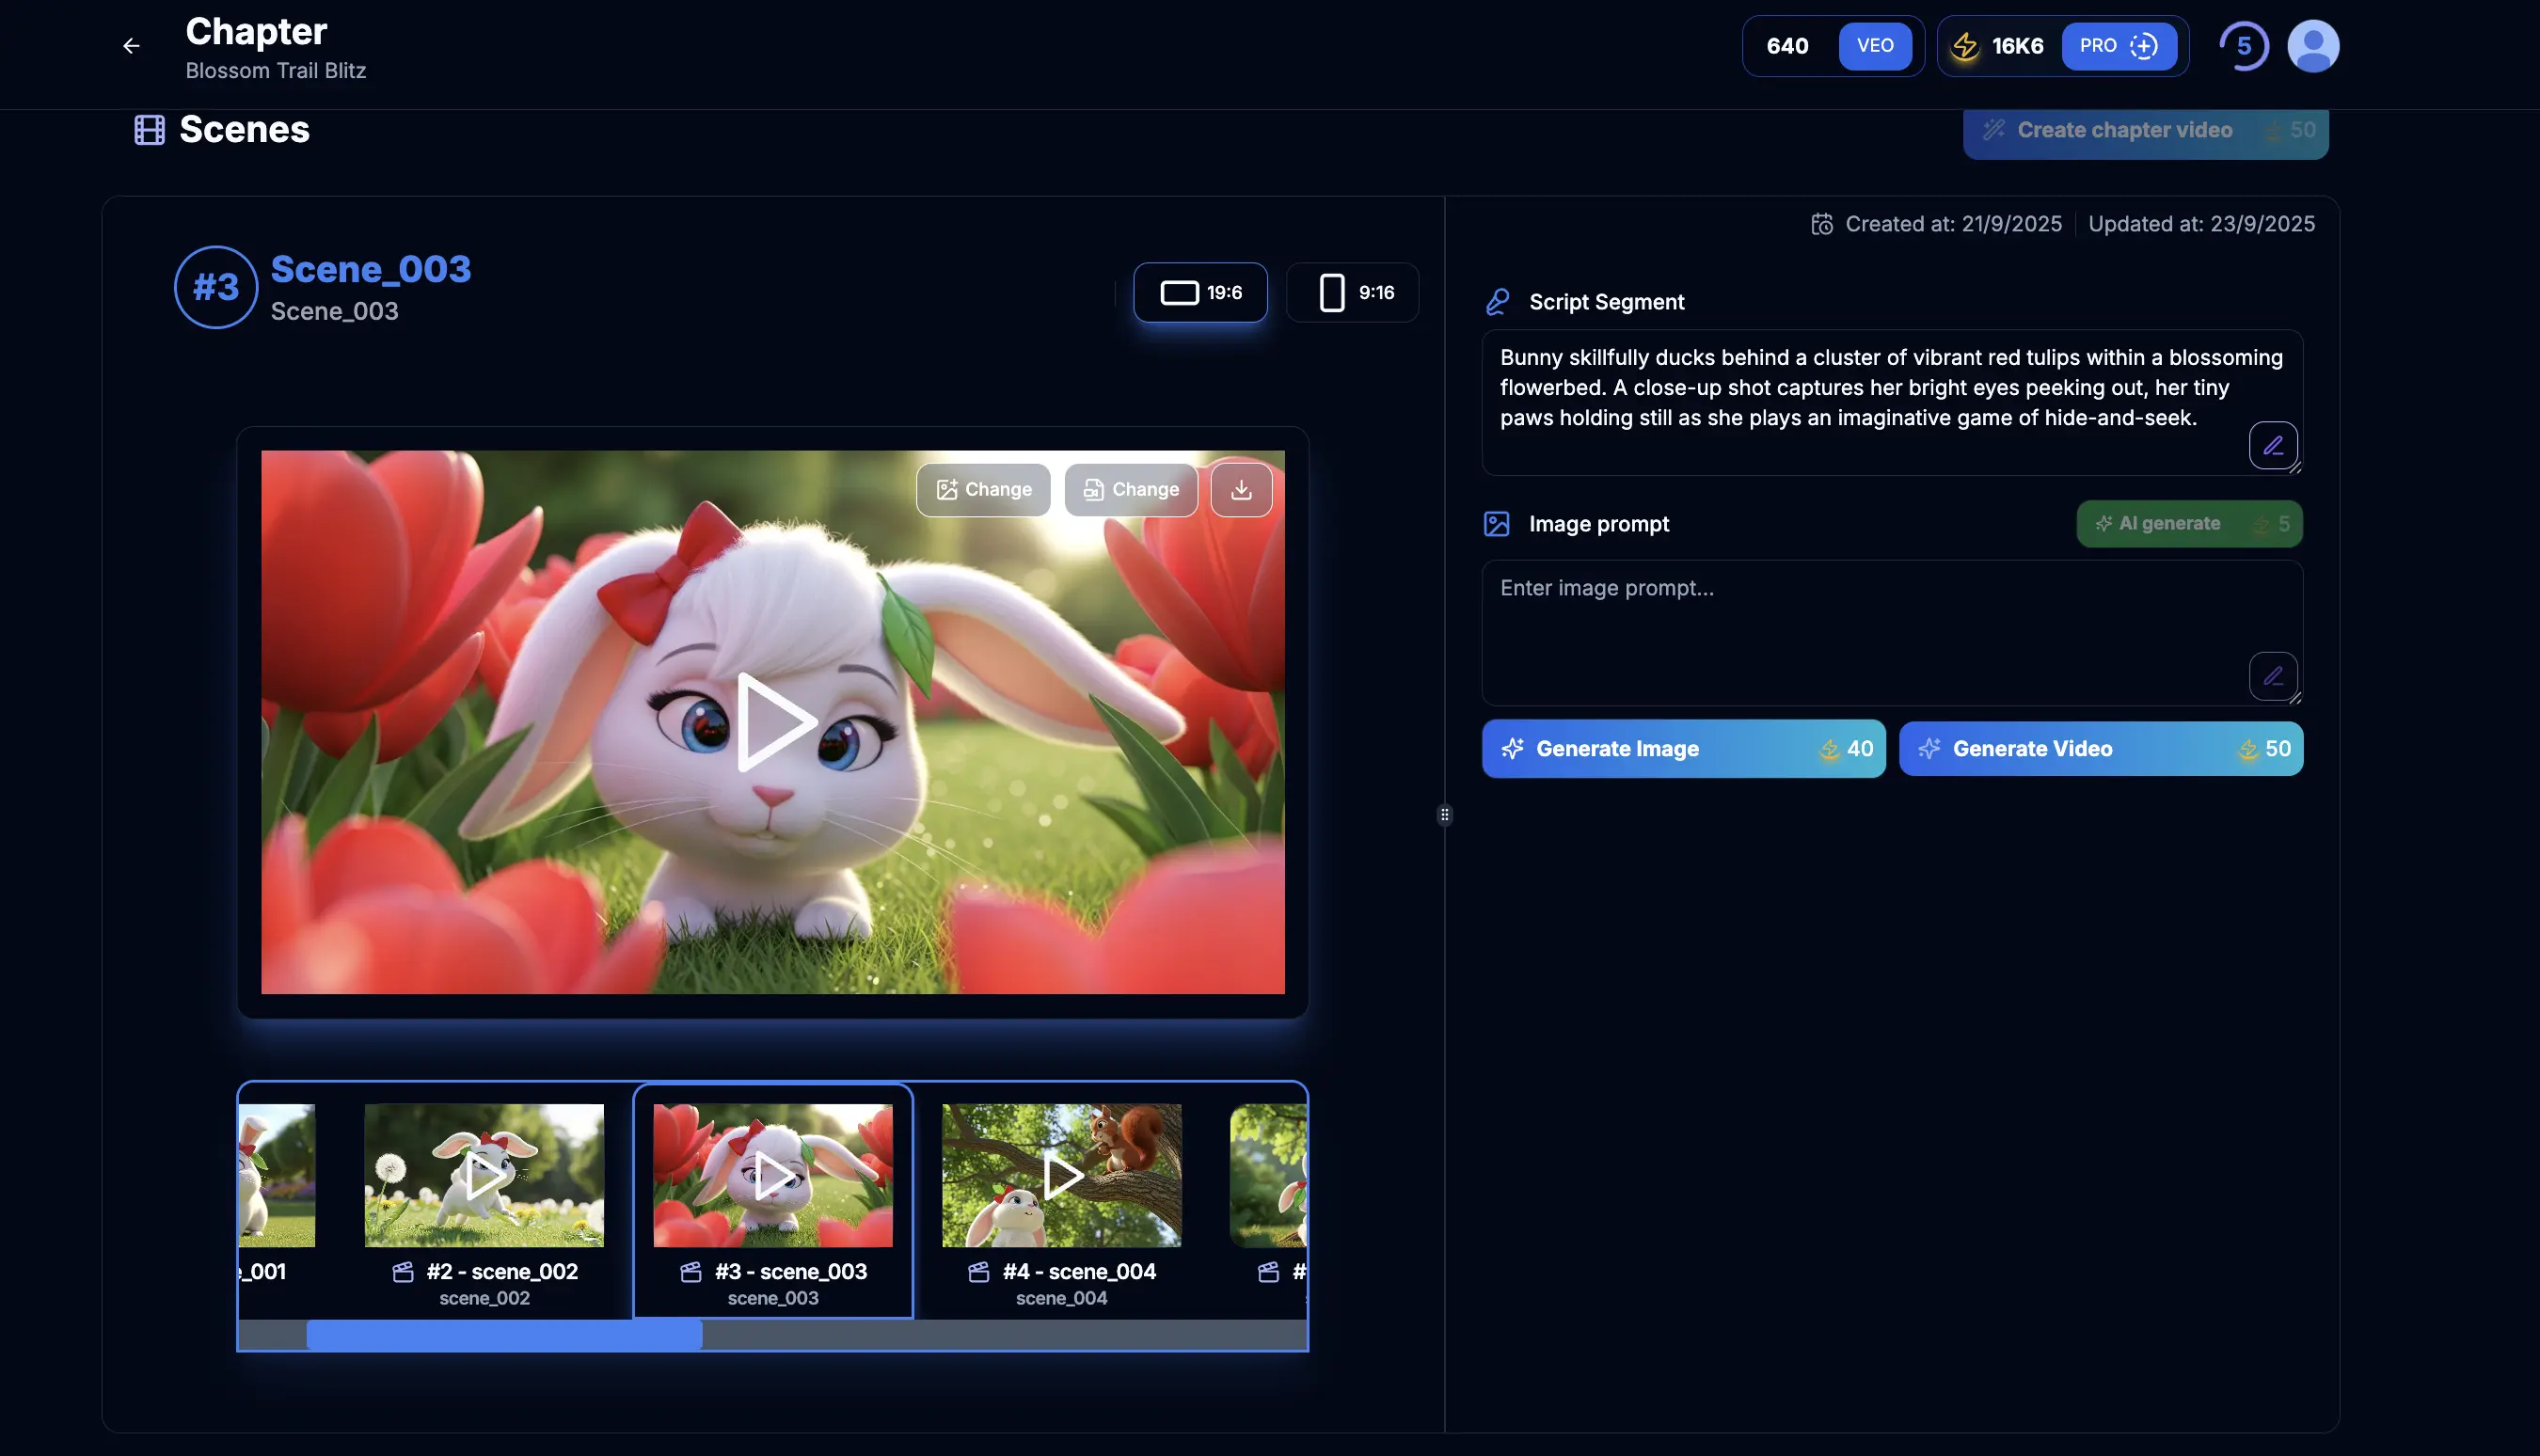
Figure 4.1: Reviewing generated scene images
Figure 4.2: Option to regenerate scene images
Tips & Notes:
- Look for visual consistency with your project style.
- Check that characters are represented correctly and consistently.
- You can regenerate images multiple times to get the perfect result.
- Consider adjusting the scene description if images consistently don't match your vision.
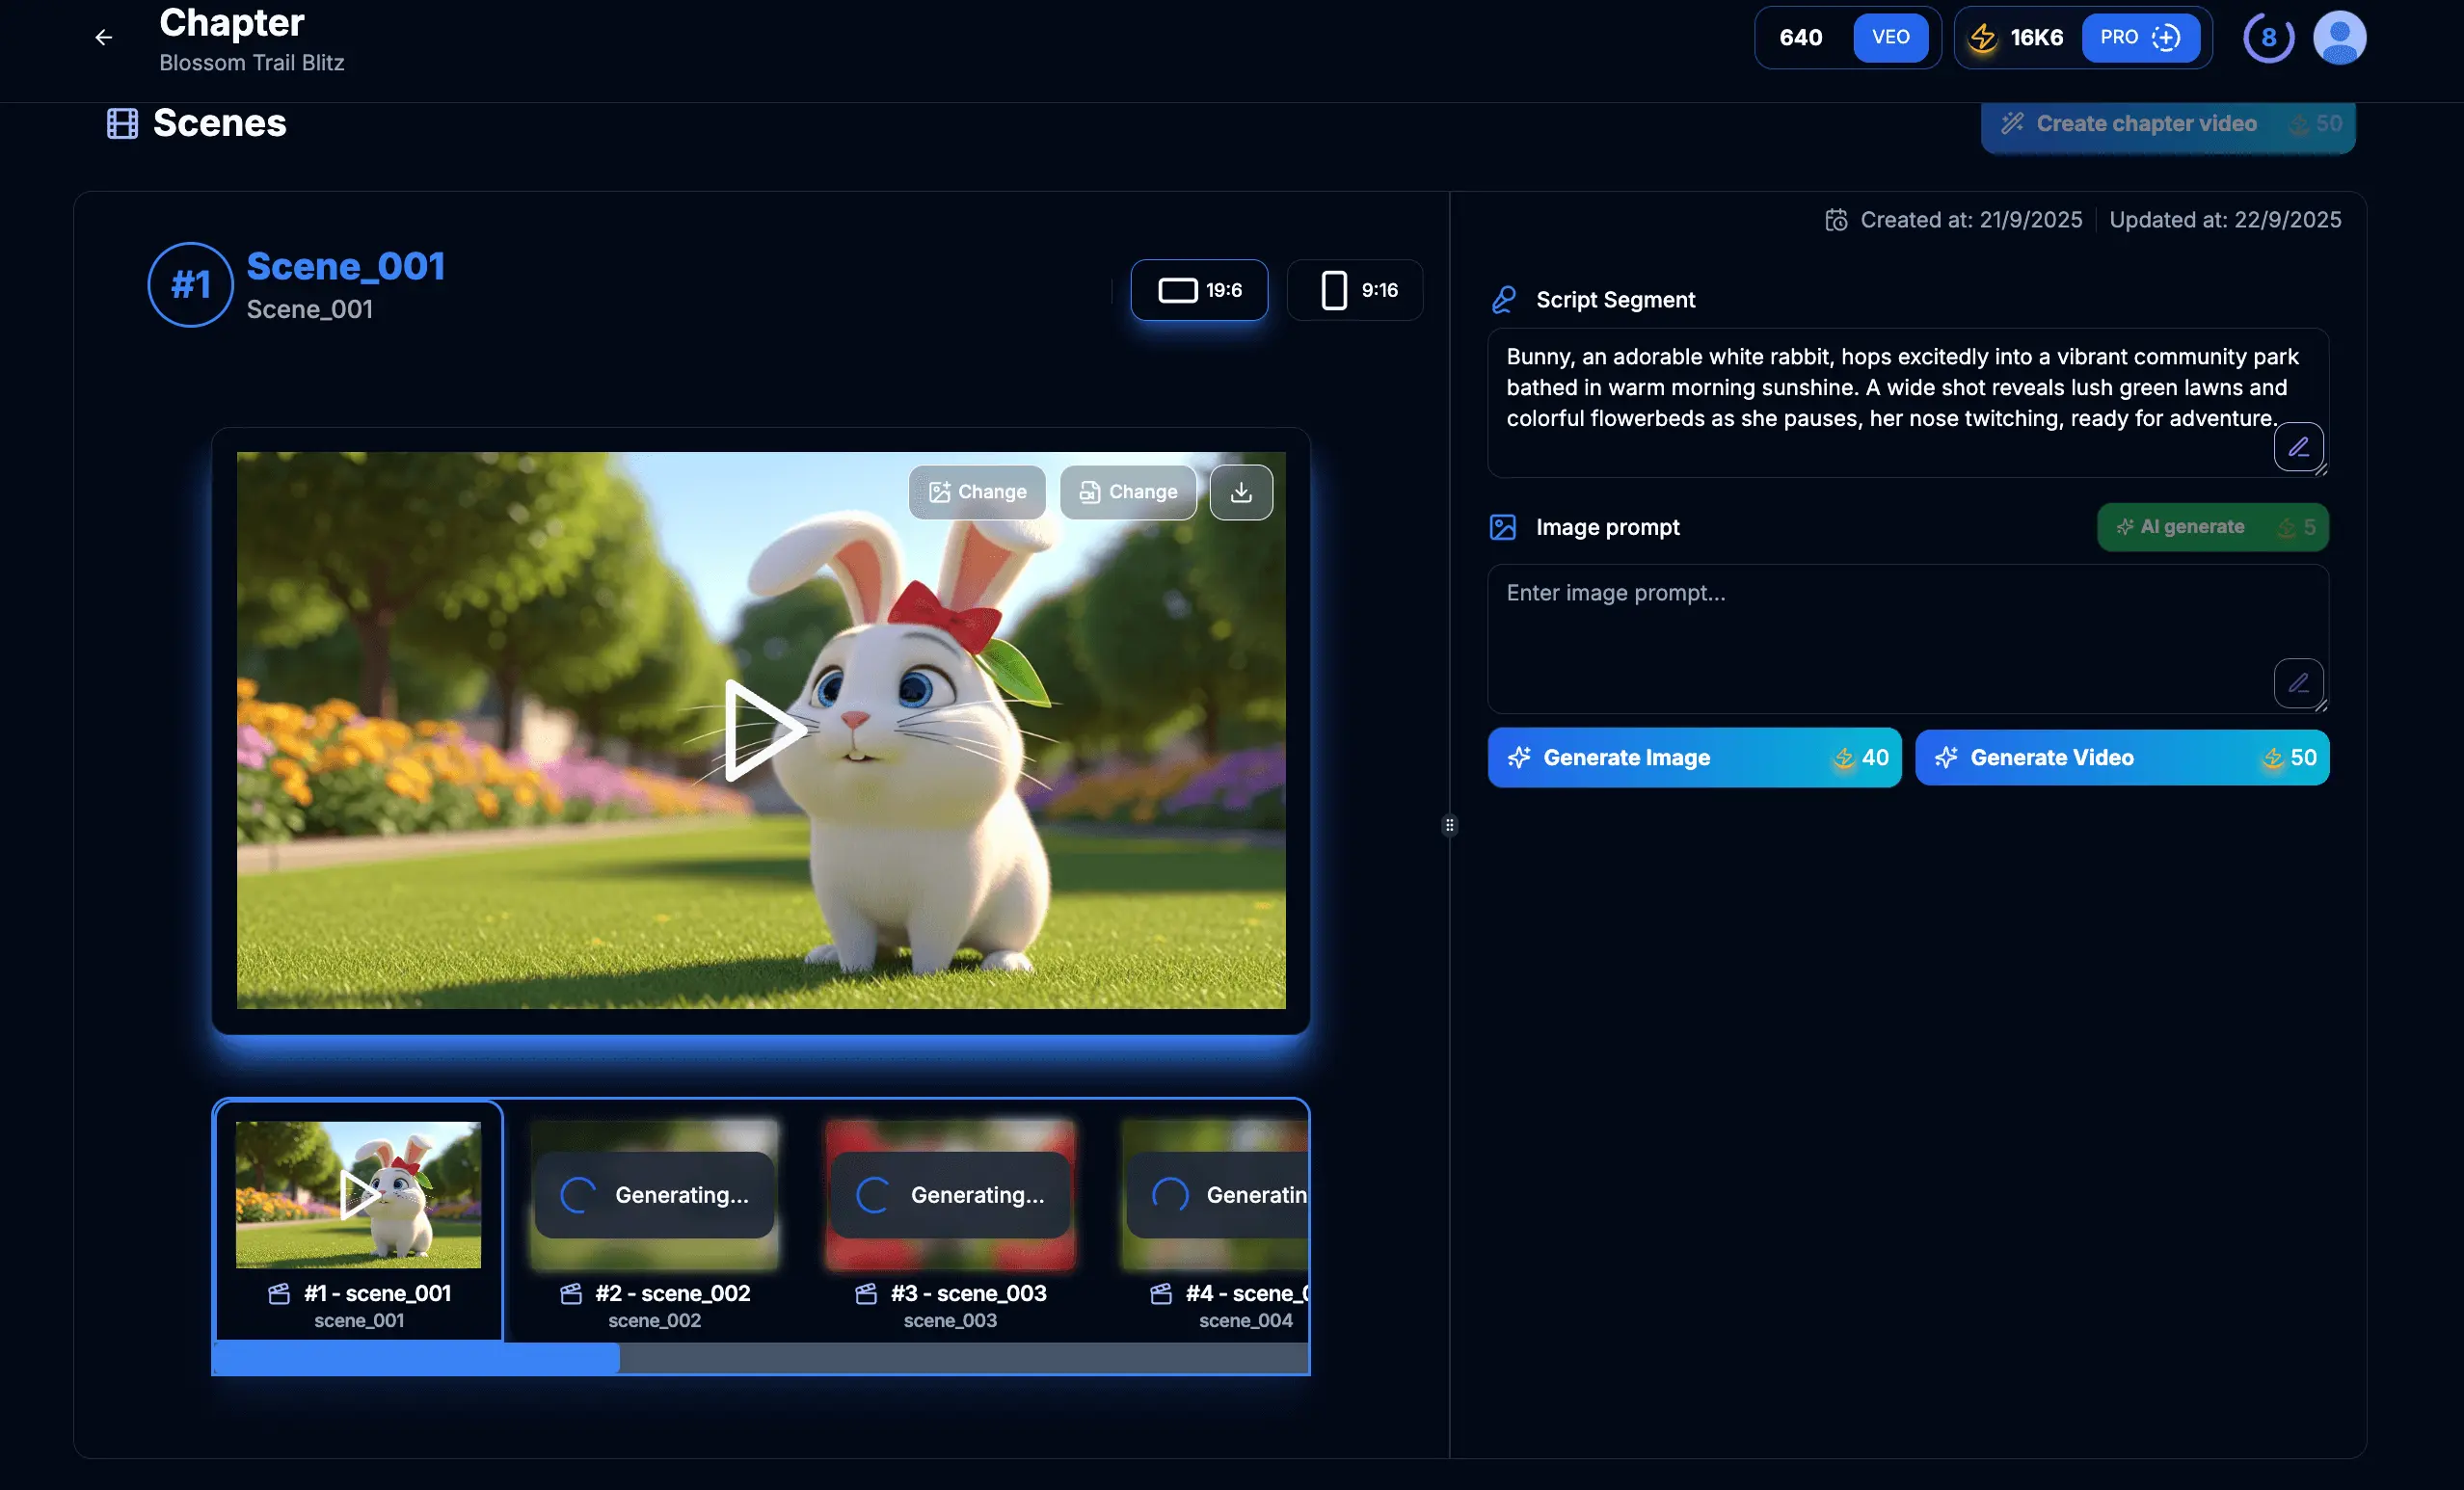
Figure 5.1: Generating images for multiple scenes simultaneously
Tips & Notes:
- Batch processing is ideal when you have finalized multiple scene scripts.
- Maintain visual consistency across all scenes in a chapter.
- Ensure character appearance remains consistent from scene to scene.
- After batch processing, review each scene individually to confirm quality.
Create Scenes for Chapter
Learn how to create detailed scenes within your chapters
Characters in Project
Learn how to create and manage characters in your videos
Create Videos for Scene
Learn how to generate videos for each scene
Set up Flow Authorization Key
Learn how to set up authorization for advanced features
Generating images for your scenes is a transformative step that brings your scripts to visual life. By following our 5-step process—accessing scene management, selecting scenes, waiting for AI generation, reviewing results, and utilizing batch processing for multiple scenes—you can efficiently create professional-quality visuals for your entire project.
The ability to regenerate images until they perfectly match your vision and process multiple scenes simultaneously gives you tremendous creative control. With your scene images now generated, you're ready to move on to the final step in the production process: creating videos that combine these images with audio, transitions, and other elements to produce a complete and professional video experience for your audience.